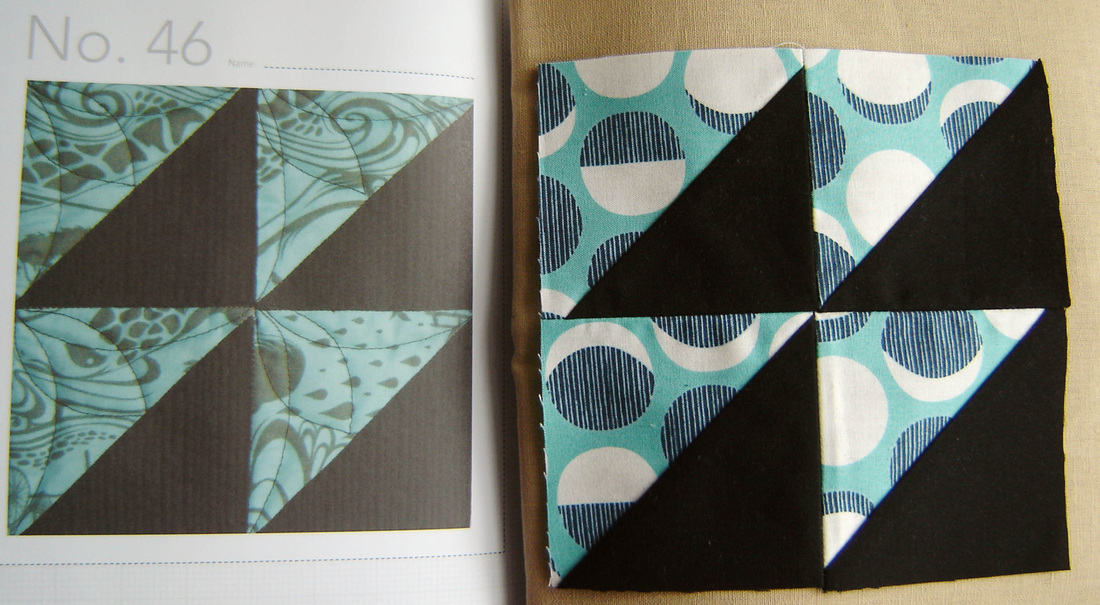
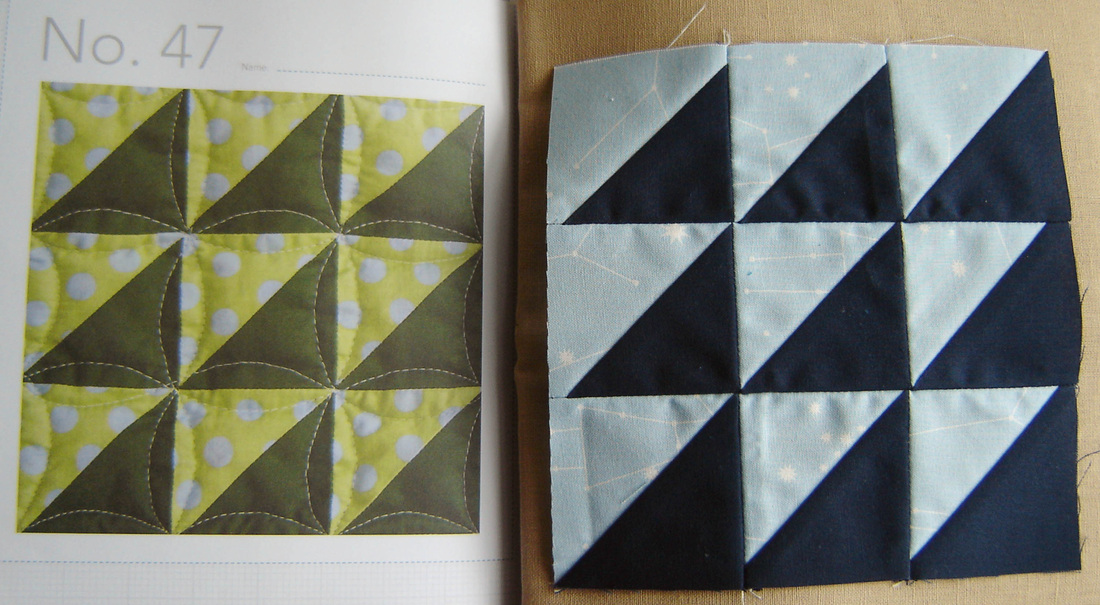
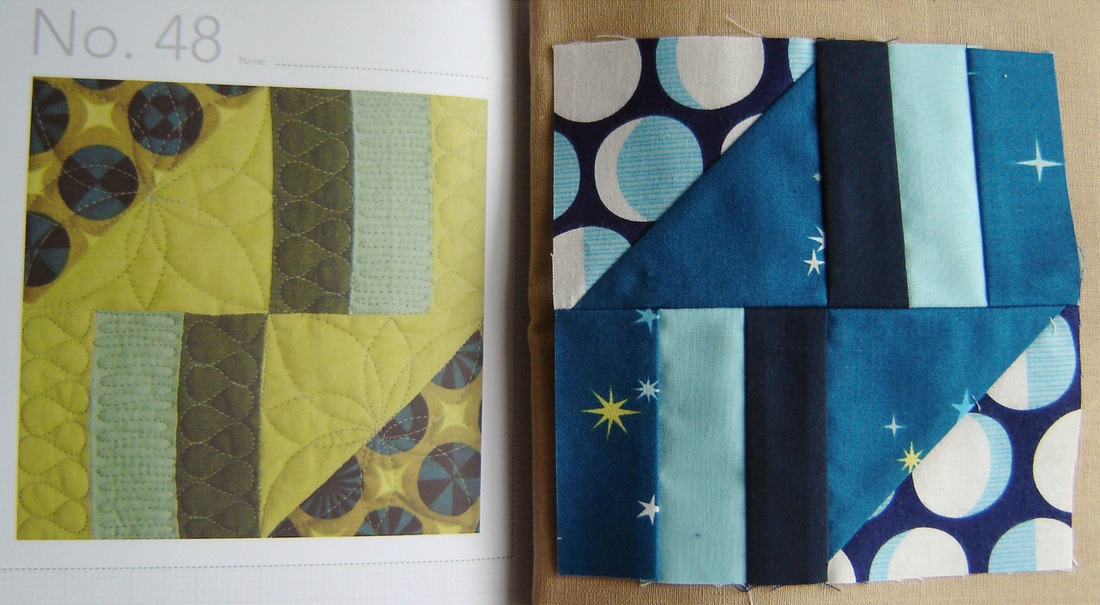
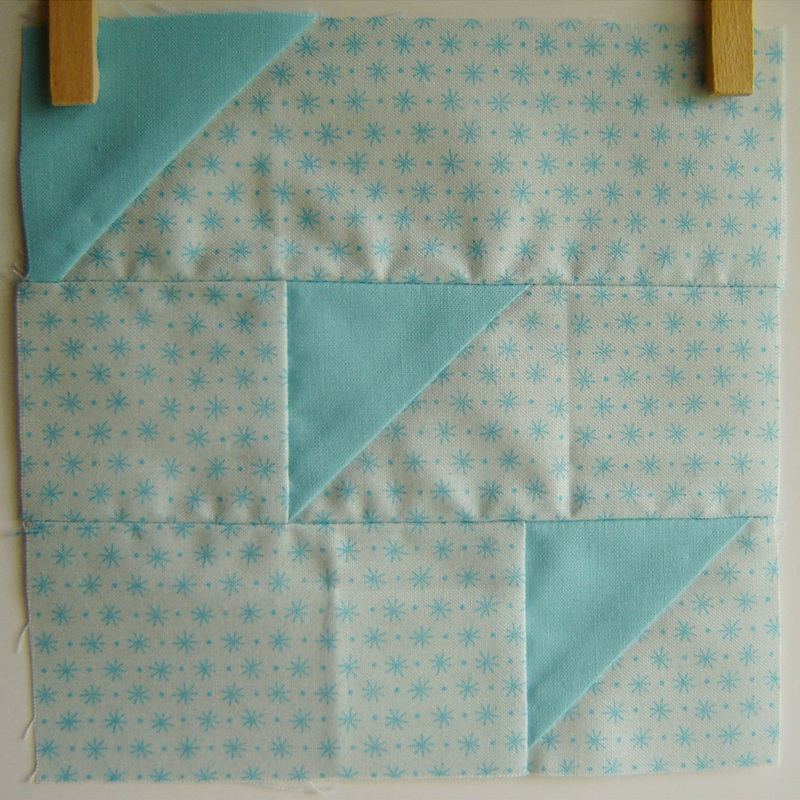
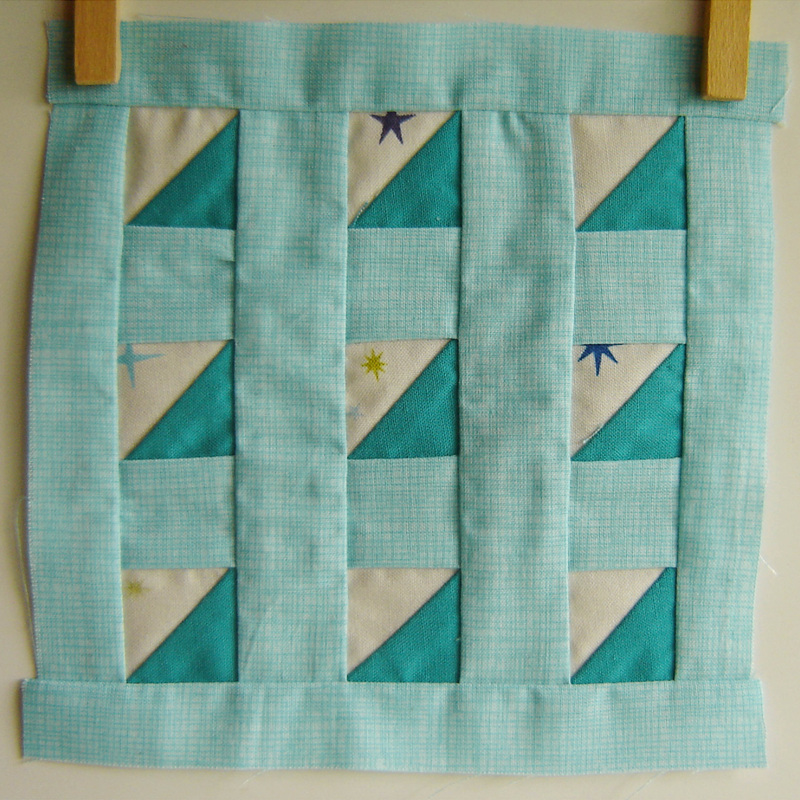
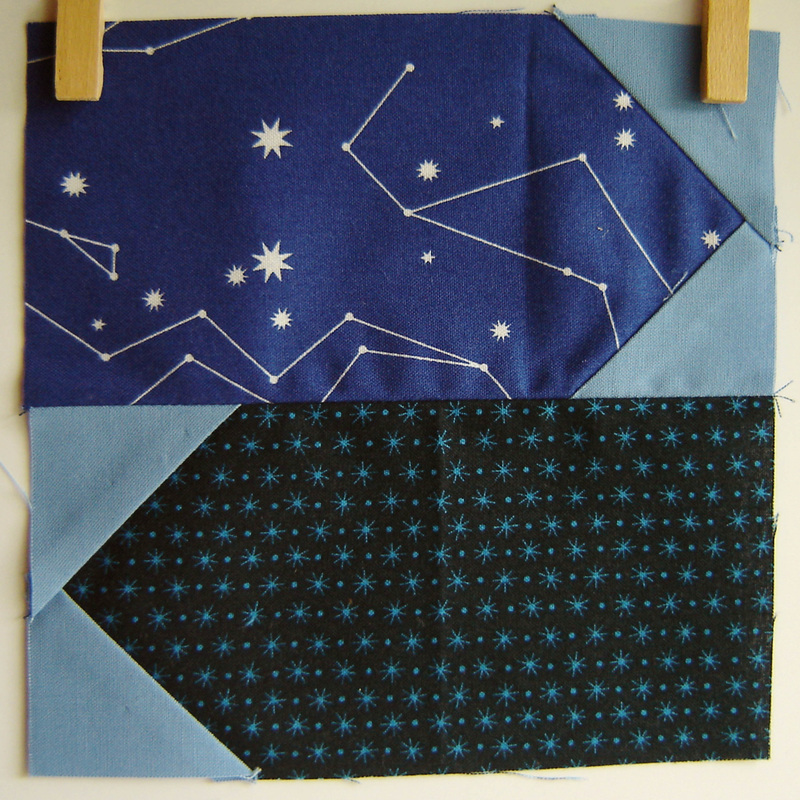
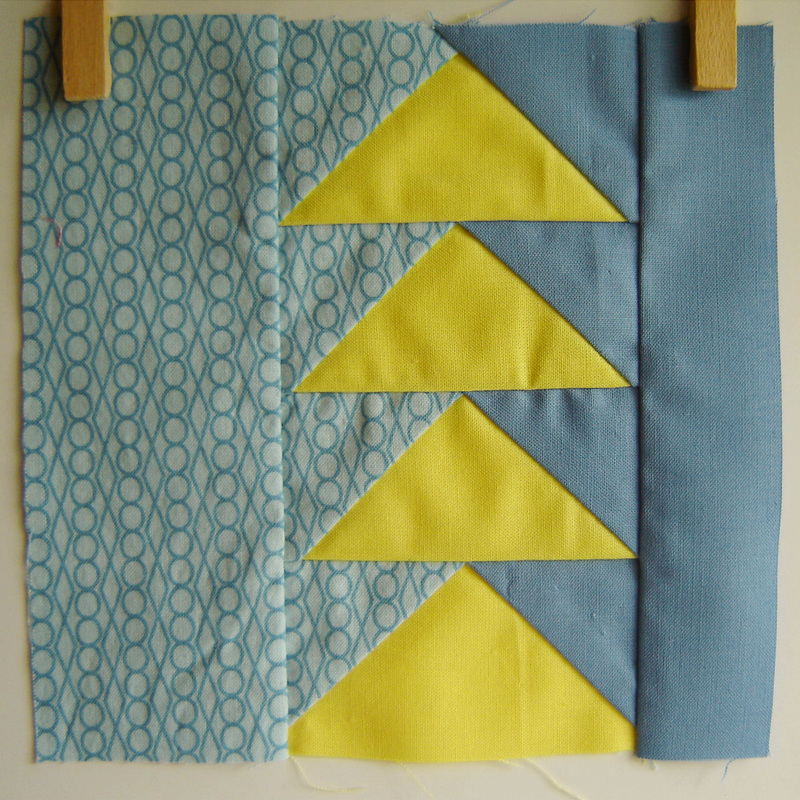
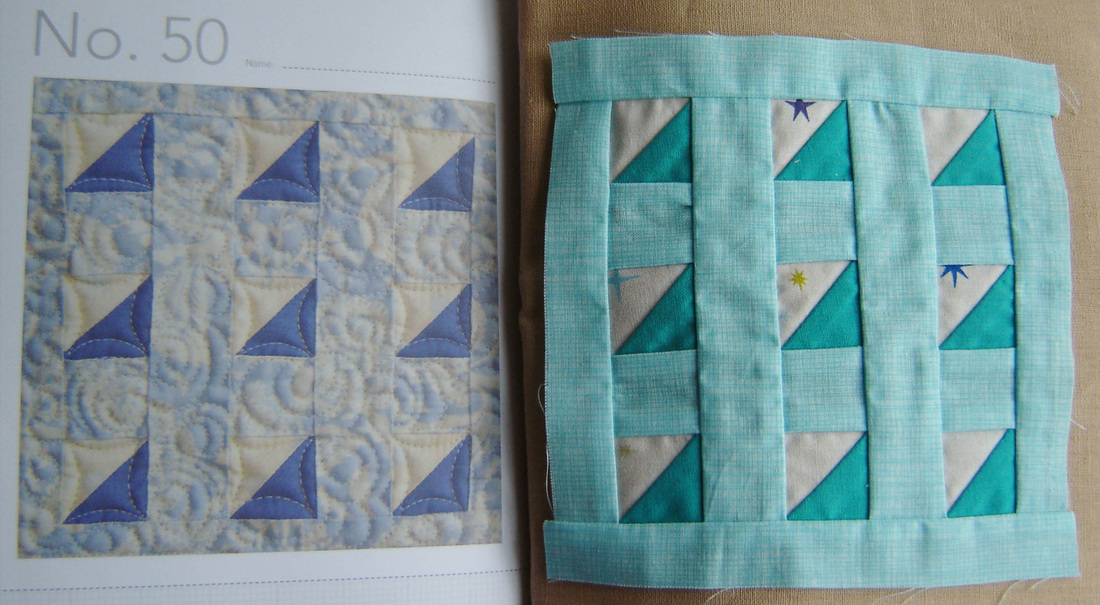
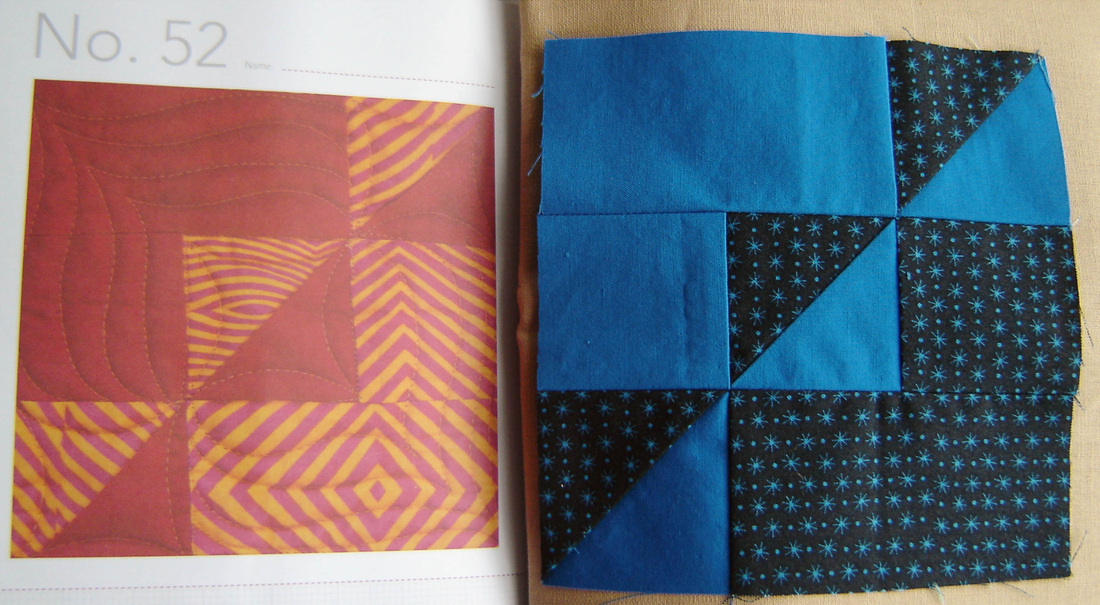
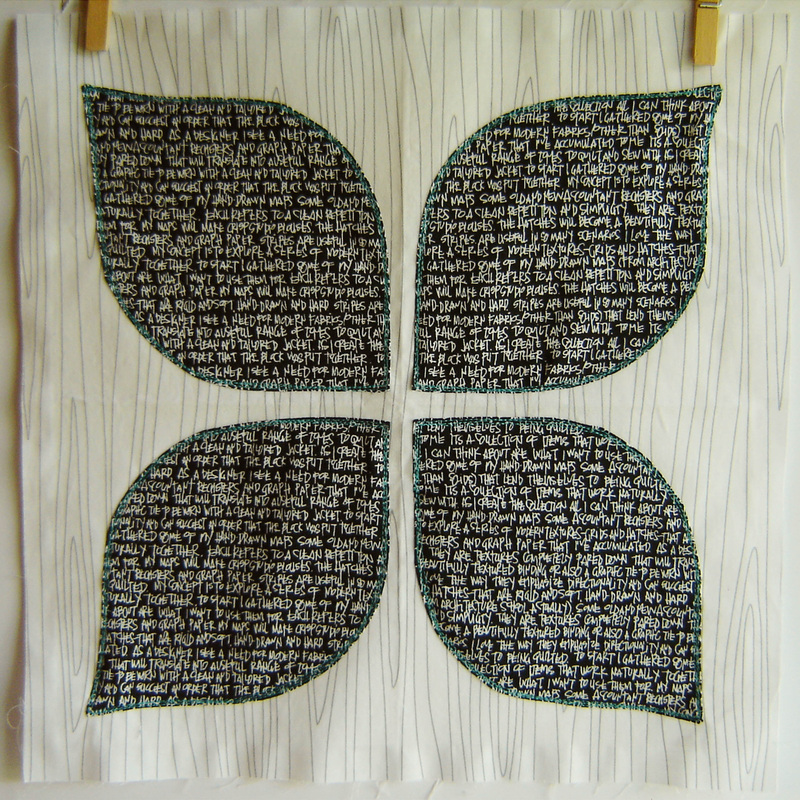
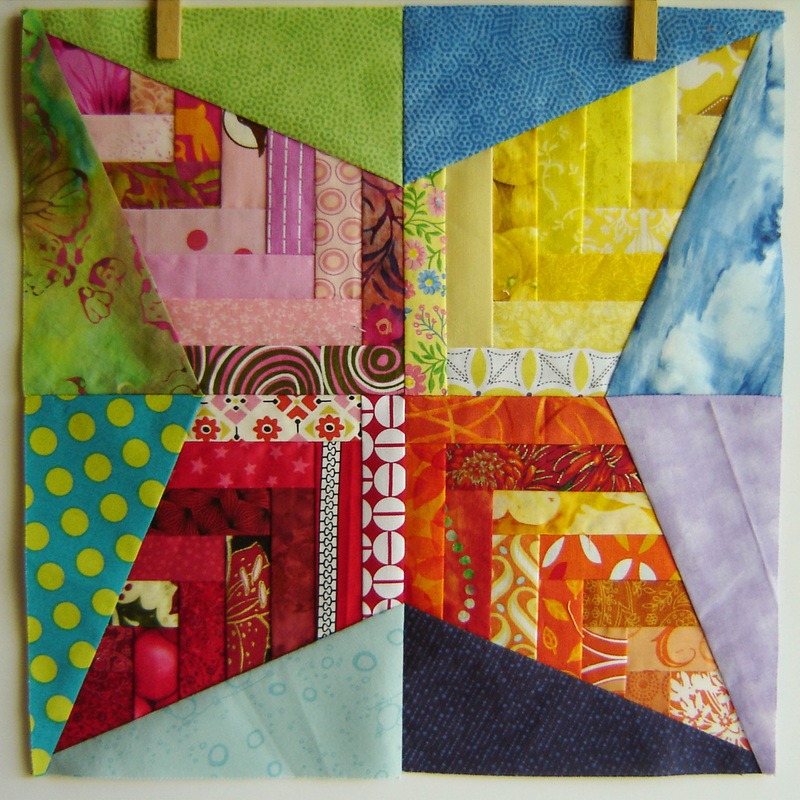
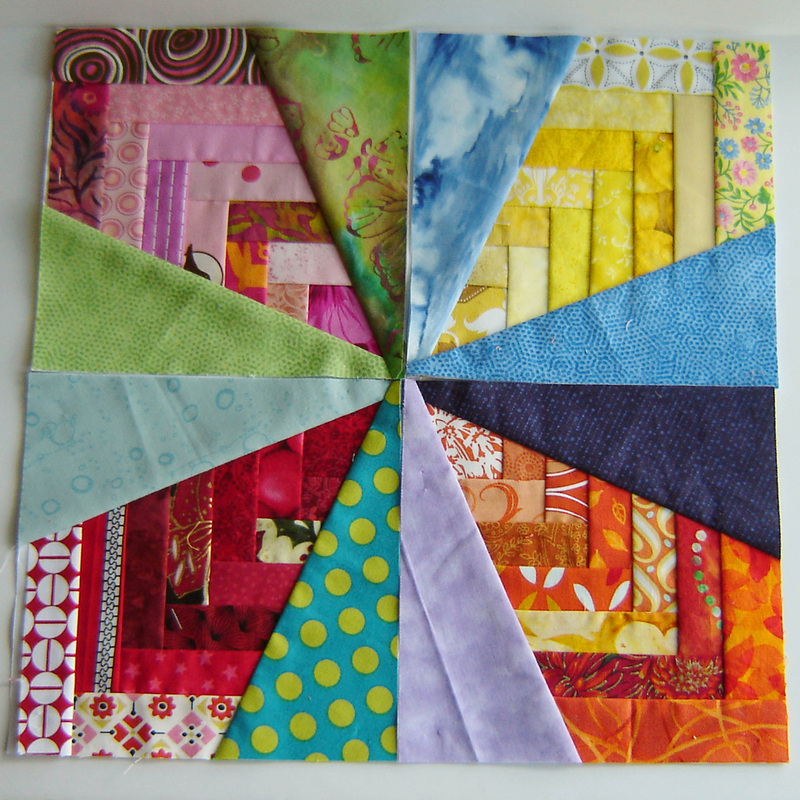
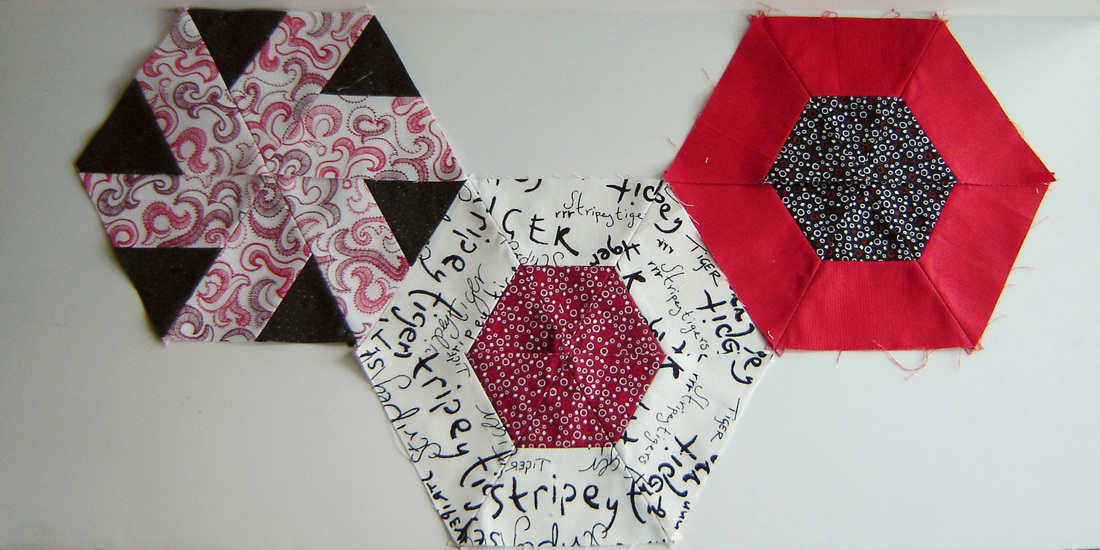
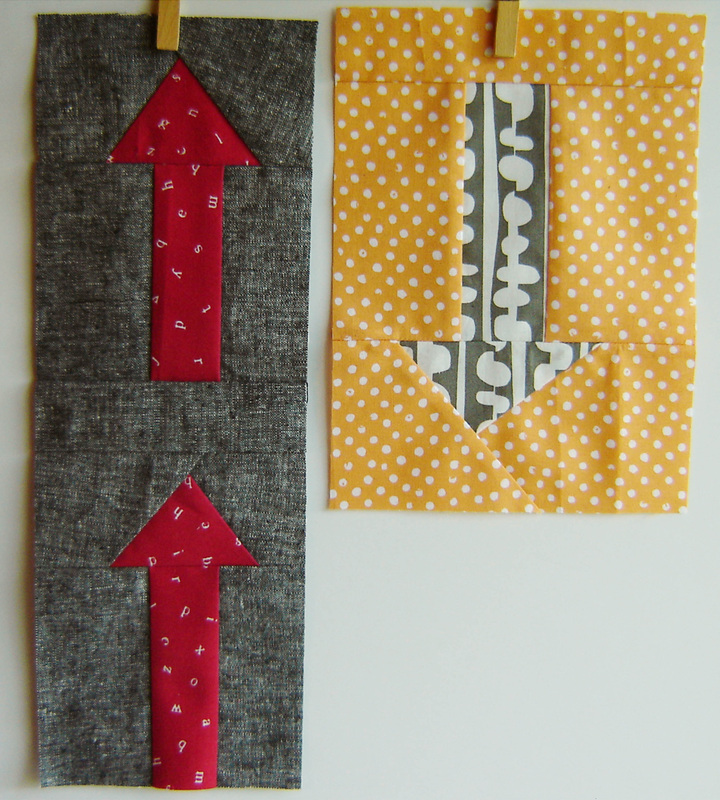
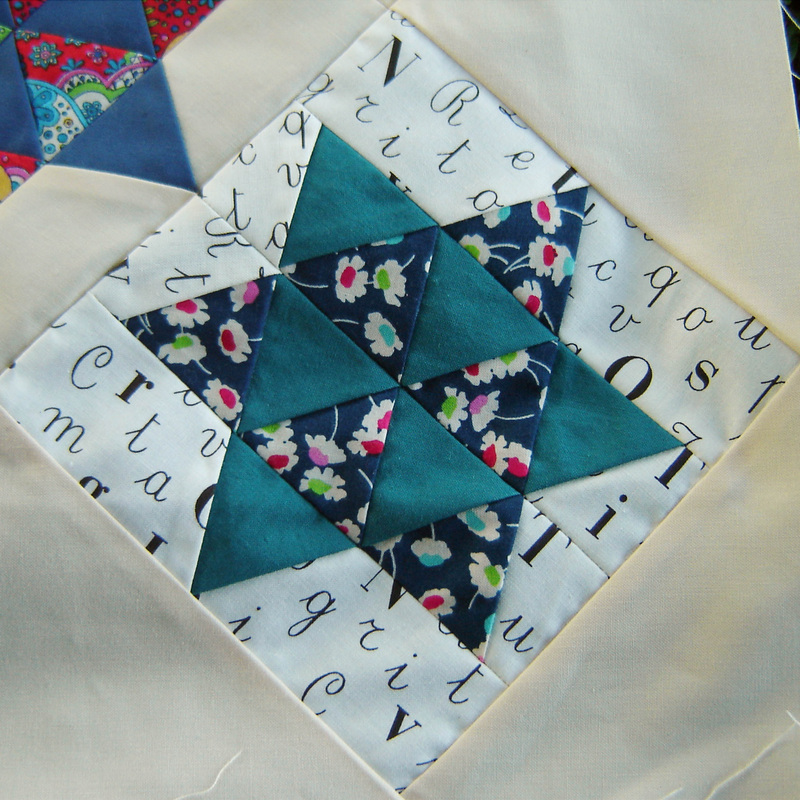
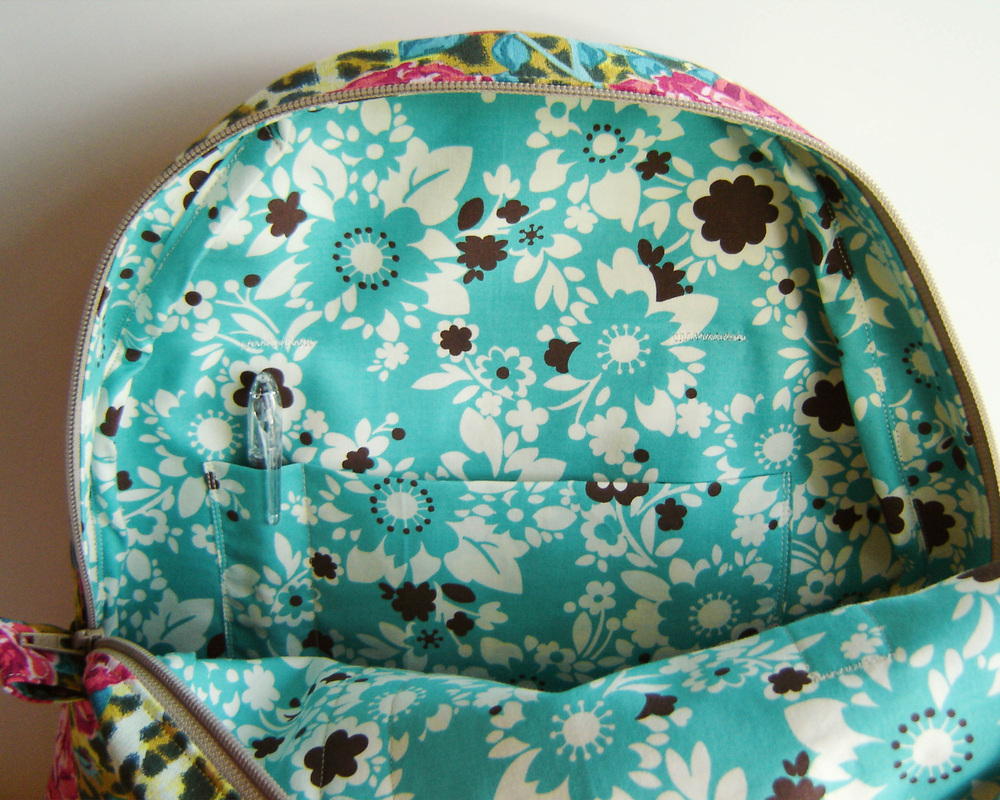
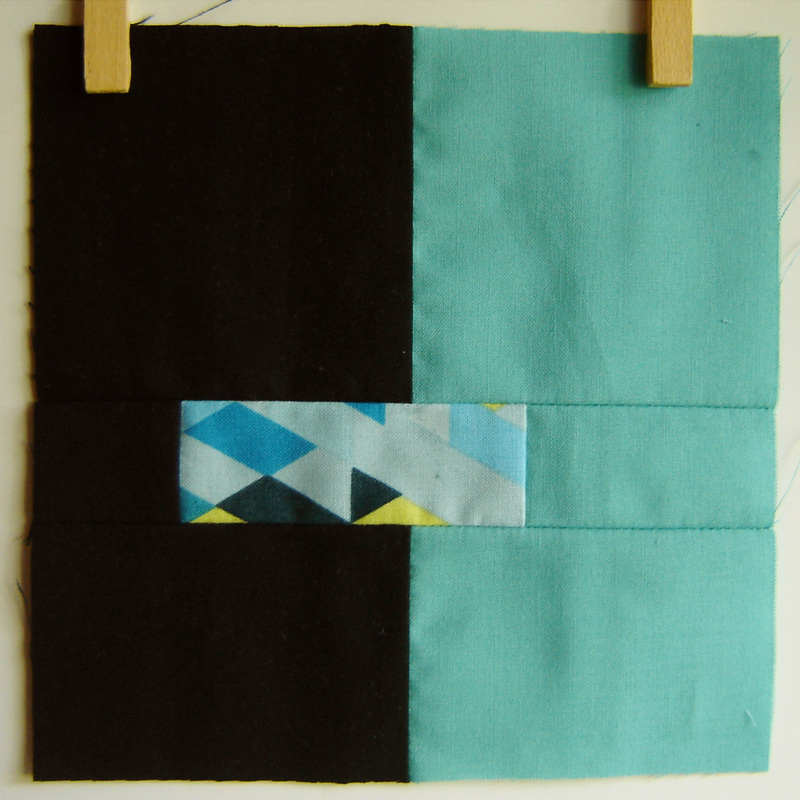
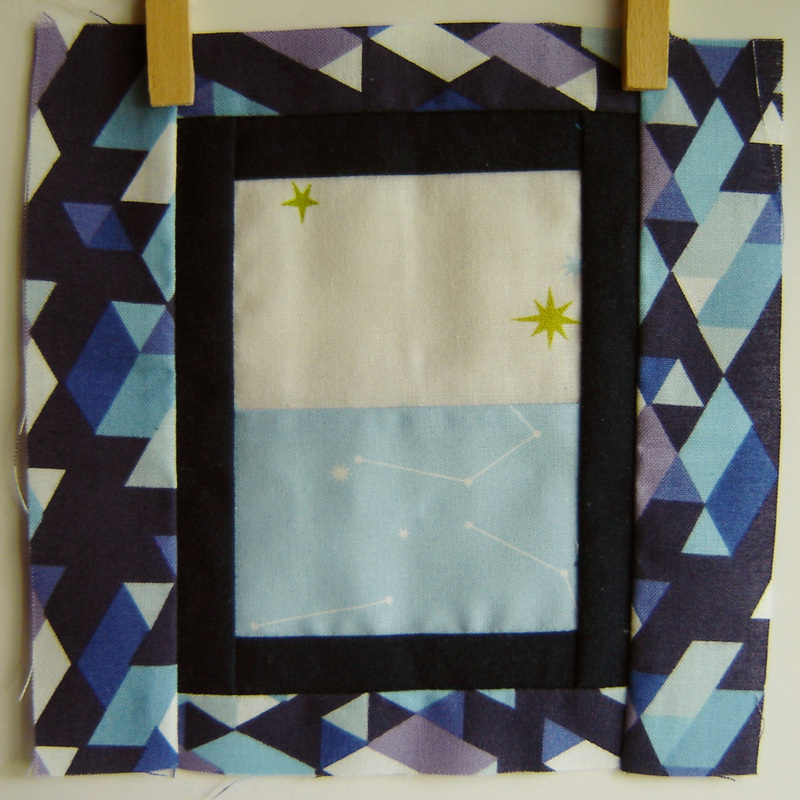
I am popping in today to share one of my "out of order" City Sampler blocks update. All of these feature triangles, and all were pretty straight forward. I didn't have any problems with these with the exception of number 45. If you look at that one, the top of my triangle isn't there, but I can live with it, it is one of those "good enough" blocks. I really like all the fabric choices for these, and it is amazing to me that even though I am not using any Tula Pink fabric, some of my blocks are pretty darn close to the ones in the book. Neat how that works out. For example, block number 46, pretty similar, or at least I think so.
Well that is it for today, hopefully I will have some finishes to show you guys later this week!
Well that is it for today, hopefully I will have some finishes to show you guys later this week!
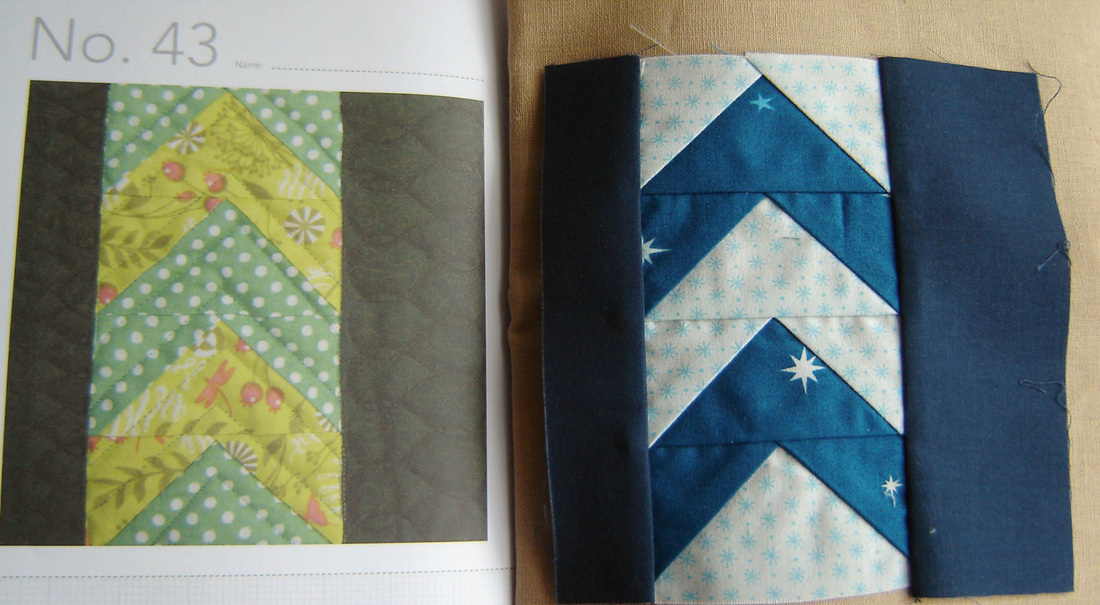
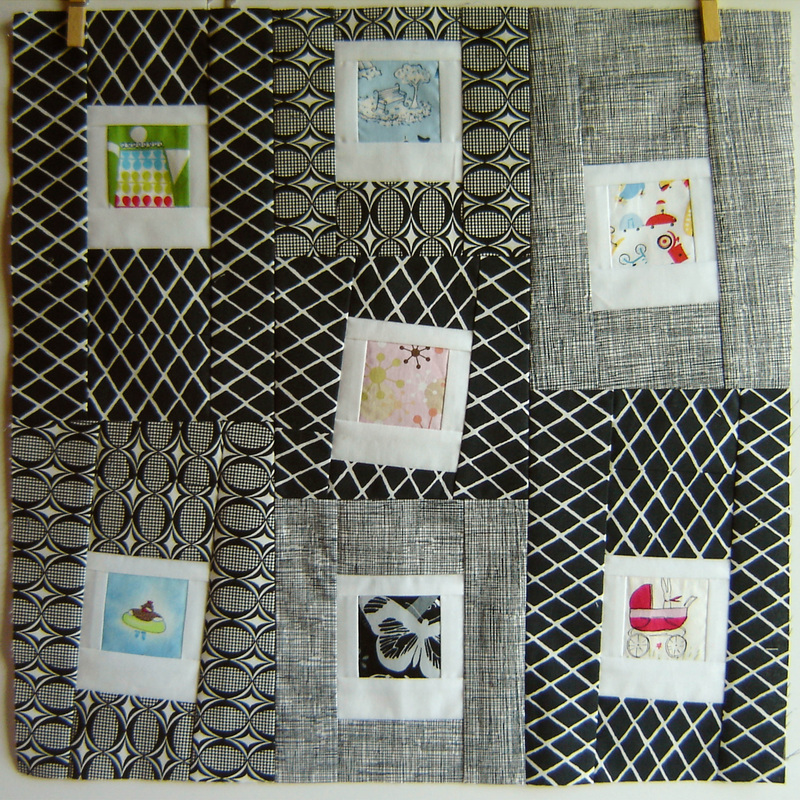
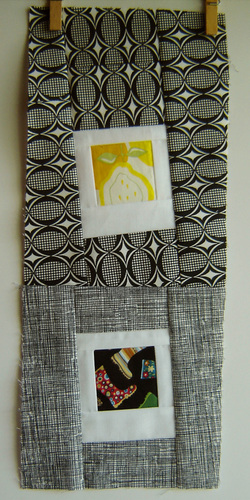
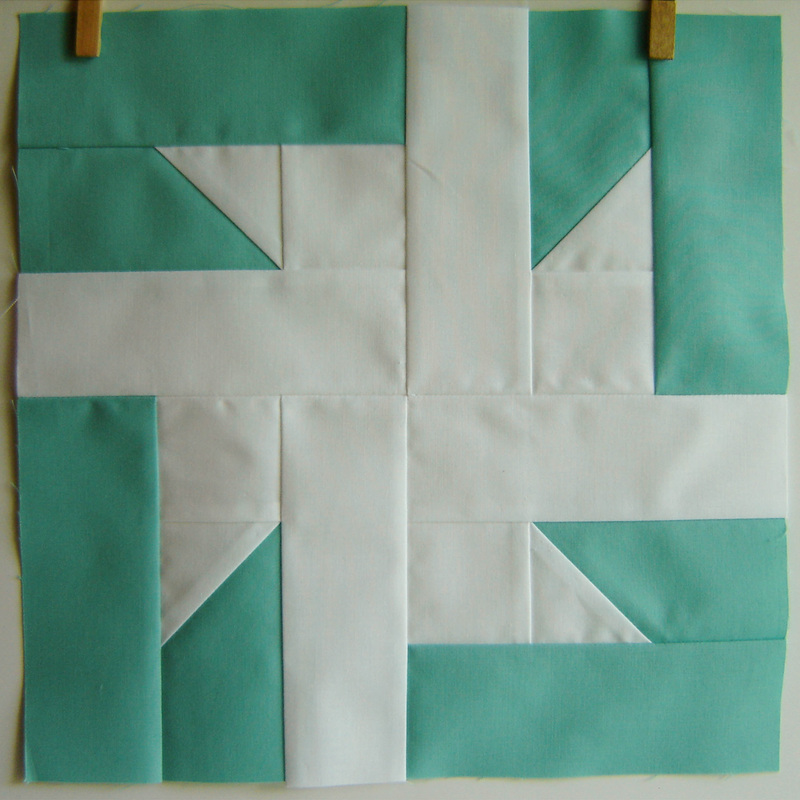
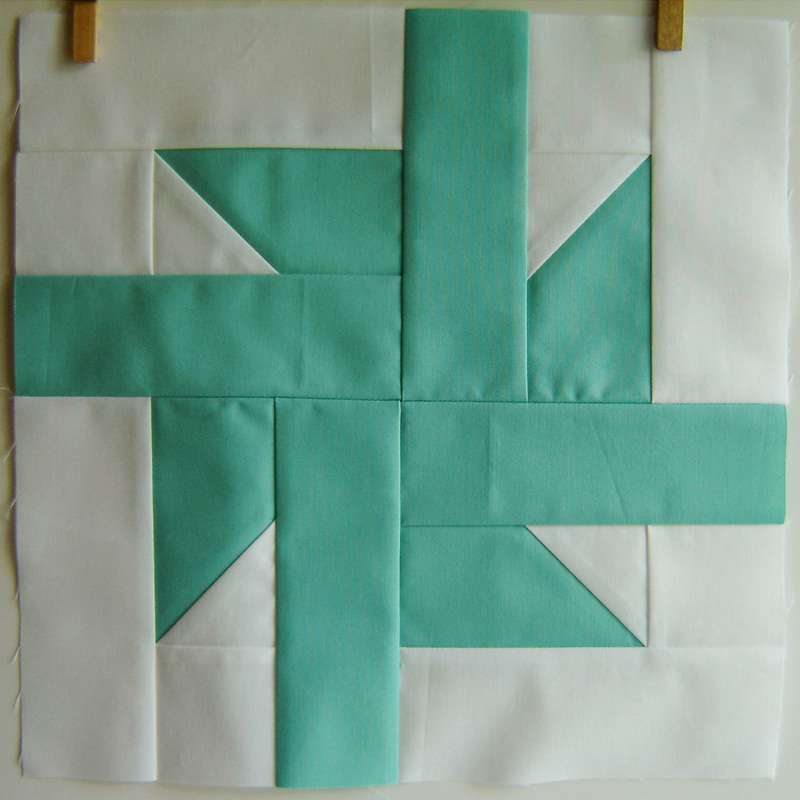
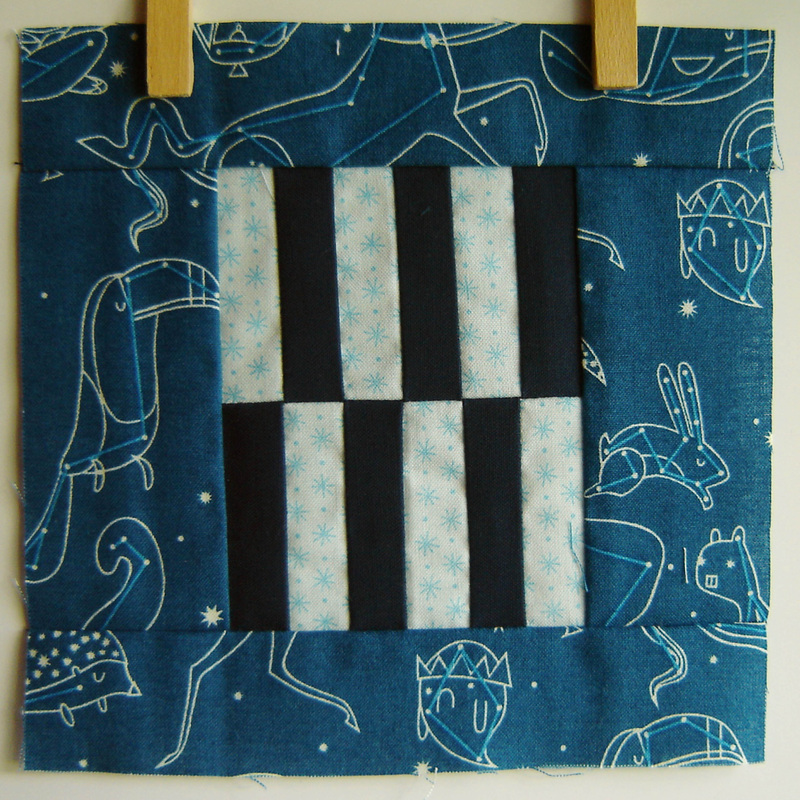
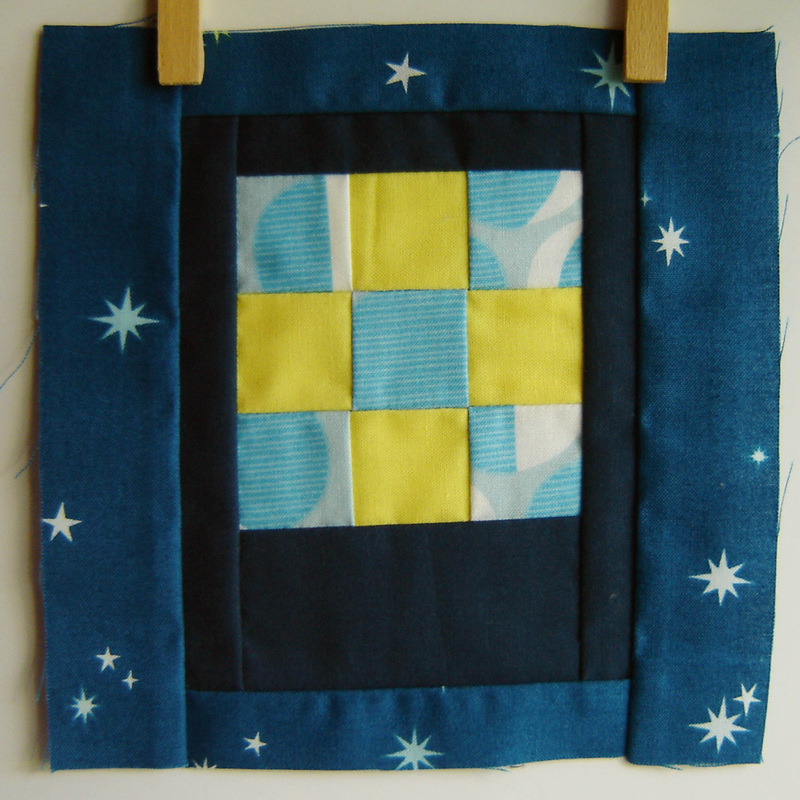
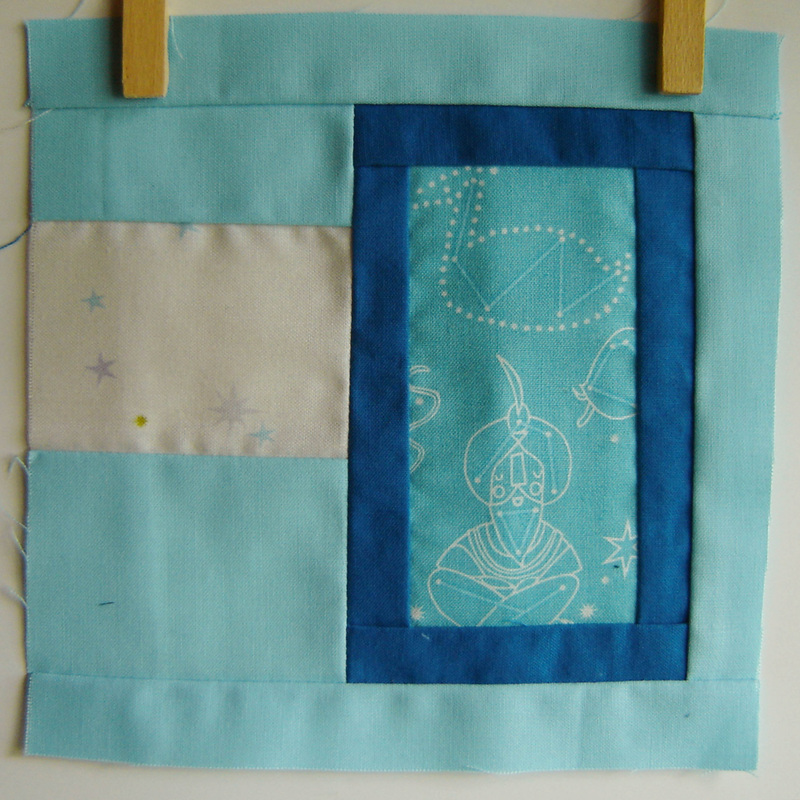
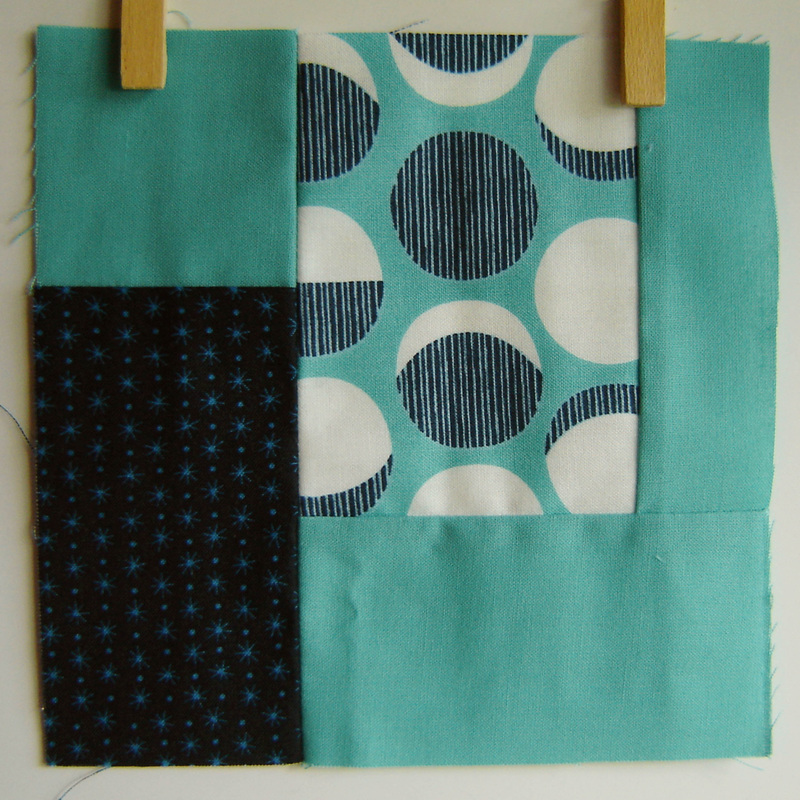
Block #43
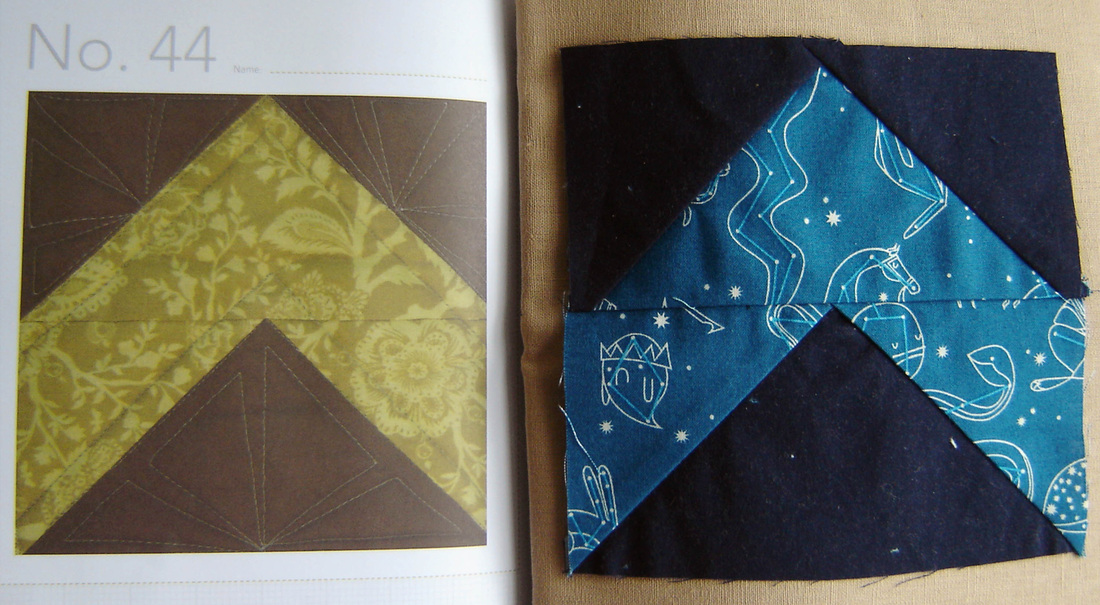
Block #44
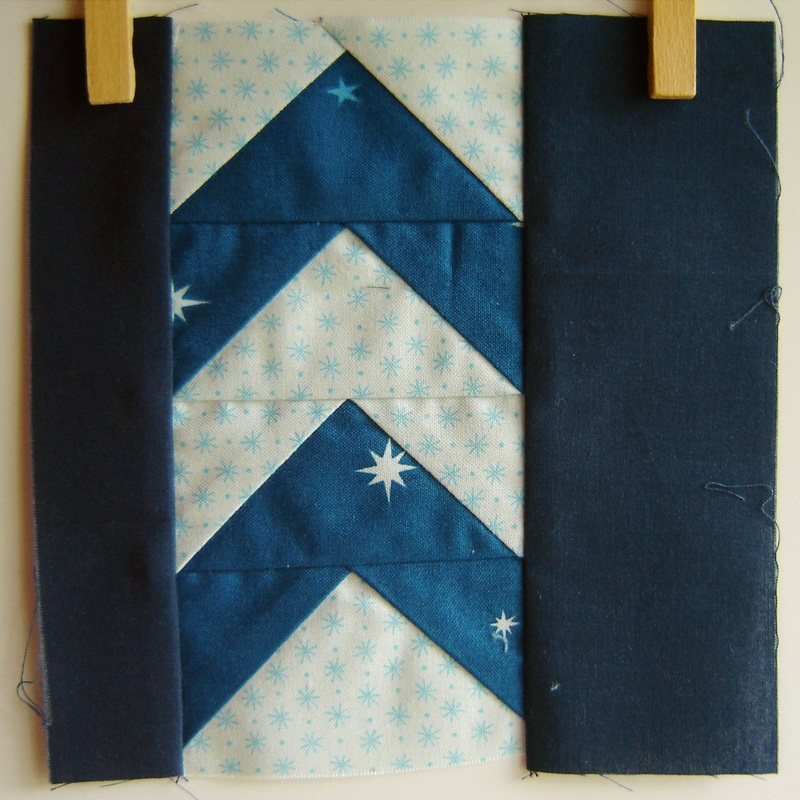
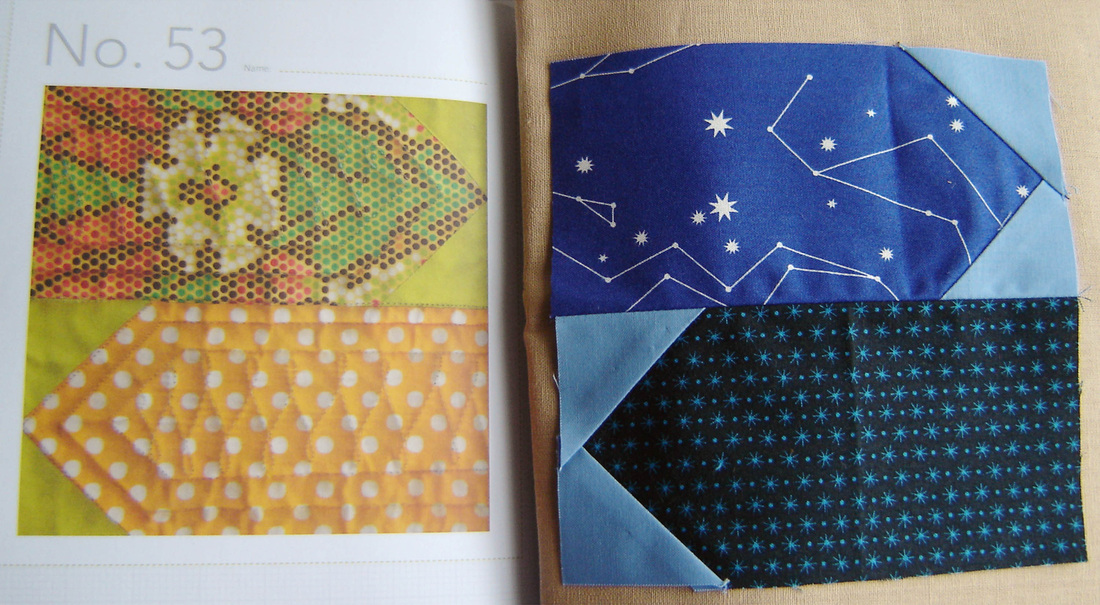
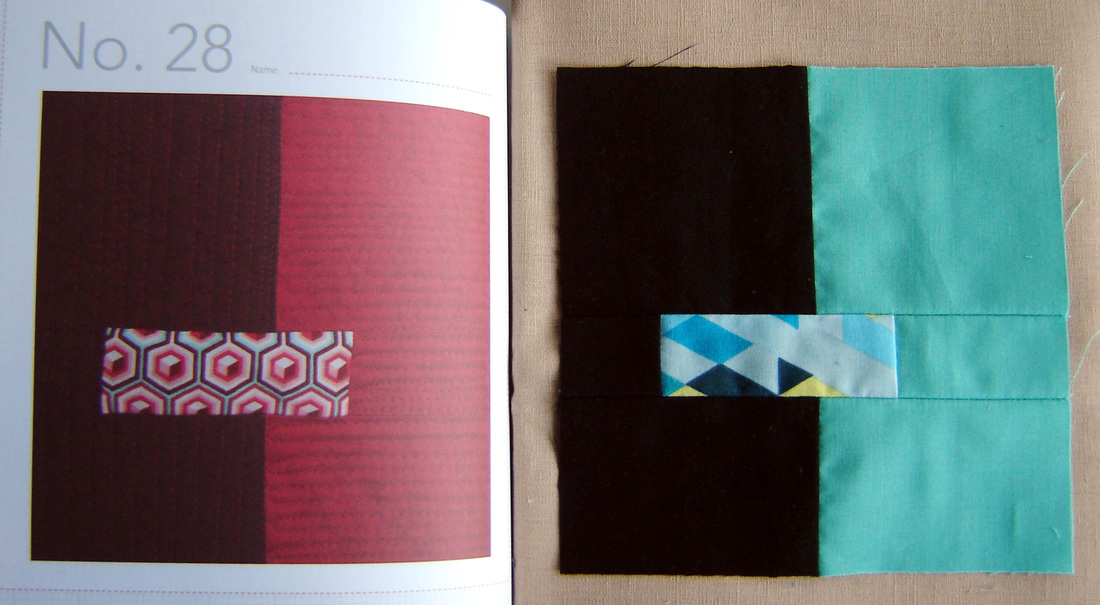
Block #45
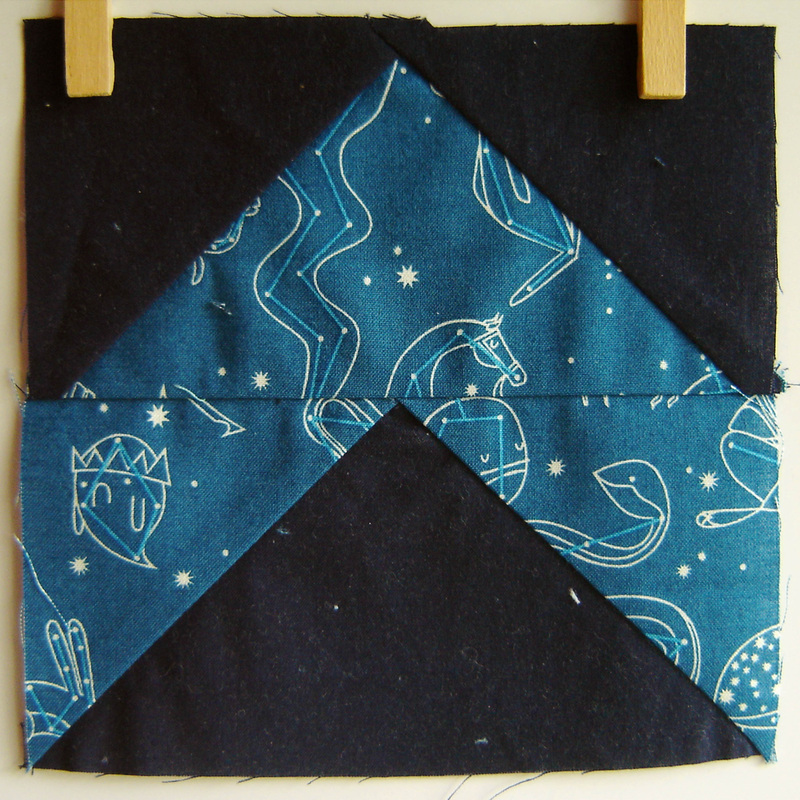
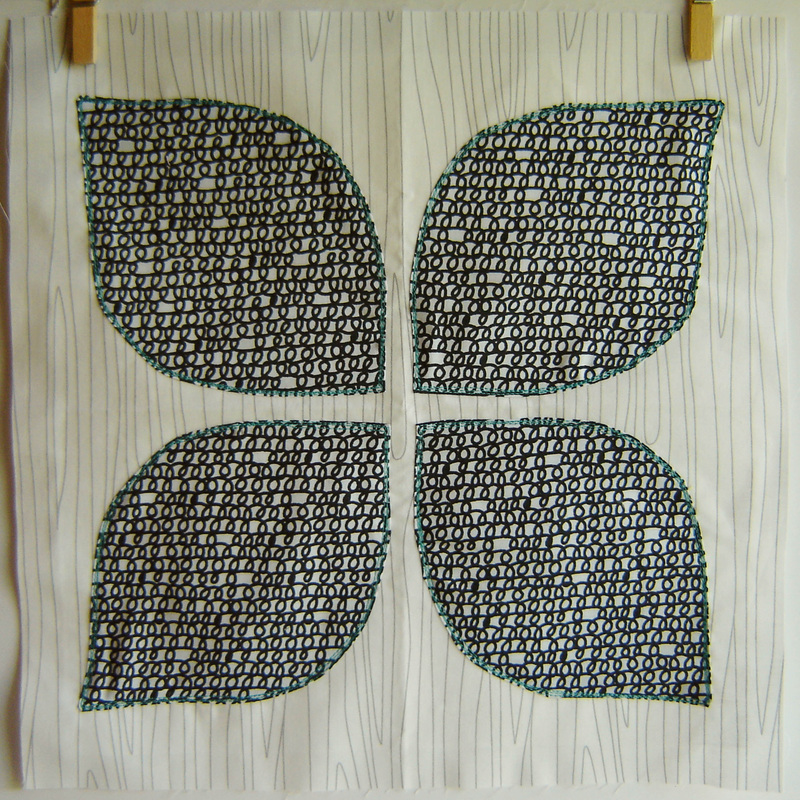
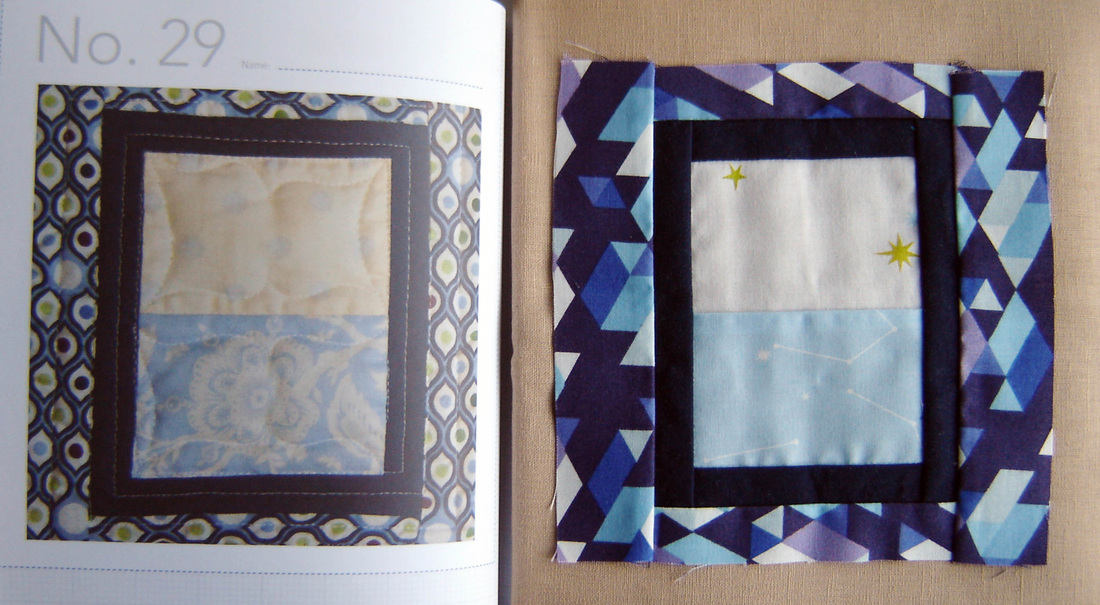
Block #46

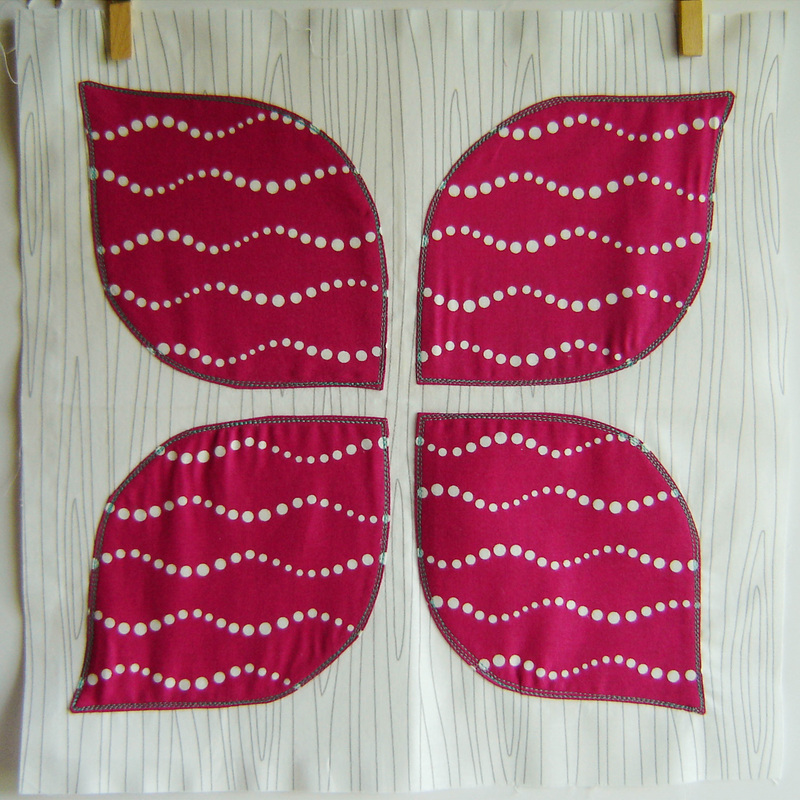
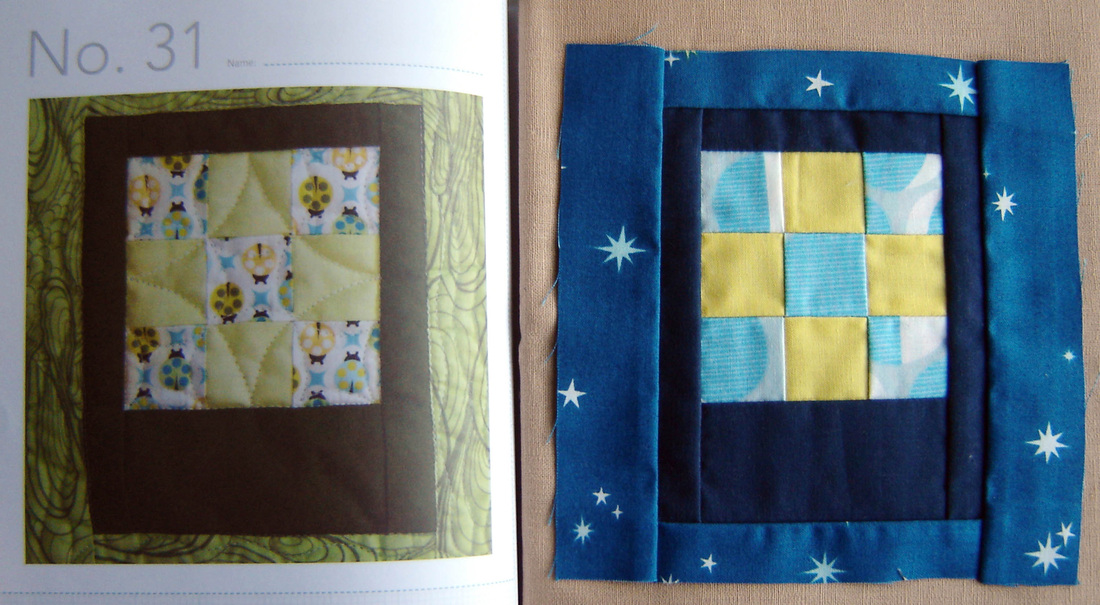
Block #47
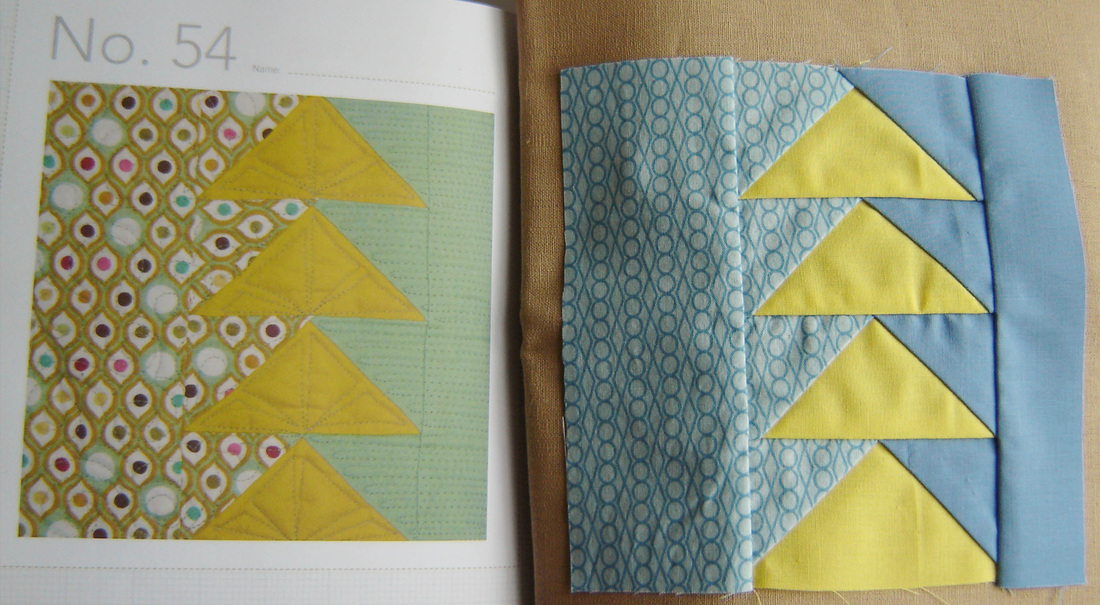
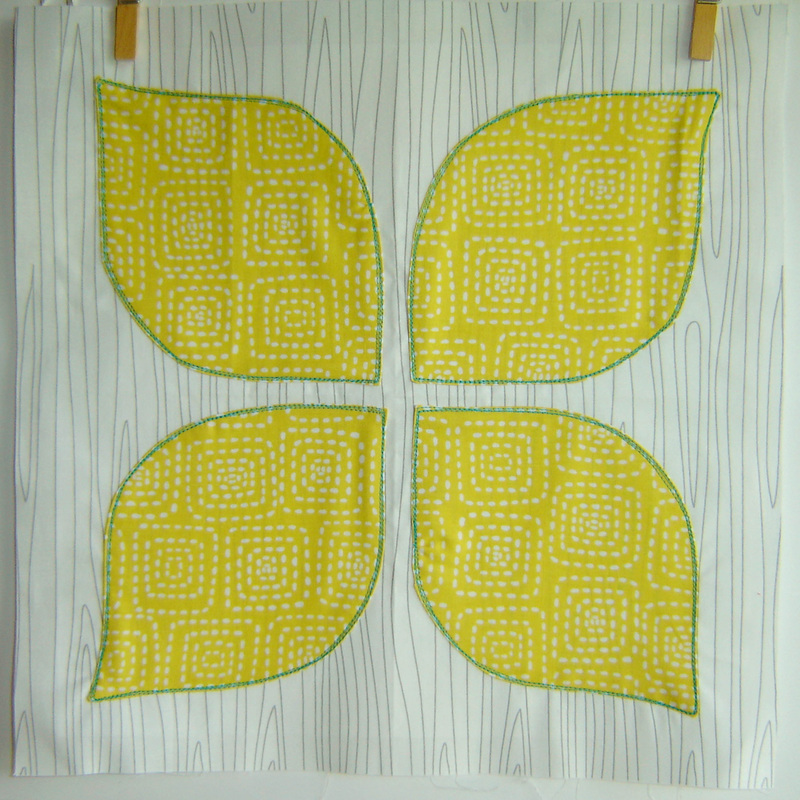
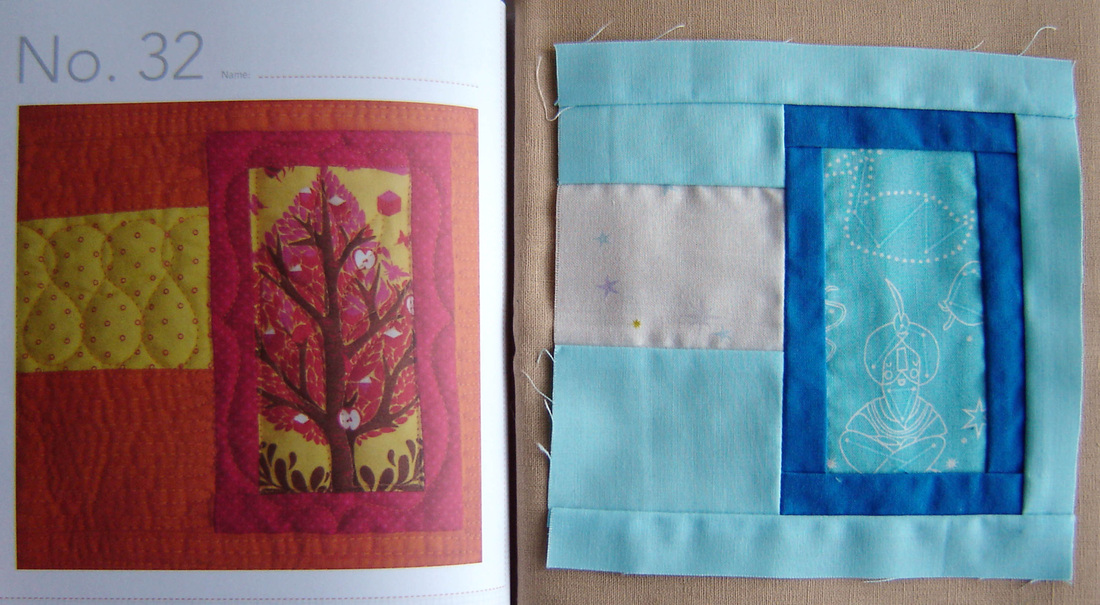
Block #48
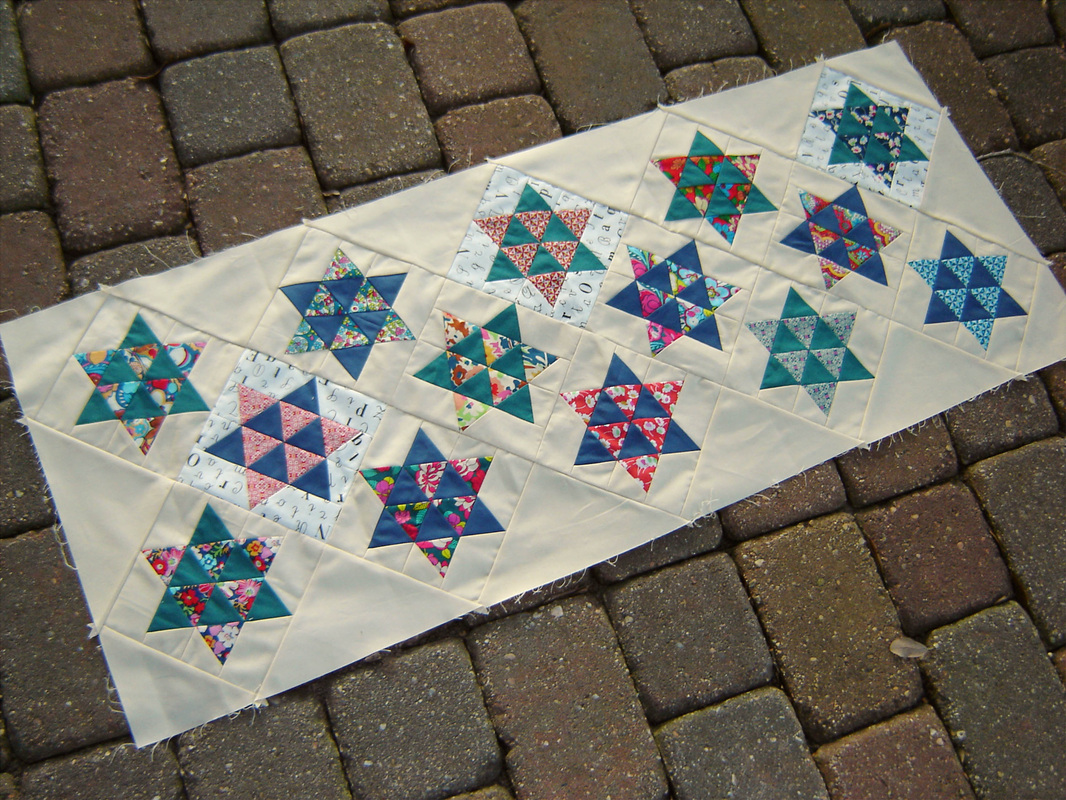
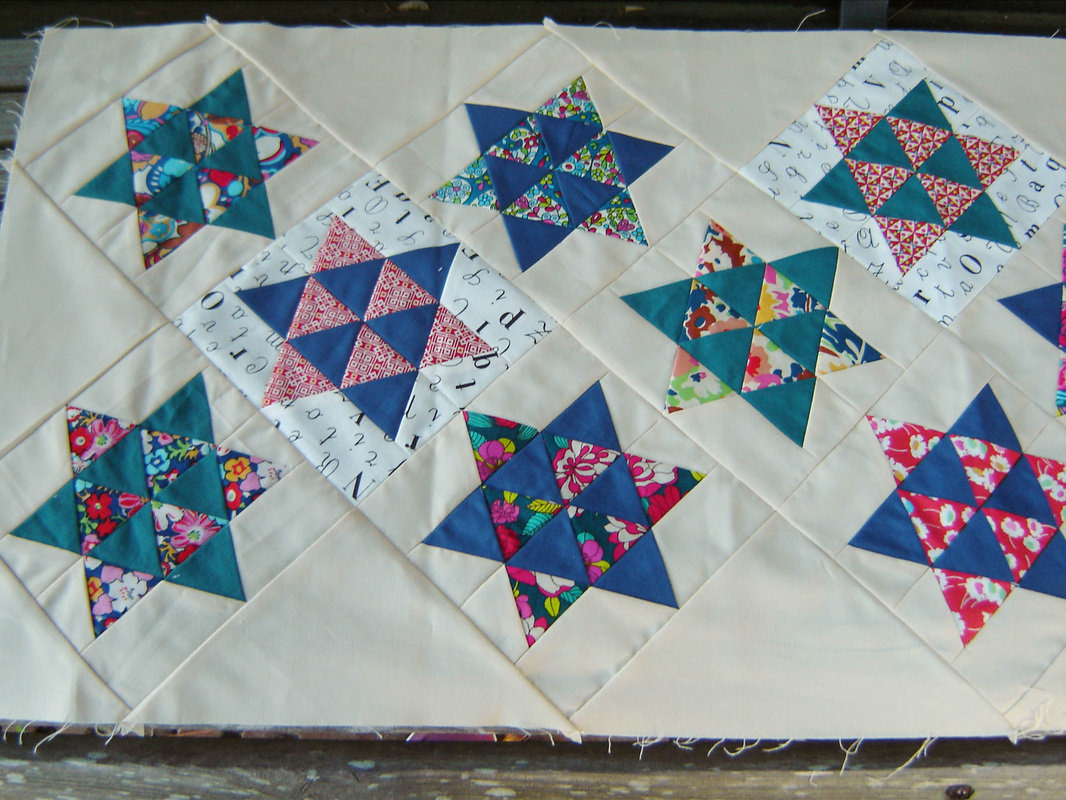
Wondering what all of this is about? Here are the details:
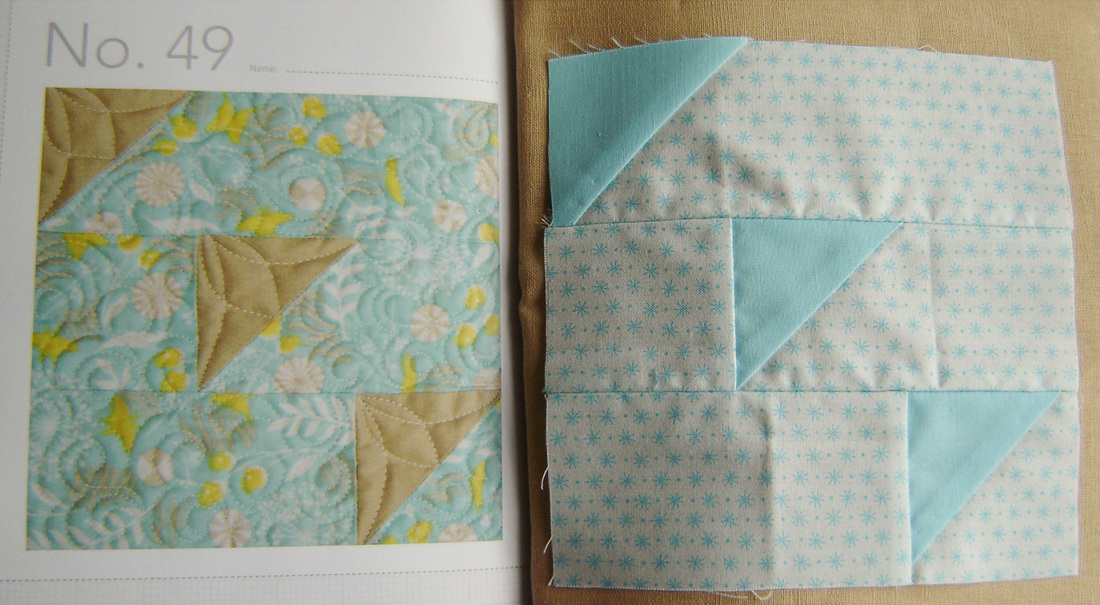
Book: City Sampler 100 Modern Quilt Blocks by Tula Pink
Quilt Along: Hosted by Sara over at Sew Sweetness
Flickr Group: http://www.flickr.com/groups/citysamplerquiltalong/
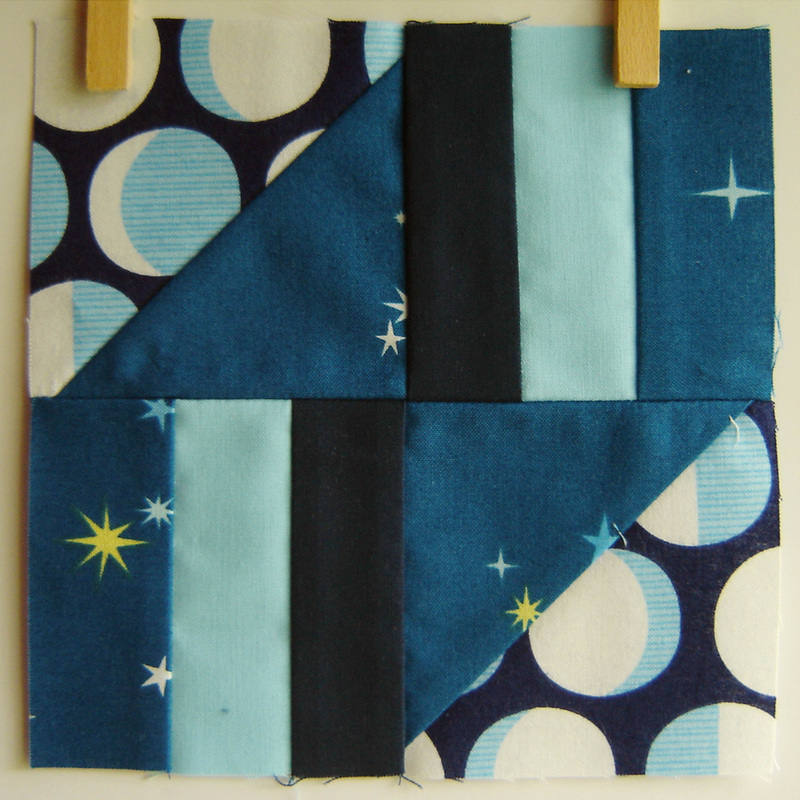
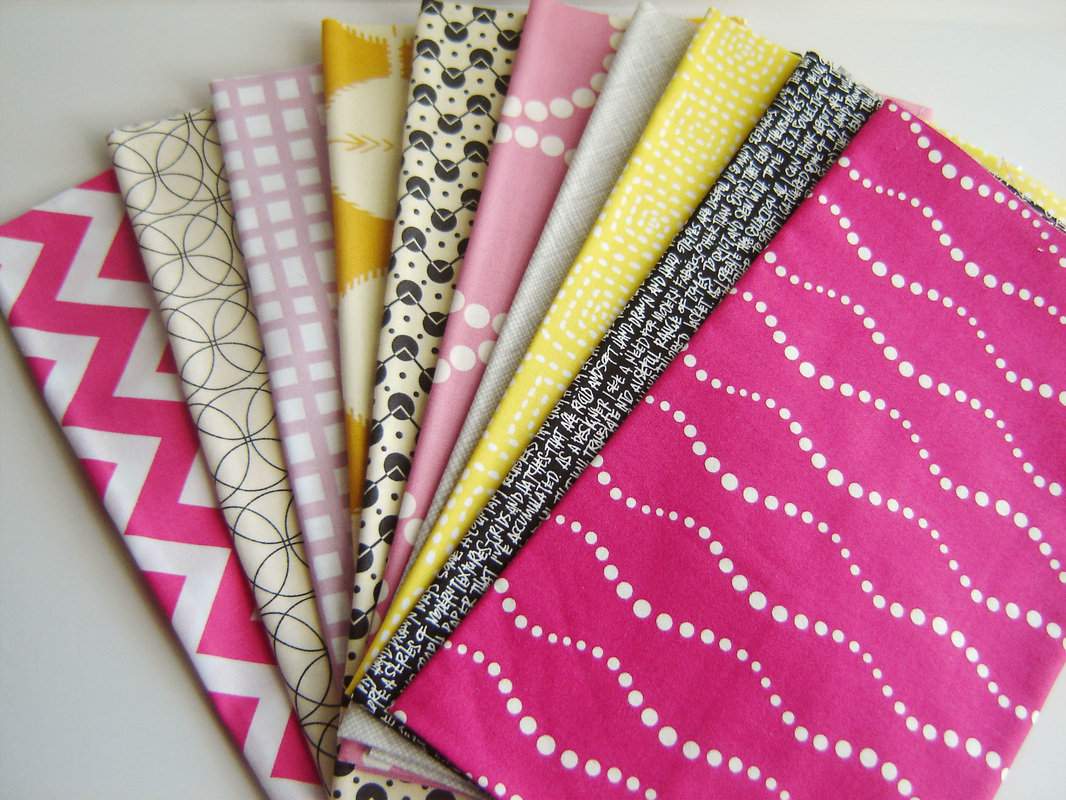
Blocks: 6.5" x 6.5" Featuring the fabric line Constellations by Lizzy House.
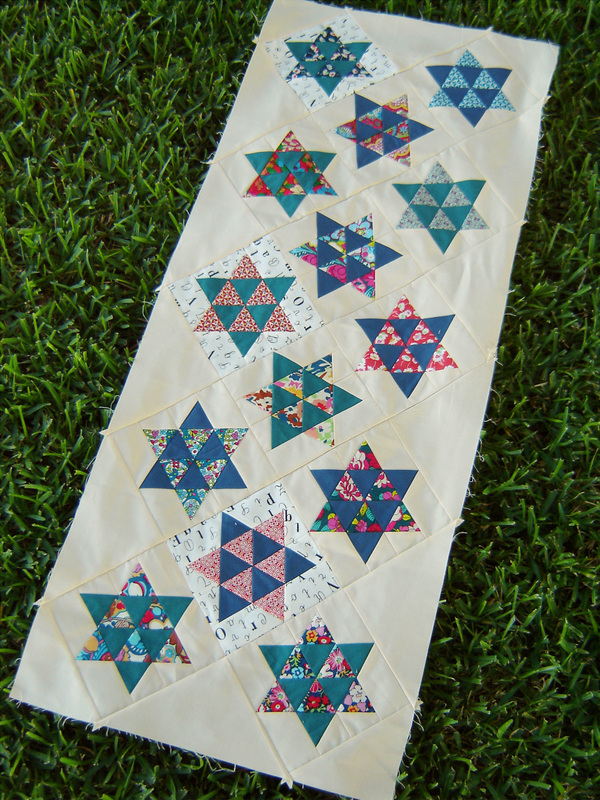
Book: City Sampler 100 Modern Quilt Blocks by Tula Pink
Quilt Along: Hosted by Sara over at Sew Sweetness
Flickr Group: http://www.flickr.com/groups/citysamplerquiltalong/
Blocks: 6.5" x 6.5" Featuring the fabric line Constellations by Lizzy House.


 RSS Feed
