I have a book review and project to show off today! I will start with the book, Beginner's Guide to Free-Motion Quilting by Natalia Bonner. Natalia machine quilted one of my quilts for me a few years back, you can see it HERE. When I heard that she was publishing a book about quilting on your home sewing machine, I was fascinated. I immediately read the book cover to cover, but didn't feel confident enough to really tackle any projects, so the book sat for a while.
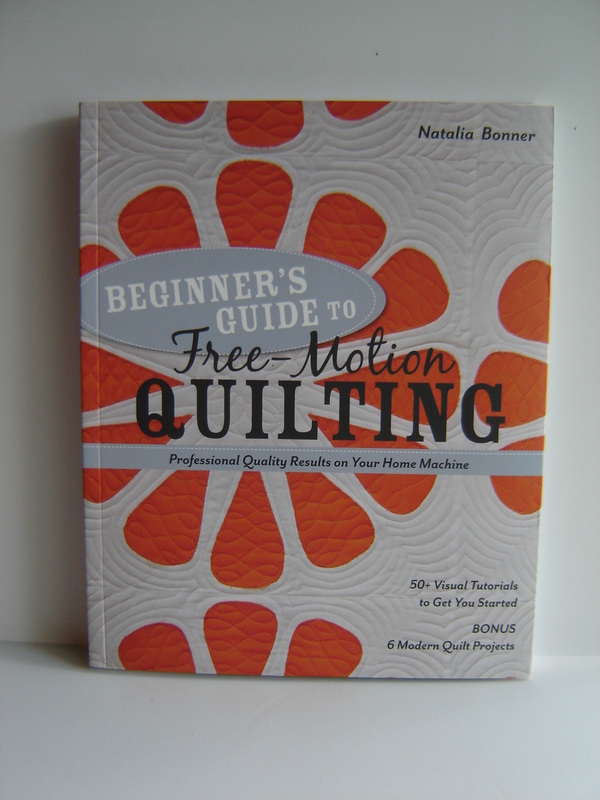
The book starts with the basics of quilting and how to set up your machine for free motion quilting. The first part of the book, the majority of it, are the patterns and techniques. The book goes over allover quilting, background fillers, borders and sashings, custom quilted blocks and finally quilting on applique. You can get a feel for how this part of the book is laid out by seeing my photo below. There are quilted examples, then drawn images to see how the technique is stitched and written instruction. It makes it all so clear and simple to understand. The second section of the book is six original quilt patterns by Natalia Bonner, this is a neat addition to the book. Lastly the book ends with stencils or the quilting patterns full scale. If you don't feel confident enough to draw the stitches free hand, you can use these pages as stencils, and trace the patterns onto your quilt first with a washable marker, Hera marker or whatever your favorite method it. This section is nice to see the actual scale of these patterns. The book is a really good reference book in regards to looking up patterns and getting ideas of how you can quilt your quilts, it certainly has come in handy for me!
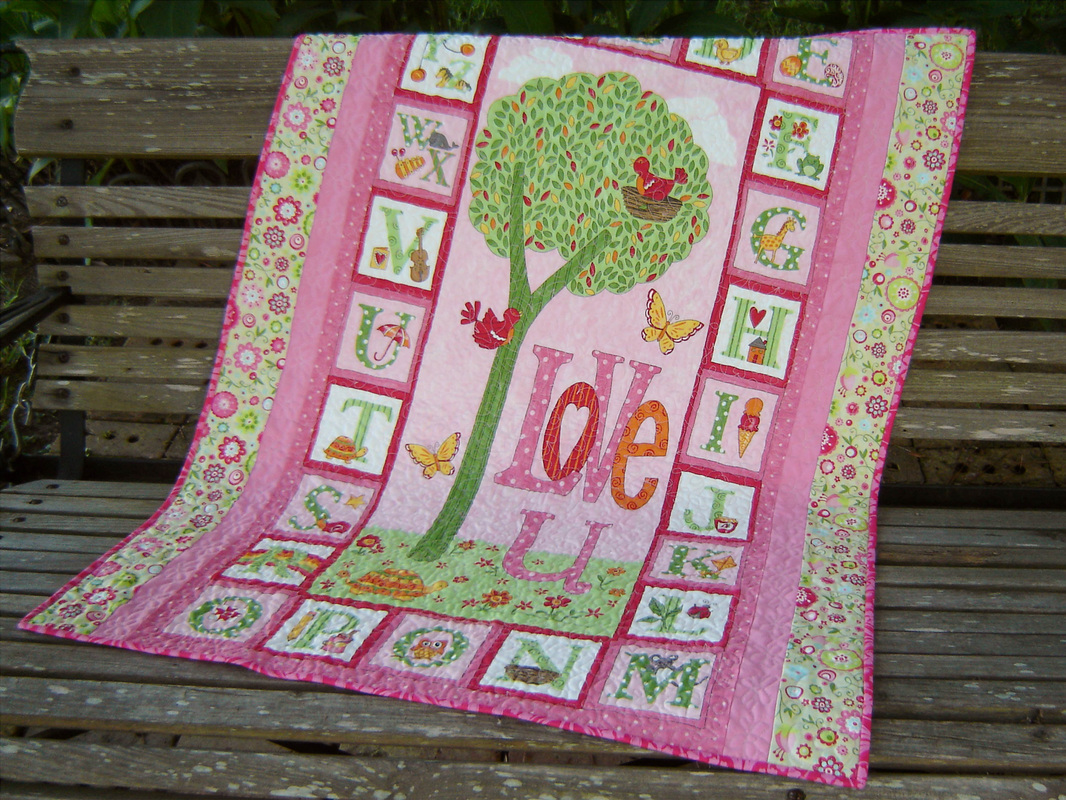
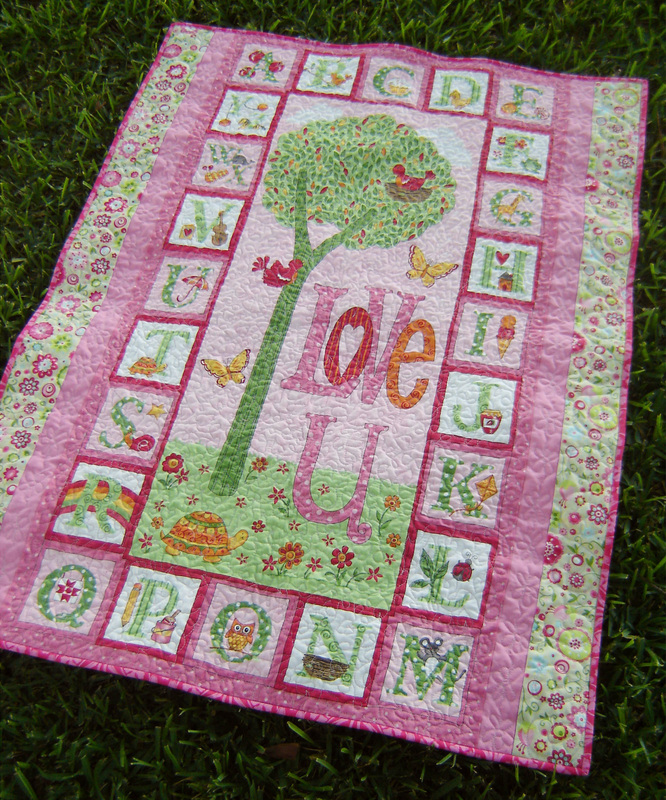
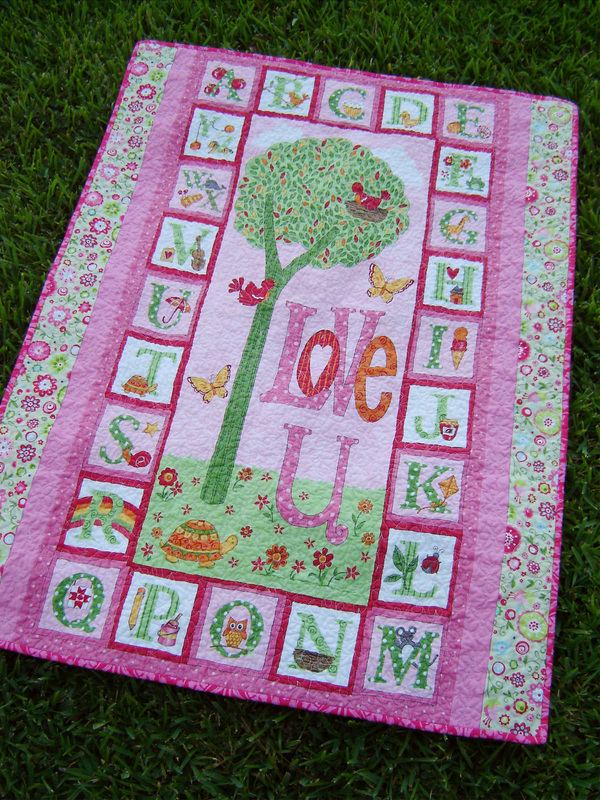
OK, now on to my project, fast forward to the middle of this summer when I realized that my niece's birthday was approaching quickly (beginning of September) and I had this fabric panel that I was wanting to turn into a quilt for her. The panel is by Deb Strain and from the Luv U collection of fabrics and I had purchased it quite a while back, knowing that eventually would make a quilt for my niece. After deciding to go ahead and use the panel, I just added two simple pink strips of fabric to each side and then a pretty Riley Blake floral print on either side of that. I just wanted to make the quilt a tad bit wider, but not any longer, the panel was the right length (42".) Once the top was done, I had a solid piece for the backing, so I basted it together with safety pins and then had to decide how to quilt it.
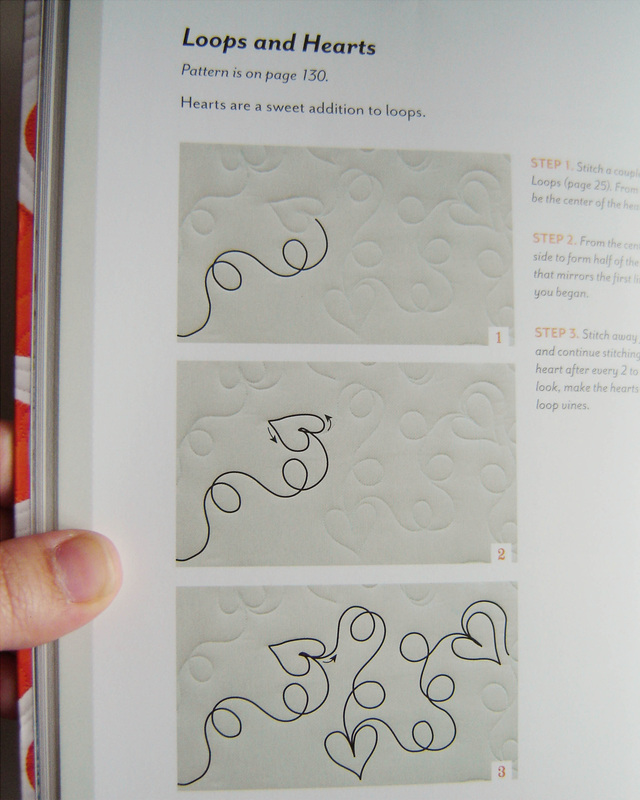
Page 30 from the book, "Beginner's Guide to Free-Motion Quilting" by Natalia Bonner
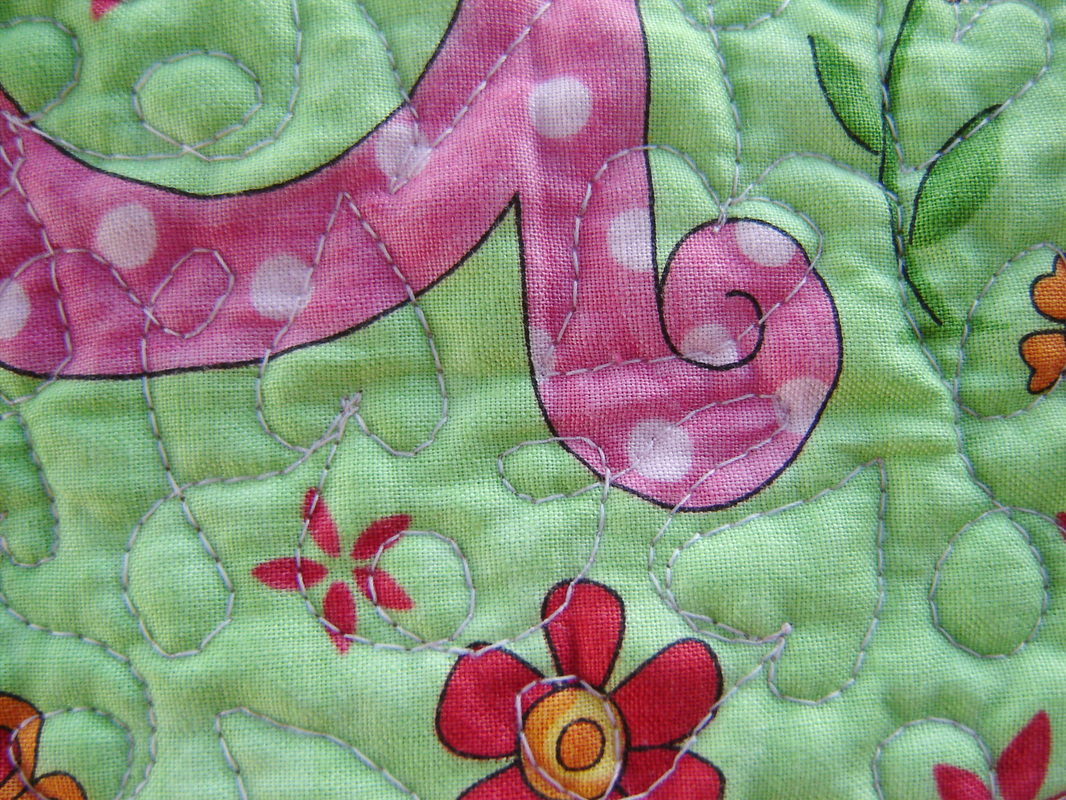
This is the point that the book comes into play. At first I thought I would hand quilt it, but couldn't decide on a good pattern. I also had a problem to work around. The panel was printed slightly off-grain, so instead of being straight up and down, it had a good lean to it, like the top went to the left and the bottom went to the right, so I really wanted to try and quilt it in such a way to shift it back to straight, or at least to visually look straight. I wanted to stretch myself and do something other than just a normal plain stipple. I pulled out the book and started looking through the patterns. Once I stumbled upon the the "Loops and Hearts" pattern found on page 30 (see above photo,) I knew it was the perfect pattern, and a great learning pattern, because honestly the only free motion quilting I have done so far was the basic stipple and I felt ready to broaden my horizons.
I set up my machine, loaded some light pink quilting cotton thread, and just went for it. Since I was trying to shift the quilt back to straight, rather than a lean, I started quilting on the panel in the upper left hand corner, then continued quilting diagonally all the way to the bottom right hand corner. Once I had the feel for the pattern, I was on a roll. After I had this section quilted, I then just had to fill in the upper right corner and the lower left corner. Honestly, it didn't turn out perfect in spots (far from it,) but once I got the hang of it, I had some really nice sweet spots, see the photo below to see the pattern up close. All in all it took me around 2 hours to quilt the entire panel section, and I was pleased as punch with the results.
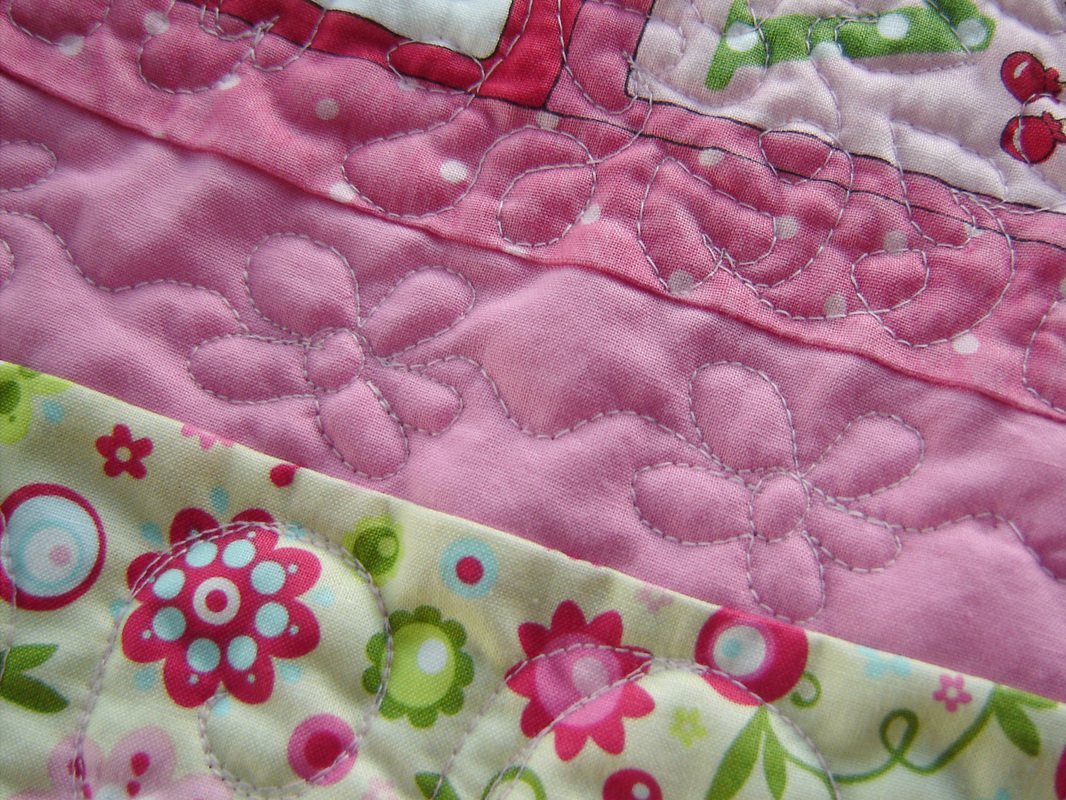
Once the panel was quilted, I then had to decide how to quilt the side borders, so I turned back to the book. After looking through it for a while, I decided to dive in and try the "Poppies" pattern found on page 70. You can see my flowers below, I was also pleased as punch with these results too. Yes, they aren't perfect, but what flowers are? So I did a line of Poppies on either side of the panel in the light pink strips. Eek...I'm drawing with my sewing machine and thread, how cool is that!!!
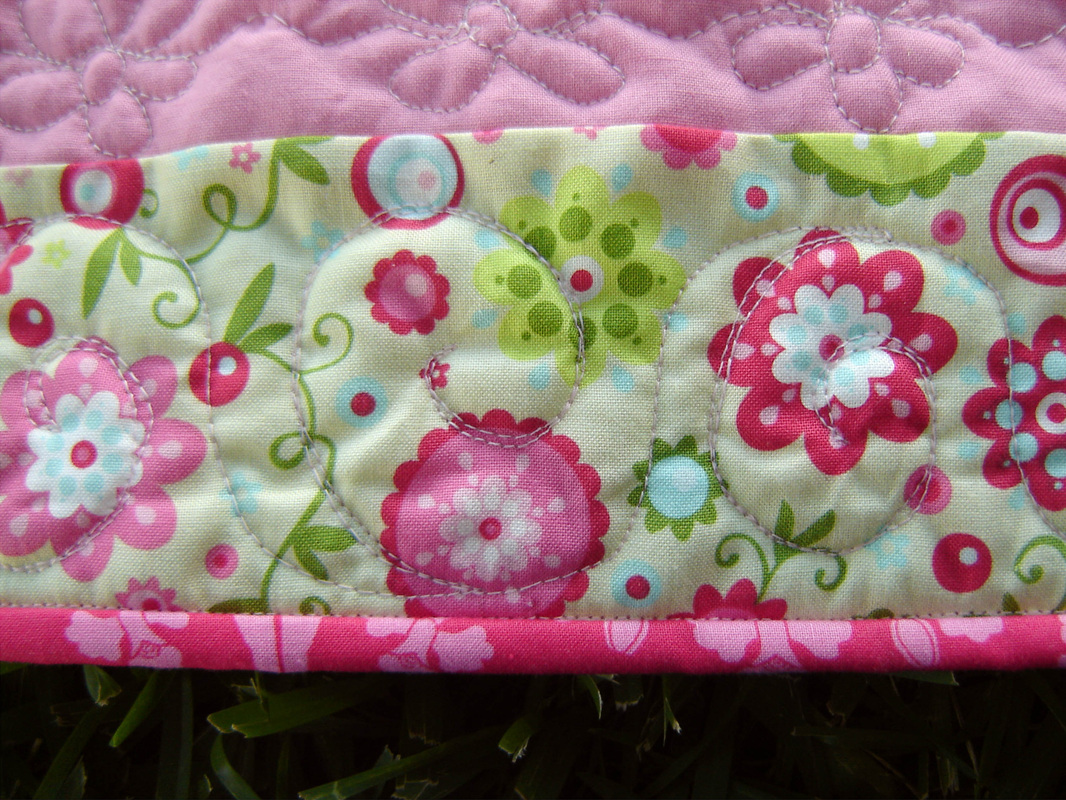
One set of borders to go, so once again I consulted the book and decided on "Swirls" found on page 66. I actually found this pattern to be the most difficult for me, it was a larger pattern and I struggled to get "even and smooth" circles, but on a whole, I think it turned out fine and was a great learning experience! You can see my less than perfect results below, but heck, this quilt is for a five year old, I don't think she will mind.
Once the quilting was done, all I had to do was bind it and add fabric hoops for wall hanging. I added four fabric hoops to the very top of the quilt, just in case this became a wall quilt vs. one that was actually used. I used some Patty Young Sanctuary fabric for the binding, such a pretty bright pink. I also used my new favorite way to bind a quilt, totally by machine! I found out about this technique through Leanne at She Can Quilt. She used this method on her Octagonal Orb Quilt, and mentioned that she learned about the technique from Marianne at The Quilting Edge. You can find out the details of this technique HERE. My corners turned out fairly well and I didn't have to unpick any section of the binding, it works like a charm and is SO QUICK compared to hand sewing the binding. I'm in love!

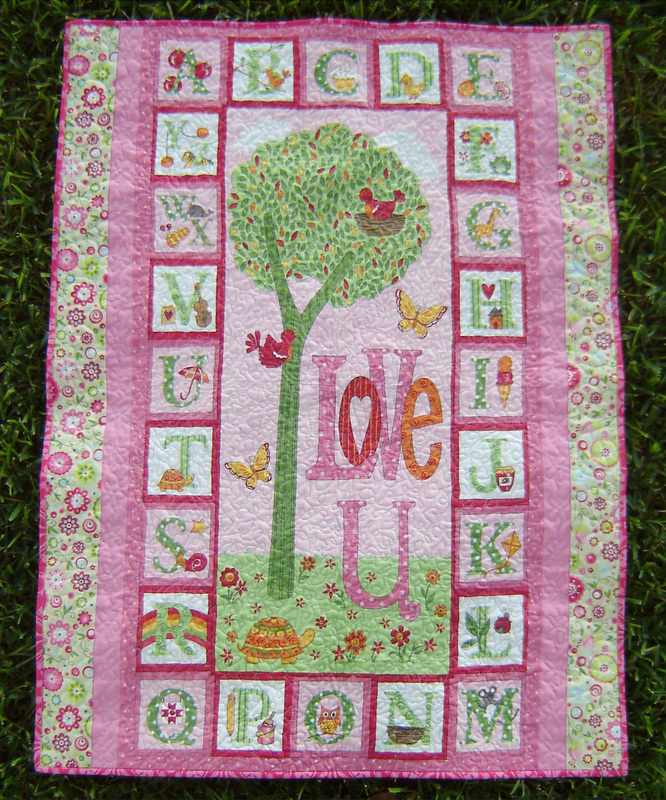
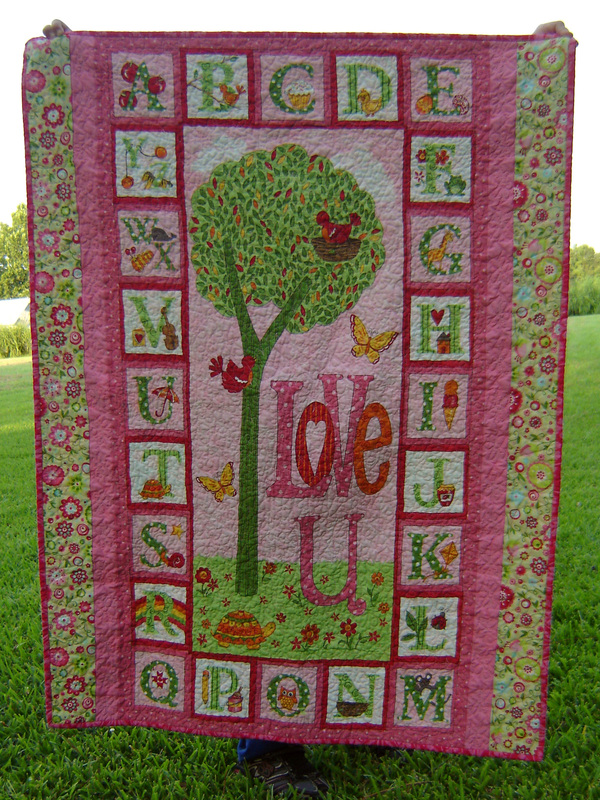
So I know you were wondering if I was able to straighten out the panel with my quilting so that it wouldn't be too wonky. Well I am pleased to say that I was successful. The two photos below are my proof. The photo to the left is what the quilt look liked after quilting and binding. The panel was fairly straight, but the edges of the quilt are pretty darn wavy, a.k.a. it did NOT lay flat. But....after machine washing....all flat and perfectly smooth, as seen in the photo to the right! I was thrilled that since the quilting was fairly dense, the texture didn't change after washing, but since it shrank incrementally, it just smoothed out so nicely.
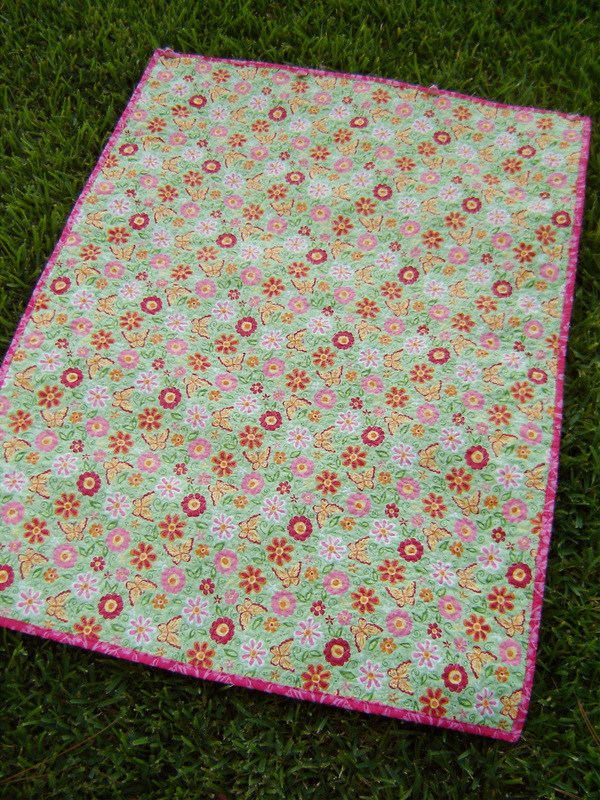
Here is a photo of the back, washed and ready to gift! I washed it on a normal cycle, with one color catcher, but apparently didn't need it because none of the colors bled, and the color catcher was white when the cycle was over. I threw it in the dryer, normal cycle and it dried so nice and soft. I used a poly/cotton blend batting that was pieced from two smaller pieces to make a whole and you can not see the pieced line at all, even when you hold up the quilt to light.
Once washed, I had my five year old help me hold it up, he reluctantly agreed and was just tall enough! I am happy to say that this quilt has been gifted to my niece and she loved it. I don't think it will make it to the wall, but will be a much loved and played with blanket. I couldn't be more thrilled with that, because isn't that what quilts are for?


 RSS Feed
