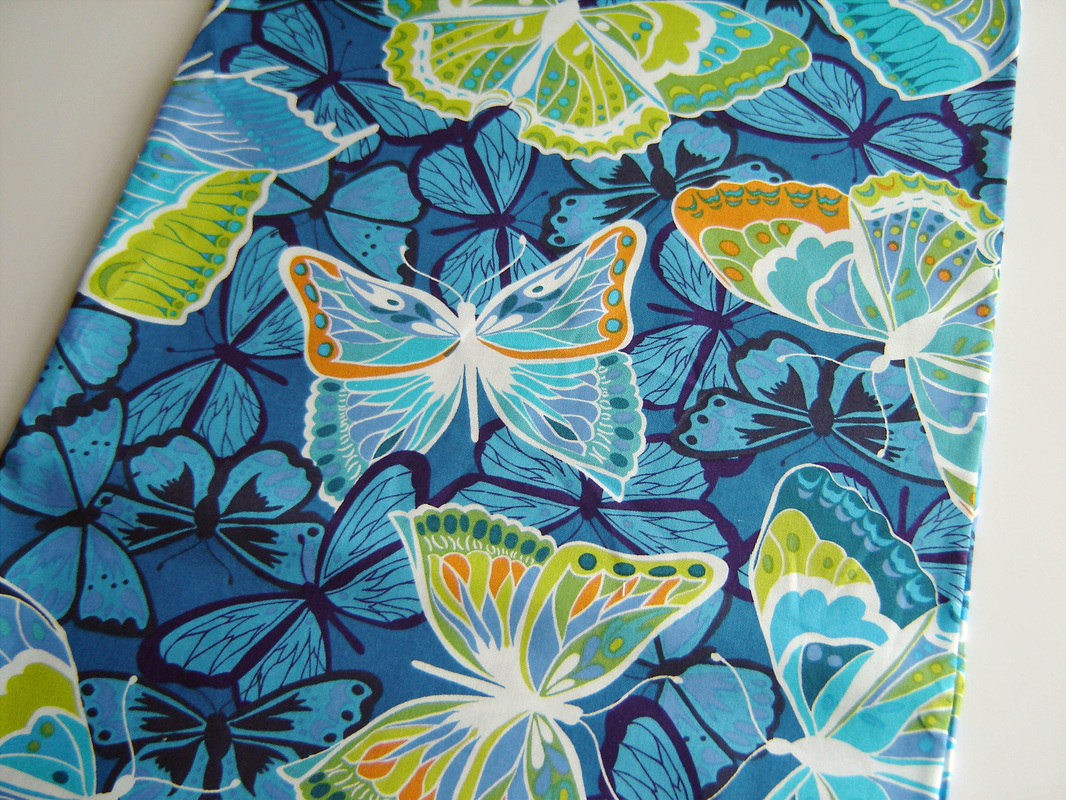
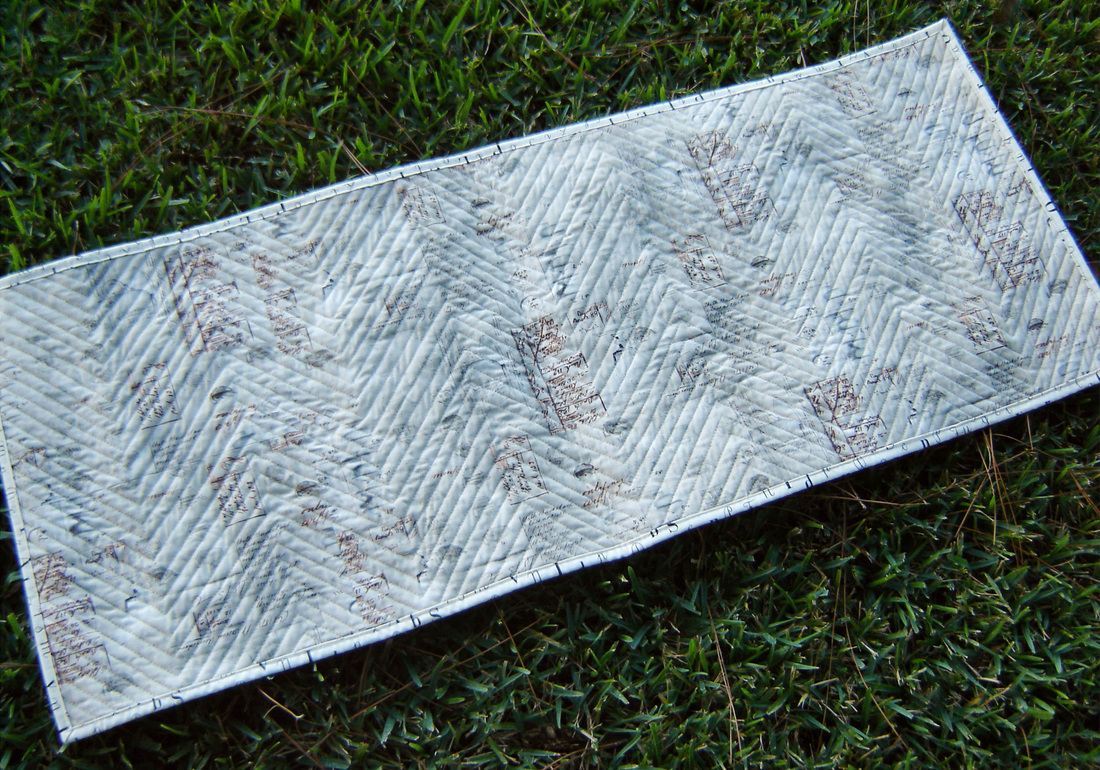
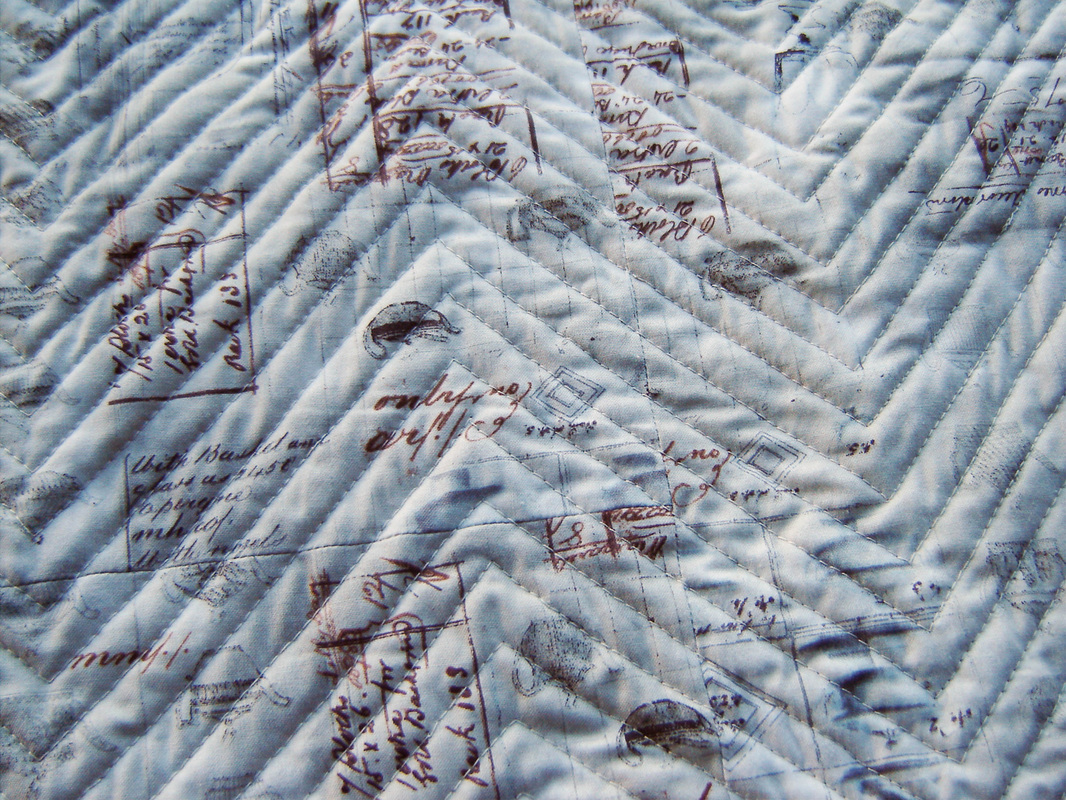
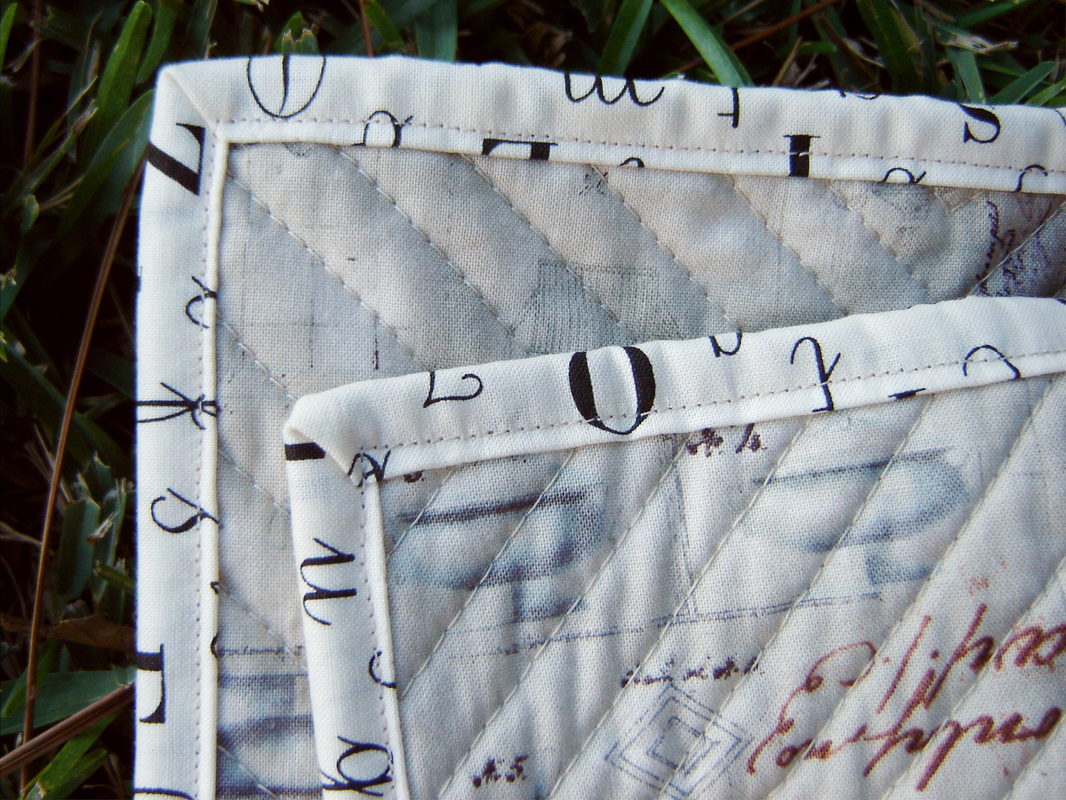
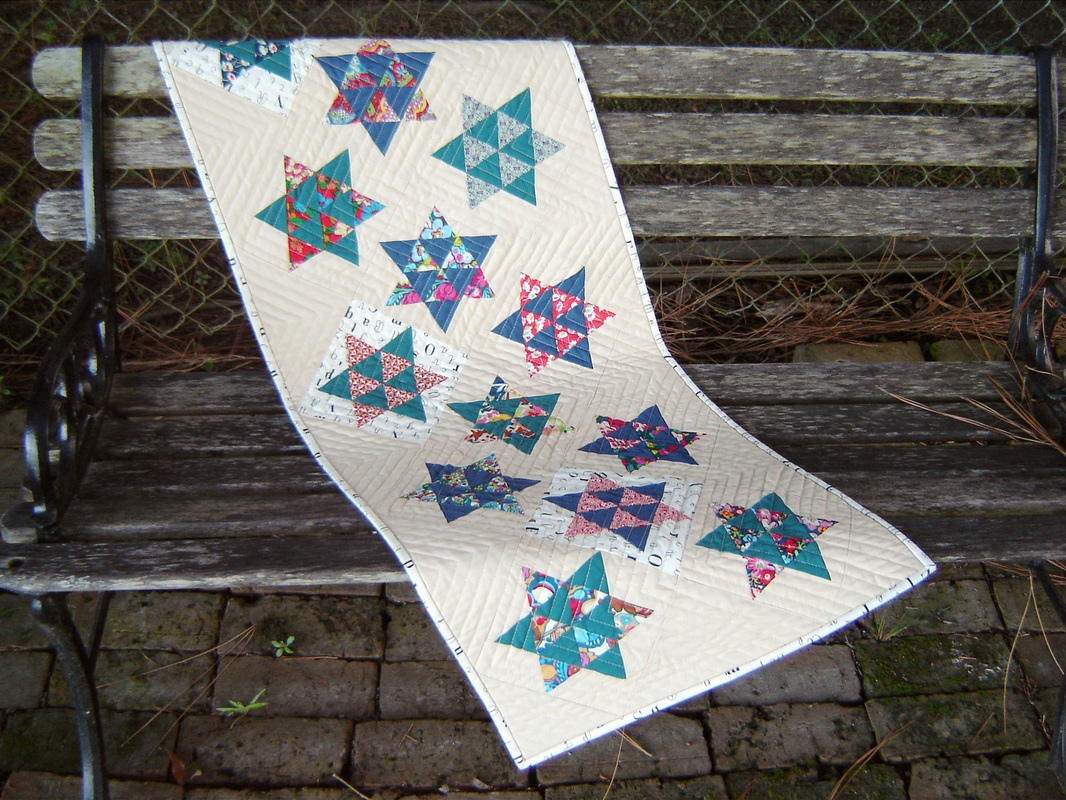
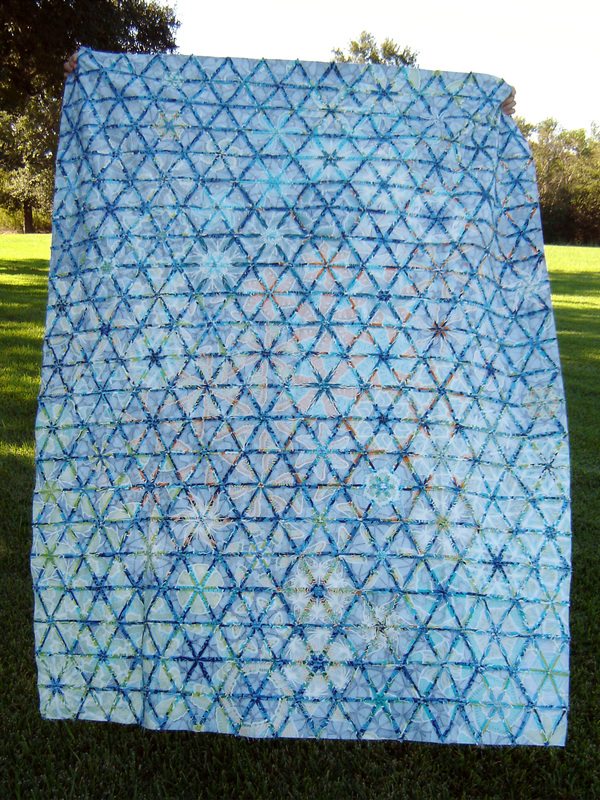
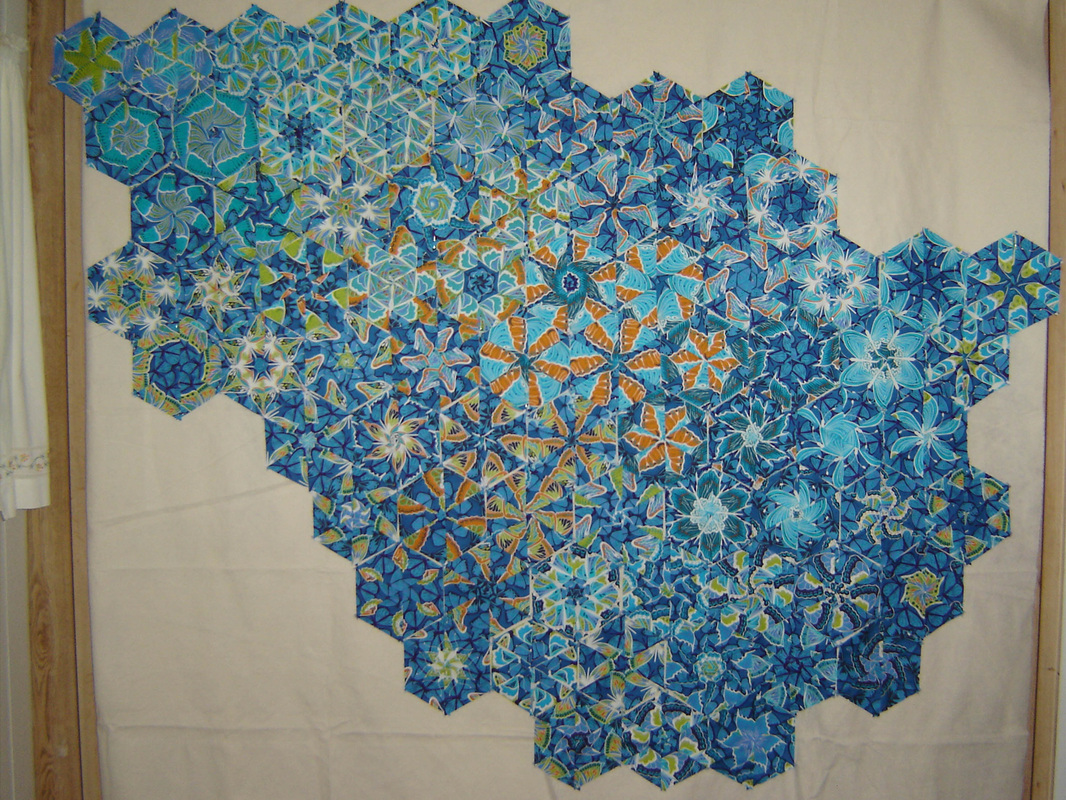
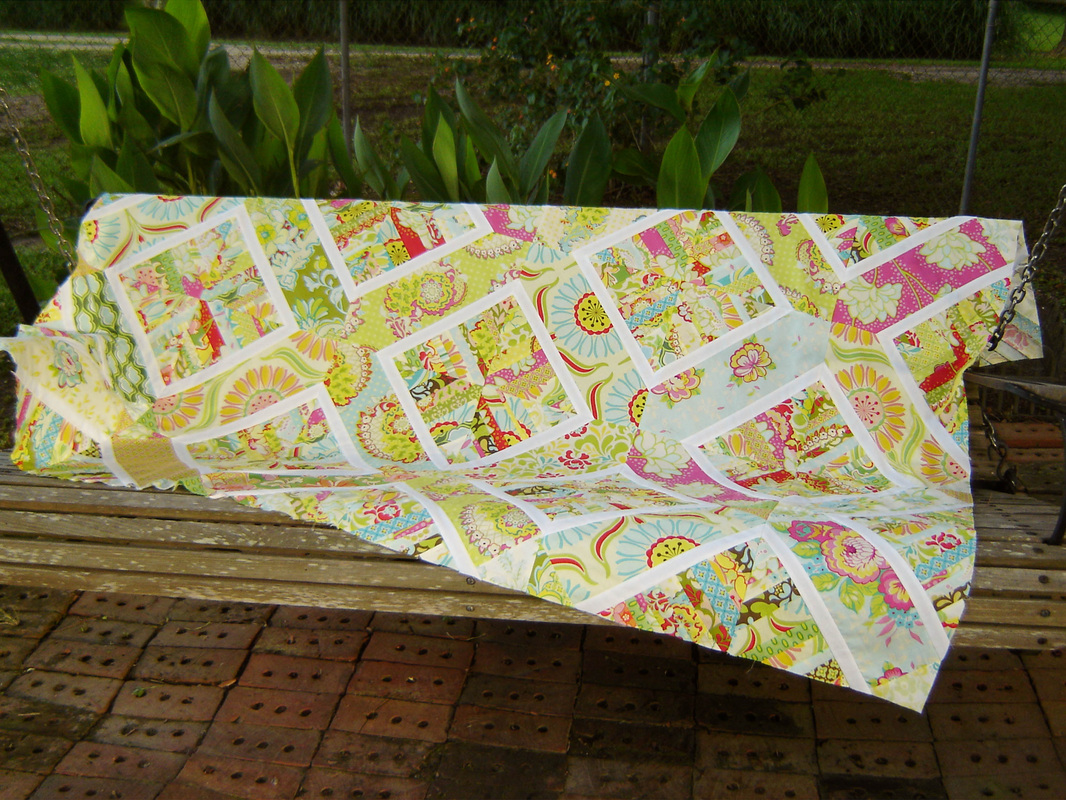
It all started with a single cut of fabric, 5 yards to be exact. It was cut, lined up, cut up some more and then pieced together. A whole lot of 60 degree triangles, actually 684 triangles. Stitched into 114 hexagon blocks. They were then stuck onto a design wall, admired for a bit, then sewn into rows, 22 rows. Then those 22 rows were sewn together, and TA DA! I have a quilt top, one I am so happy with! 
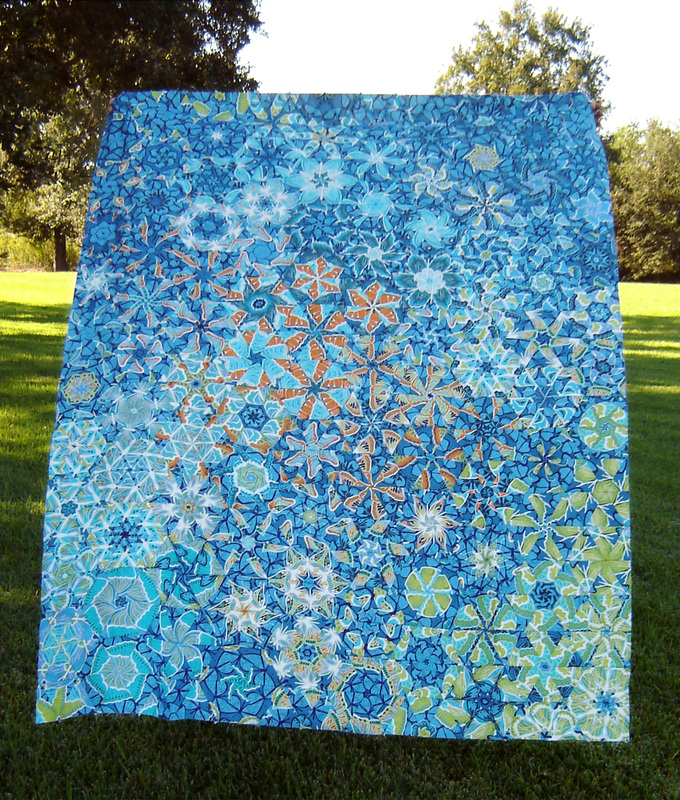
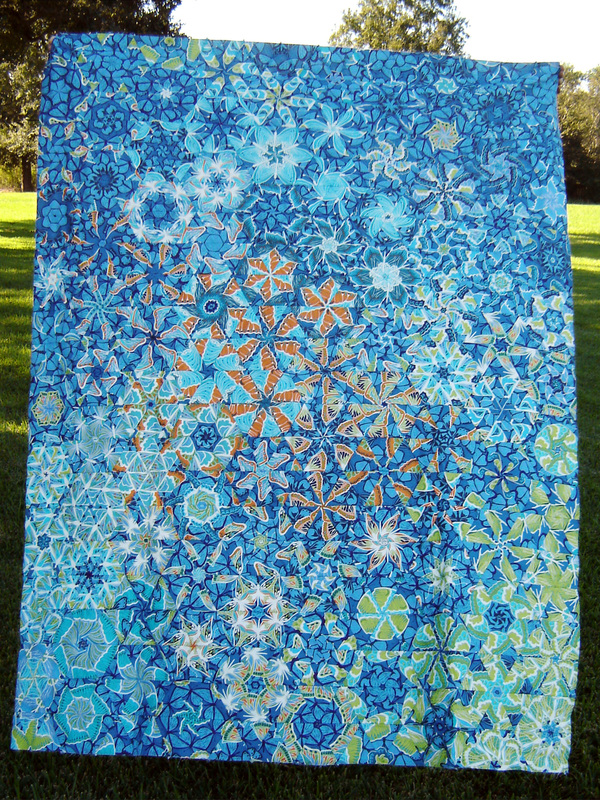
My mom helped me take photos this weekend. The wind was blowing, thus the "action shots," but you get the idea. I oriented the quilt this way on purpose. I imagine the top is the sky, slowly fading into the colors of the land, since the bottom half is more color heavy. I love how you can't really see butterflies and only color and some really great movement. The top measures 53" x 67," much bigger than I originally anticipated, but with a pattern like this you don't really know what your finished size will be, it all depends on how many of those hexagon blocks that you use. I was able to use all of them, yep all 114. It just worked out right, easily too, they just fell into place and the math just worked out. I was pleasantly pleased not to have any left overs and I get to admire every single block that I created. 
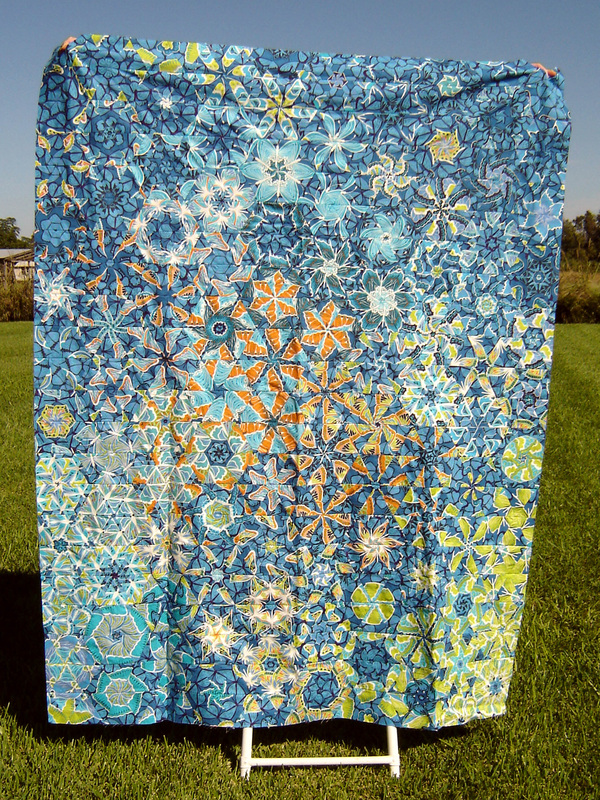
The photo above is REALLY what the quilt looks like, in full sun, wrinkles and all. BUT, it really shows the TRUE colors the best, thus this is why I included the photo in the post. The colors are really rich and vibrant. So pretty. The other photos were taken in the shade, which explains the fact that the wrinkles just fade away and it looks perfectly flat and awesome, but the colors are just ever so dull compared to the photo above. Just being honest! I had to include the back shot. Just look at all those seams, all those triangles. It looks really neat like this. It isn't that neat in real life, but it sure looks it here. I love it! This quilt top is my entry into the One Block Wonder Quilt Along hosted by Jen at Quilter in the Closet. Thank you Jen for introducing me to such a cool technique and hosting such a great quilt along!
20 Comments
Last quarter of the year! WHAT? I'm doing it up HUGE! My list is huge, my goals are huge and going to try so hard to get these projects done! Oh and please excuse some of the poor quality photos, they are works in progress and the photos were taken in substandard conditions! HA! Here is my list in order of how I would like/need to get them finished: 1. Emerald Cut Quilt - This one has been quilted and the binding is sewn on, I just need to hand sew the binding closed. I almost finished this one for the third quarter, but didn't quite make it. Will wrap this one up soon. 2. Solar System Quilt - I put this panel quilt together early last month and basted it. I plan to hand quilt this one with pearl cotton. This one is a Christmas present, so I need to get cracking! 3. One Block Wonder Quilt - Here it is on the design wall. Since this shot, I have sewn it into rows, and it now awaits me to sew the rows together. Once the rows are together I will add a border or two. Then I just have to baste and quilt. 4. Open Wide Zipper Pouches - Early last month I whipped up these patchwork panels and plan to turn them into two Open Wide Zippered Pouches (pattern by Noodlehead.) These need to be finished before Christmas also! 5. Modified Rebecca Bag - My mom has requested a purse after seeing my Rebecca Bag that I made for Craft Book Month. It is cut out and awaiting me to buy a zipper and then whip it up! 6. Mango Quilt Block - Plan to turn this into a mini quilt of some sort. Interested in making your own? Find the tutorial over at A Quilter's Table HERE. 7. Dogwood Blossom Quilt - I think I have 12 of the 20 blocks finished. Eight more blocks then piece the top into a twin sized quilt. I also have to figure out the backing of this one. 8. Christmas Strings Quilt - I actually hope to work on this one during the holidays, I just can't seem to get motivated to work on a Christmas Quilt during other points in the year. I have a good idea of how I want to piece this quilt top and am excited to work on it in December. This will be a lap quilt. 9. Latticework Quilt - I took the time to baste this one about a month ago. It sits waiting for me to quilt it! 10. Sister's Ten Quilt - I have been following along with this year long quilt along, but just haven't shown off many of the blocks. I have 6 more blocks to construct (fabric is already cut) and then to assemble the quilt top! I think this one will be king sized, so I may have to send it off to be quilted. 11. Autumn Sampler Cross Stitch - Started this one kinda randomly last week, wanting an evening and car ride project. I am almost finished with this one block, only 24 more to go! Since we don't have much "fall" in Louisiana, I don't mind working on this through the winter, the temps will finally be fall like then! 12. City Sampler Quilt - Why not go crazy and say that I will finish up my City Sampler Quilt! I have roughly 30 blocks left to make and then to assemble the top, and of course quilt it. The odds of this, the last project on my list getting done is pretty crazy, but hey why not dream big! There it was, my big crazy 12 project list. Honestly, if I get around 5 done, I'll be happy with that. This will be the last to-do list of the year, and I have to thank Leanne for hosting the Finish-A-Long this year and motivating so many of us to get those projects finished!
Happily leaving the "triangles" chapter behind and moving onto "stripes." Much easier, much more enjoyable. These are the blocks for last week and this week. I really like block #59, don't really like block #60. There is probably one in every bunch that I like a lot, and one that I don't, I'm sure just the nature of the beast. Running low on the blue solids for this quilt, so it will be time to do some shopping soon! That is always fun! Have a good weekend folks! Wondering what all of this is about? Here are the details:
Book: City Sampler 100 Modern Quilt Blocks by Tula Pink Quilt Along: Hosted by Sara over at Sew Sweetness Flickr Group: http://www.flickr.com/groups/citysamplerquiltalong/ Blocks: 6.5" x 6.5" Featuring the fabric line Constellations by Lizzy House. I am proud of this one, a rather simple design, where I find I tend to make things ever so complicated and have a hard time with just letting a simple design stand on its own. That is what this one is, a simple design, featuring a collection of sweet gender neutral baby fabrics, Critter Patch designed by Alyssa Thomas. This virtual quilt is 45" x 45", features an 8" block, a skinny 1/2" solid border and then a 2" border around the whole thing the finish it up I designed this quilt using the Quilt Design Tool found at Threadbias. Every contest they have held so far, I have entered, this being the third one. I just love playing around with the design tool and creating these virtual quilts.
Voting is now open to anyone with a Threadbias (free) account. So...if you have an account, I would love for you to take a minute, hop over and have a look at the entries, I believe there are around 30. If you should feel inclined I will shamelessly ask for you to vote for mine! Or...whichever one you like best! You can find the entries and more information HERE, just be sure to click on the green button that says "View Entries" and it will take you to all the gorgeous baby quilts. There really are some clever designs. Voting is open until next Monday, October 14th. A finish! Actually I have had this one done for a bit, just waiting on the opportunity to get decent photos of it and yesterday was the day! This table runner was started as part of the Dancing Stars Quilt Along hosted by Amy at Amy's Creative Side. All the fabrics were from my stash, the stars were part of a Liberty charm swap I participated in last year and the blue and green solids were scraps from my stash, and boy did I have just enough scraps to make the required amount of stars. All of the stars were paper pieced and I decided to have three of them with the text background, just for a bit of variety. I also used that same print for the binding, sorry I don't know what that print is, but I do love it. Once the top was put together, I basted it with pins, used a piece of scrap batting and I had a yard of another text print for the backing. Then I had to decide on how to quilt this one. There is sat for quite some time, which usually happens with me, I get stumped on the quilting process. Then it came to me, a chevron pattern! So using the block layout as the basis for the scale of the chevron, I started quilting the design 1" apart. I hated it. I kept going in hopes that it would grow on me, and it didn't. I felt like the spacing and where the lines fell on the blocks looked horrible and like a mistake. So now what? Rip it all out, live with it? Ughhh... After some consideration, and really not wanting to unpick all those stitches, I decided to go back and quilt in between each line, thus making the quilted lines 1/2" apart. Yeah! This did the trick, all those flaws seemed to disappear, the texture was great and the pattern was oh so much clearer. I was thrilled that it worked out and you can see the pattern plain as day on the back of this table runner, see below. The piece of fabric I used for the backing wasn't quite the right length, so I had to piece it, so technically there are two seams below, can you find them? I think the seams blend in so well, the print and the quilting just hide the seams so perfectly, you really have to look for them. I used my new favorite technique, machine stitched binding. Oh so fast and oh so neat and tidy. My corners turned out pretty well, or at least good enough for me and I didn't have to redo any parts of it. This technique works so well for me and if you are curious about the technique yourself, you can find out how, HERE. This project was on my Third Quarter Finish Along list (hosted by Leanne at She Can Quilt.) I am happy to say that I finished it and now it is ready to gift. The only problem is, whom to gift it to?
|
Marci GirlA feisty mom designing, sewing and blogging her way through everyday life!
|