|
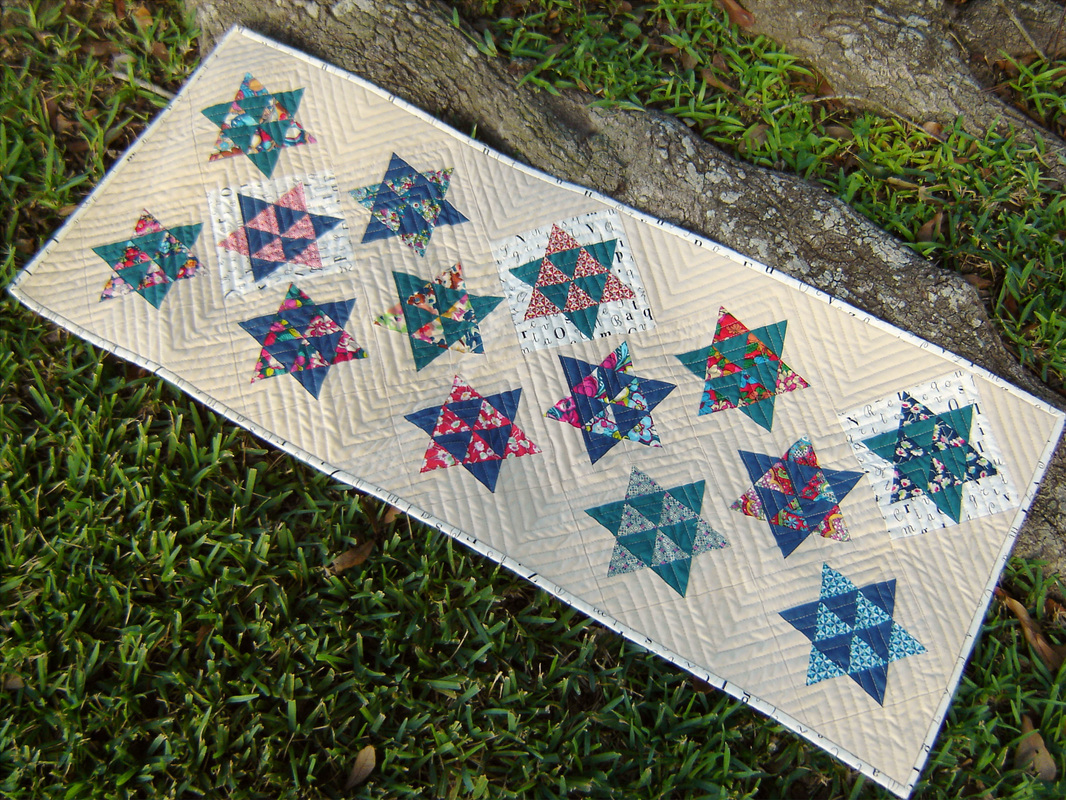
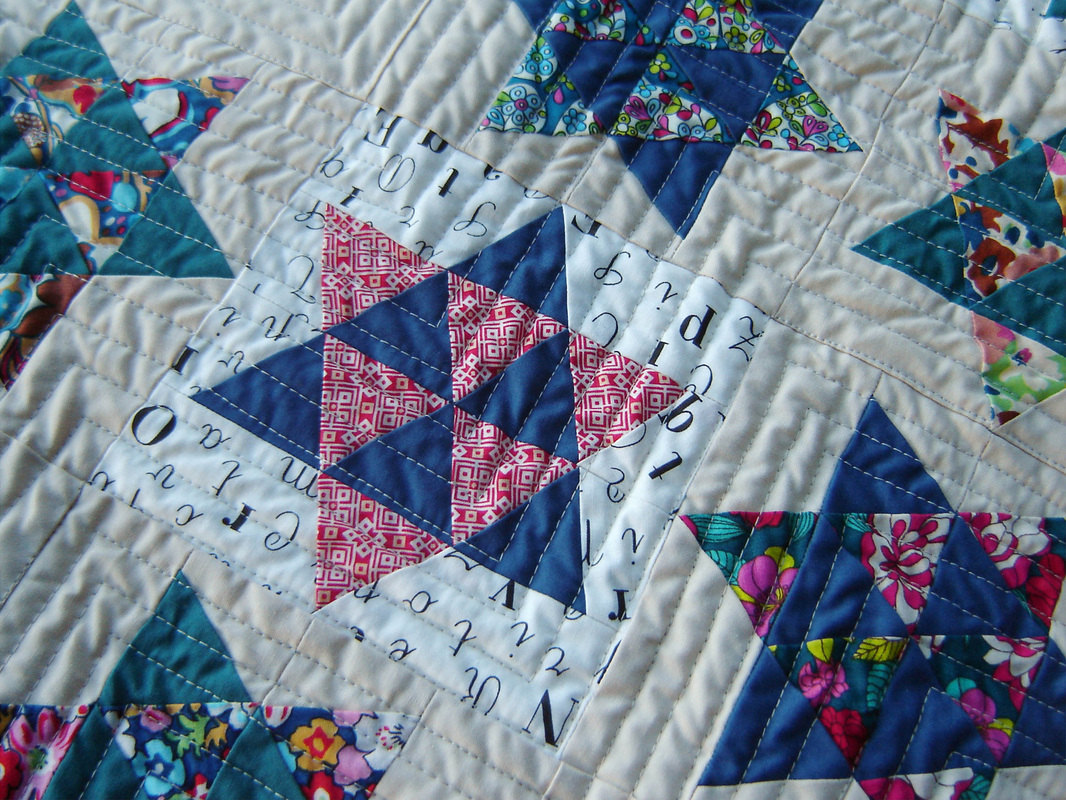
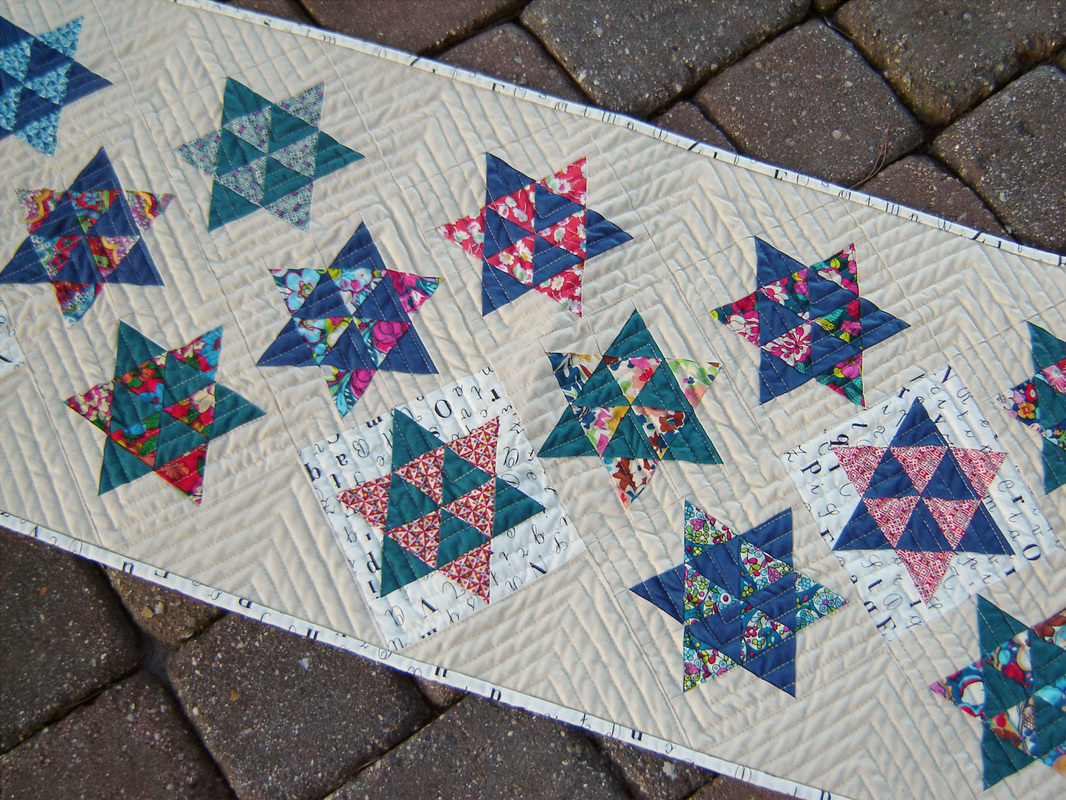
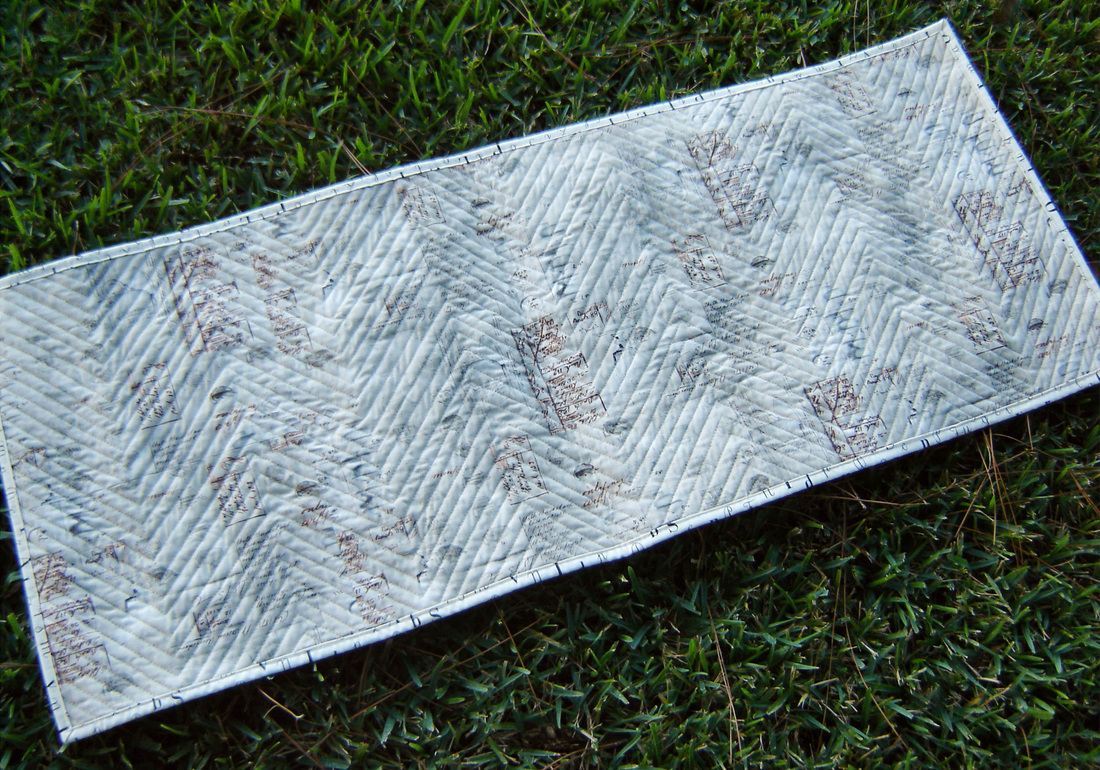
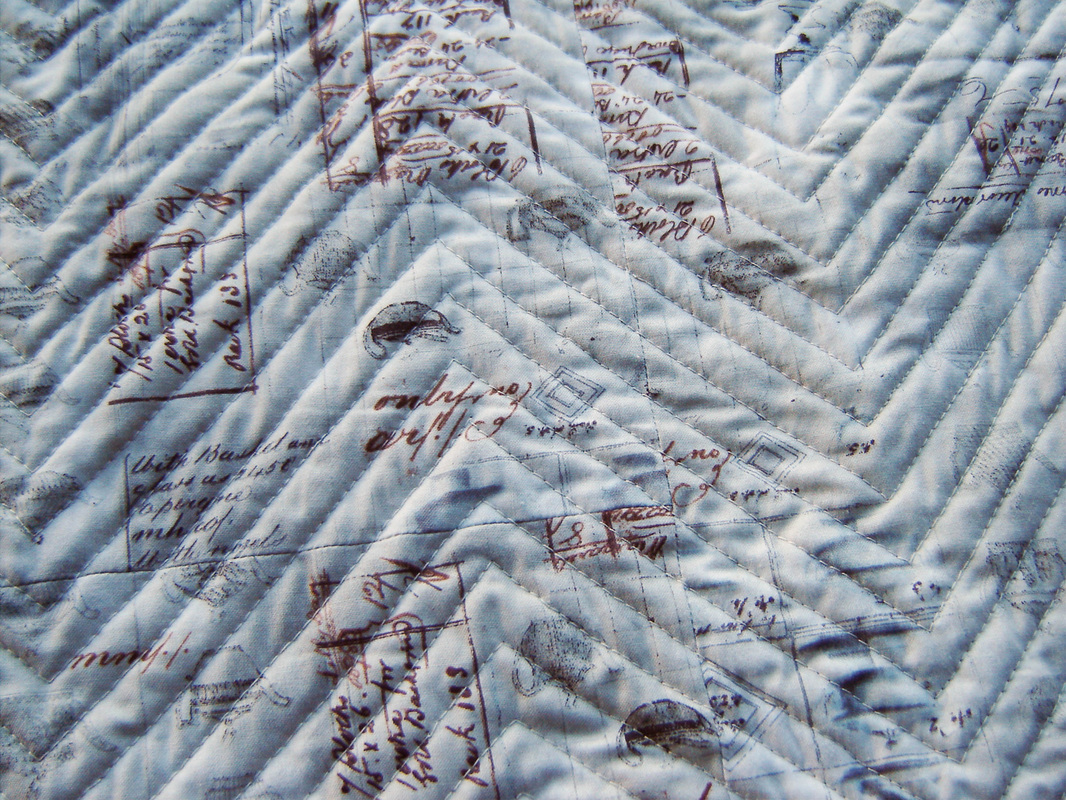
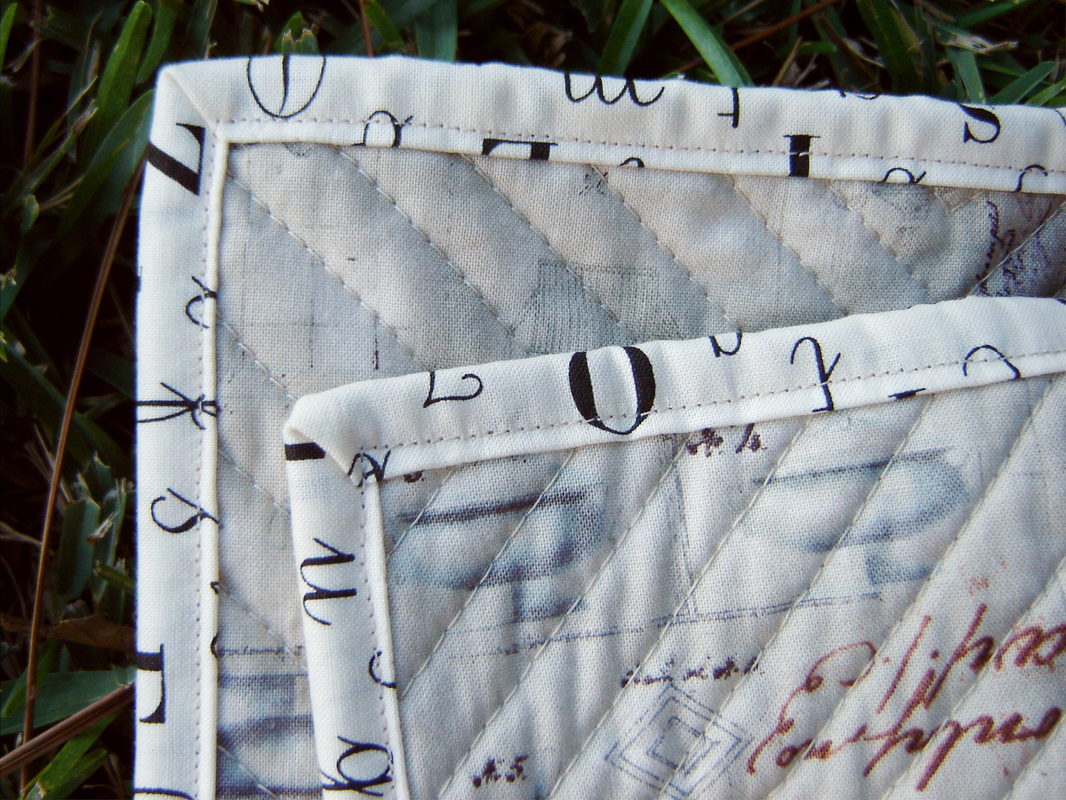
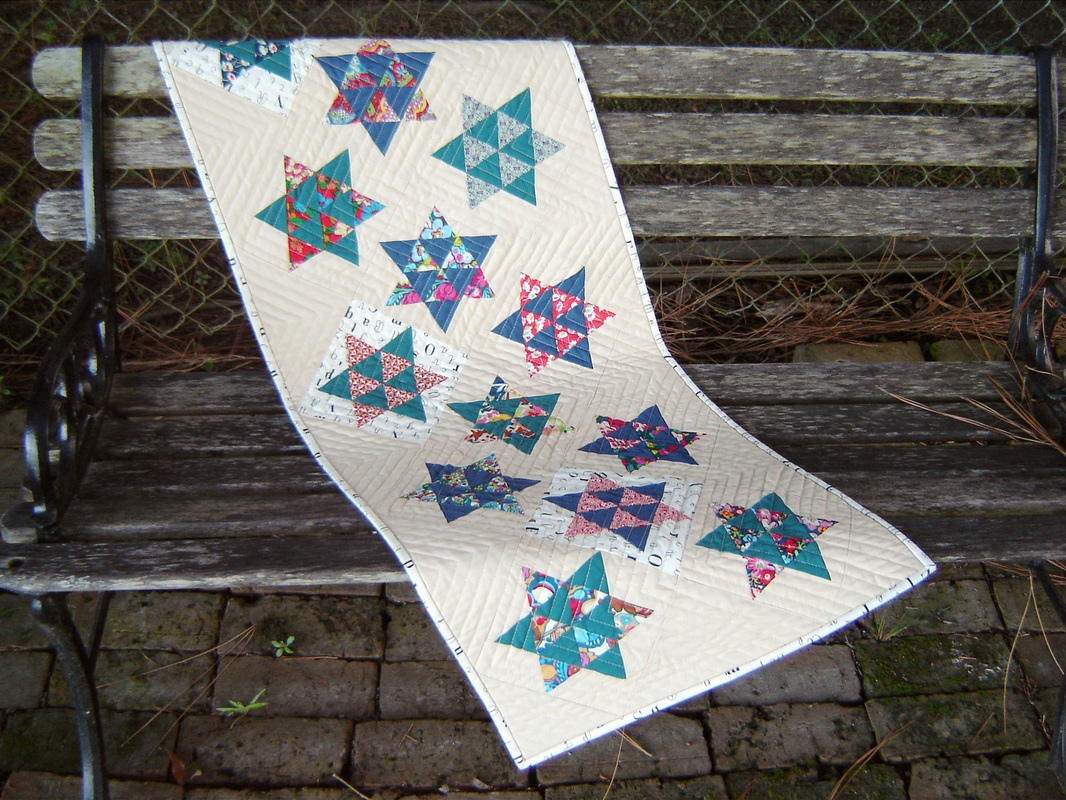
A finish! Actually I have had this one done for a bit, just waiting on the opportunity to get decent photos of it and yesterday was the day! This table runner was started as part of the Dancing Stars Quilt Along hosted by Amy at Amy's Creative Side. All the fabrics were from my stash, the stars were part of a Liberty charm swap I participated in last year and the blue and green solids were scraps from my stash, and boy did I have just enough scraps to make the required amount of stars. All of the stars were paper pieced and I decided to have three of them with the text background, just for a bit of variety. I also used that same print for the binding, sorry I don't know what that print is, but I do love it. Once the top was put together, I basted it with pins, used a piece of scrap batting and I had a yard of another text print for the backing. Then I had to decide on how to quilt this one. There is sat for quite some time, which usually happens with me, I get stumped on the quilting process. Then it came to me, a chevron pattern! So using the block layout as the basis for the scale of the chevron, I started quilting the design 1" apart. I hated it. I kept going in hopes that it would grow on me, and it didn't. I felt like the spacing and where the lines fell on the blocks looked horrible and like a mistake. So now what? Rip it all out, live with it? Ughhh... After some consideration, and really not wanting to unpick all those stitches, I decided to go back and quilt in between each line, thus making the quilted lines 1/2" apart. Yeah! This did the trick, all those flaws seemed to disappear, the texture was great and the pattern was oh so much clearer. I was thrilled that it worked out and you can see the pattern plain as day on the back of this table runner, see below. The piece of fabric I used for the backing wasn't quite the right length, so I had to piece it, so technically there are two seams below, can you find them? I think the seams blend in so well, the print and the quilting just hide the seams so perfectly, you really have to look for them. I used my new favorite technique, machine stitched binding. Oh so fast and oh so neat and tidy. My corners turned out pretty well, or at least good enough for me and I didn't have to redo any parts of it. This technique works so well for me and if you are curious about the technique yourself, you can find out how, HERE. This project was on my Third Quarter Finish Along list (hosted by Leanne at She Can Quilt.) I am happy to say that I finished it and now it is ready to gift. The only problem is, whom to gift it to?
2 Comments
Leave a Reply. |
Marci GirlA feisty mom designing, sewing and blogging her way through everyday life!
|




 RSS Feed
