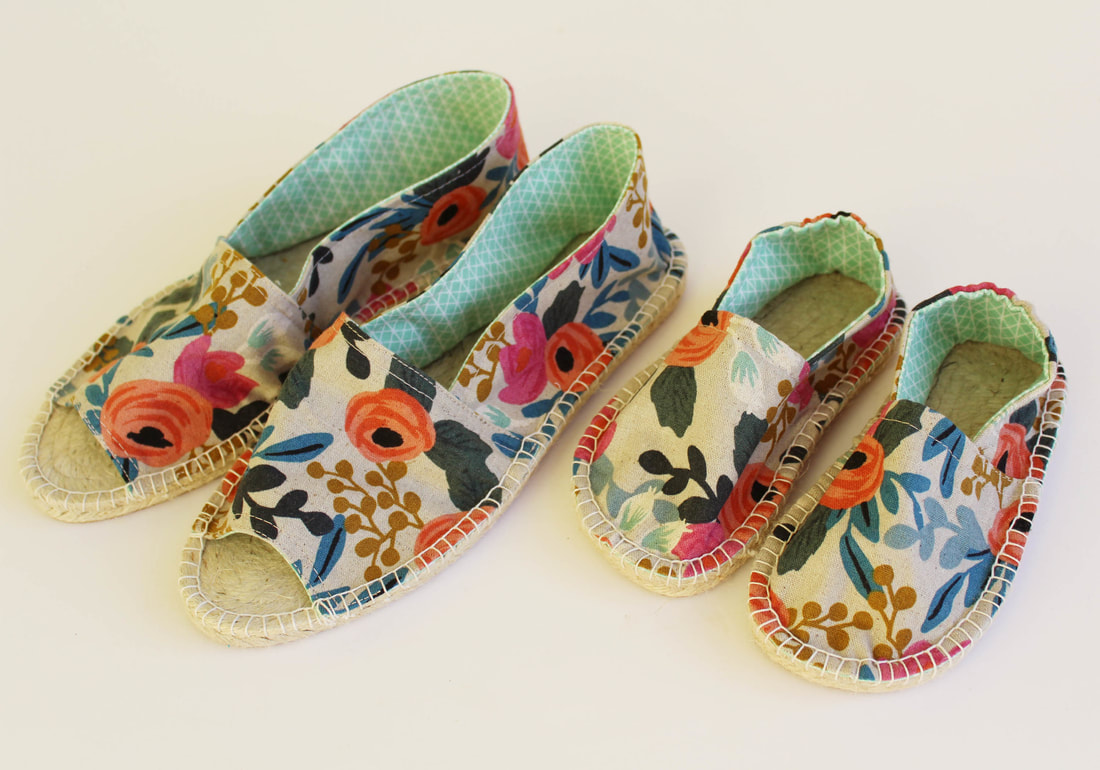
It's a first for me, but I made real shoes. I've made baby shoes in the past, yes, but never anything with real soles and now I can check that off my sewing bucket list (I don't really have one of those in case you were wondering.) These espadrilles were made with Dritz Espadrille kits, which include the soles and pattern for the fabric top. I was browsing the clearance section of Hobby Lobby one day and they were getting rid of all their kits, so I scooped up several toddler sizes for the bargain $1.99 price tag. They didn't have my size, but they did have a kids size 5, which SOMETIMES I fit in, so I went ahead and picked up a pair, because why not?
I knew that I wanted to use some of my canvas Riffle Paper Company fabric for the uppers and I chose a coordinating Cotton + Steel fabric for the interior. I already had some large upholstery needles and I researched what type of "thread" to use for the blanket stitching and everything I found suggested a 100% cotton, so instead of ordering the overpriced Dritz Espadrille thread I just used some 100% cotton crochet thread that I already owned. I cut a long piece and pulled on it as hard as I could several times and it was super strong so I figured why not? See the theme here? Now I had all my supplies and was ready to sew, so I will talk about the Toddler pair first.
I knew that I wanted to use some of my canvas Riffle Paper Company fabric for the uppers and I chose a coordinating Cotton + Steel fabric for the interior. I already had some large upholstery needles and I researched what type of "thread" to use for the blanket stitching and everything I found suggested a 100% cotton, so instead of ordering the overpriced Dritz Espadrille thread I just used some 100% cotton crochet thread that I already owned. I cut a long piece and pulled on it as hard as I could several times and it was super strong so I figured why not? See the theme here? Now I had all my supplies and was ready to sew, so I will talk about the Toddler pair first.
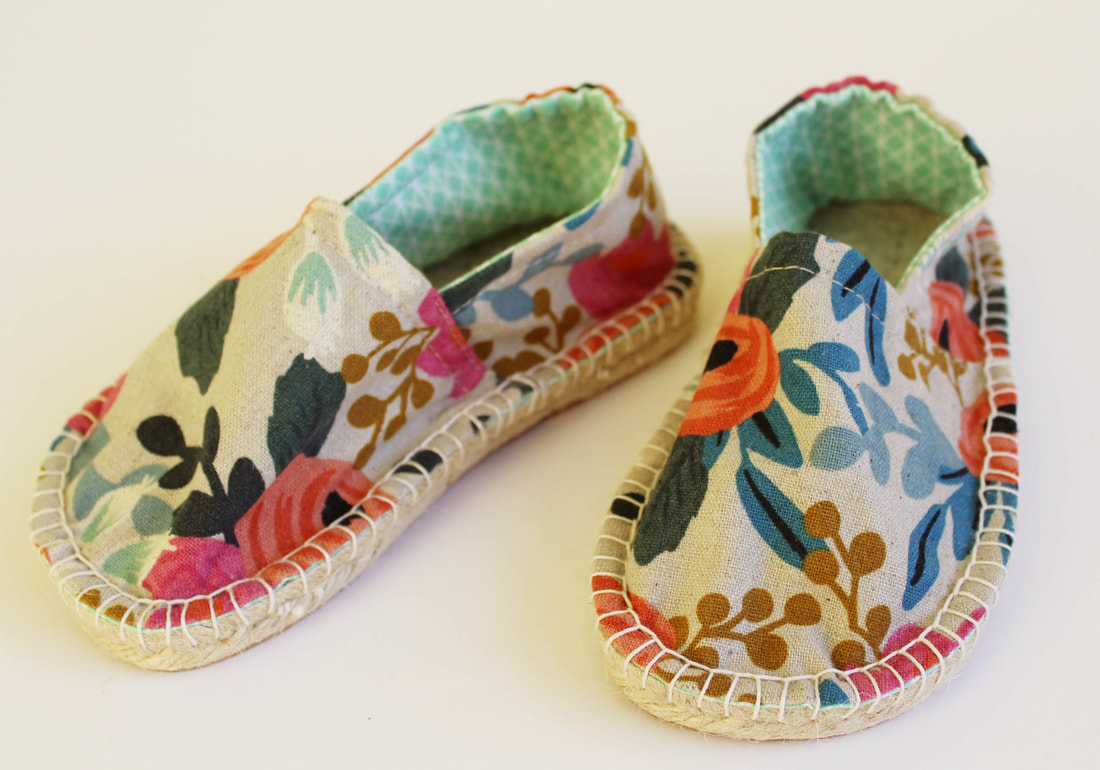
These are a toddler size 7 soles, which my daughter is currently wearing, and I will start by saying the sizing seems pretty spot on compared to ready to wear shoes in the store. The pattern was very easy to follow, cut and stitch up the upper parts and if any point you are confused there are plenty of online resources as to how to sew these up. They are interfaced for extra durability and all of that is included with the instructions as well. The back and top portion that rest on the top and back of her foot have 1/8" elastic, which you can kind of see on the back of the shoe where it is gathered looking. This would be the only part I would change in the future as it wasn't gathered enough and these tend to fall off pretty easy. Next time I would cut the elastic shorter and insert it the same, thus it would be tighter fitting above the heel.
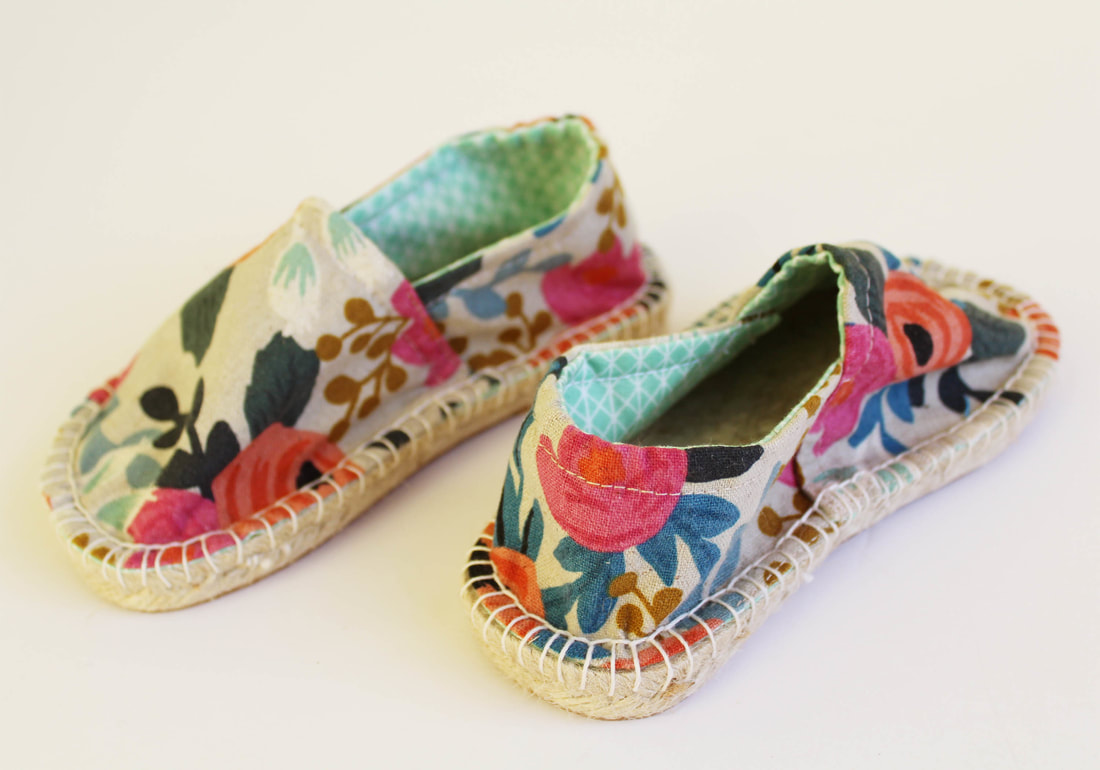
Once the upper fabric is sewn and complete it is time to pin them to the sole and then stitch the two parts together using a blanket stitch. This went surprising smooth and easy because I can honestly say I was pretty nervous as to how difficult this step would be. You start by pinning the center front and back onto the sole and then work your way around the sides, and once again, detailed instructions are included how to do this step. Once it is pinned you cut a long piece of thread and it is recommended that you wax it for durability and ease of sewing. I couldn't find my normal thread wax but my husband has some sex wax for surfboards and I just used that, which worked really well. I ran the thread through the wax around 5-6 times and got a nice smooth coating on the thread. You start by knotting the thread and burying it into the sole and then you start your blanket stitch. I was worried it would hurt my hand and be really difficult sewing into the sole and through the multiple layers of fabric, but it really wasn't. The wax made the thread glide right through and I took my time being careful to not let the thread become knotted. I worked hard at having nice evenly spaced stitches and sewed one per night, as I felt that if I had done more than that my hand may have started to hurt/cramp. Voila! They are finished.
This pair fit my daughter perfectly, with the exception of the back end being a little too loose, but she can still wear them. She really likes to wear them because she watched me make them and she knows that these are "special" for just her. I really liked these soles as they were wider and really accommodating for a toddler foot. The pattern was clear and easy to follow and I'm so glad I picked up some larger sizes because now I can make her a few more pair in the coming years.
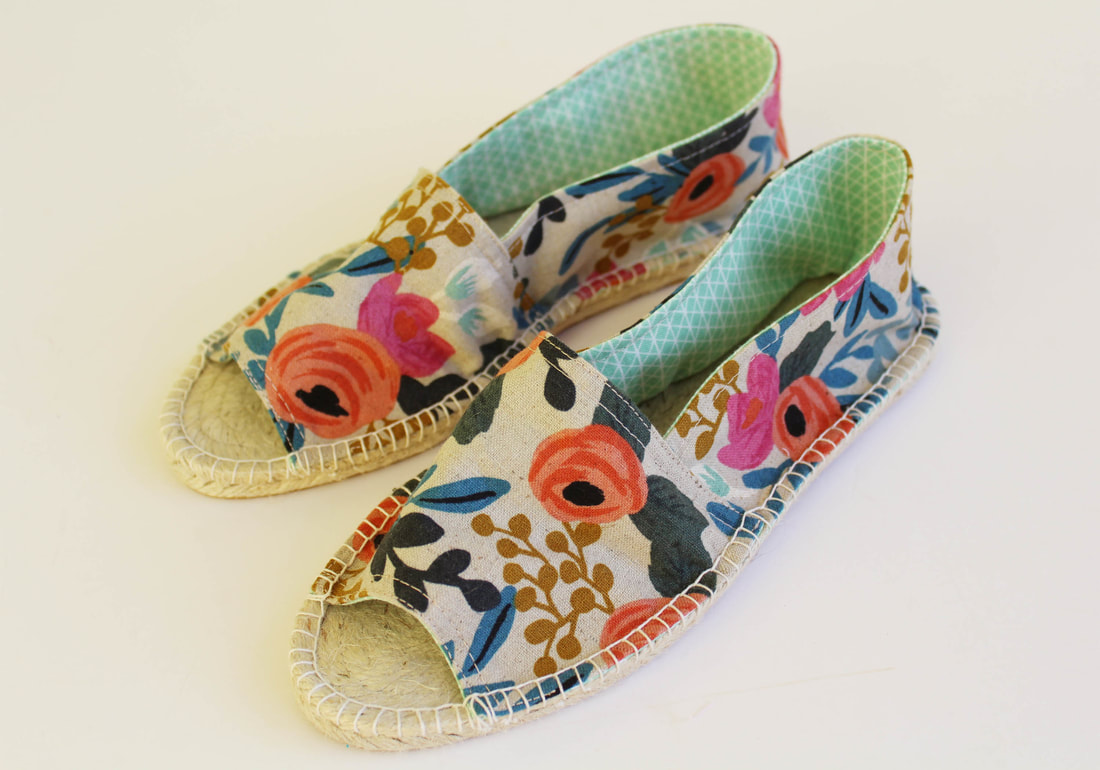
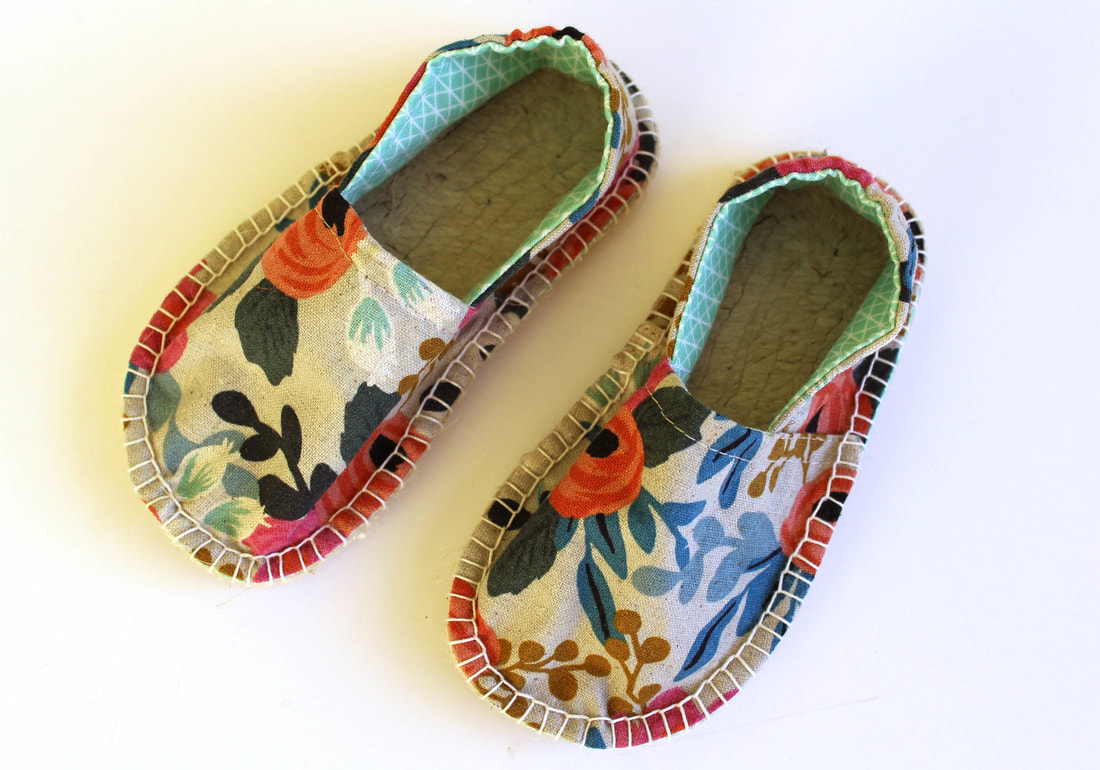
Now let's talk about the shoes I made for myself, in the kids size 5 that SOMETIMES fit me. In the store I stood on the sole and my foot fit on it, but filled the whole narrow sole. Narrow being the key work here. I never took into account that once you stitch the upper fabric on the sole it "eats" into the sole all the way around and becomes even narrower. Once I had stitched the upper fabric part, I "tried" it on by placing the fabric over my foot and pushing it onto the floor and instantly could tell that my toes would be too tight (like way too tight.) I started to research what I could do to fix this and in the end found a pattern to make an open toe version, which i then used to modify what I had already made. Basically I cut the open toe part and then carefully folded under the raw edge 1/4" and then stitched it closed. I thought this would fix my problem and went ahead and sewed them onto the soles. I sewed one of them and then attempted to try it on. You guessed it, I couldn't even get my foot into the shoe, they were just too tight/small/narrow. It wasn't happening.

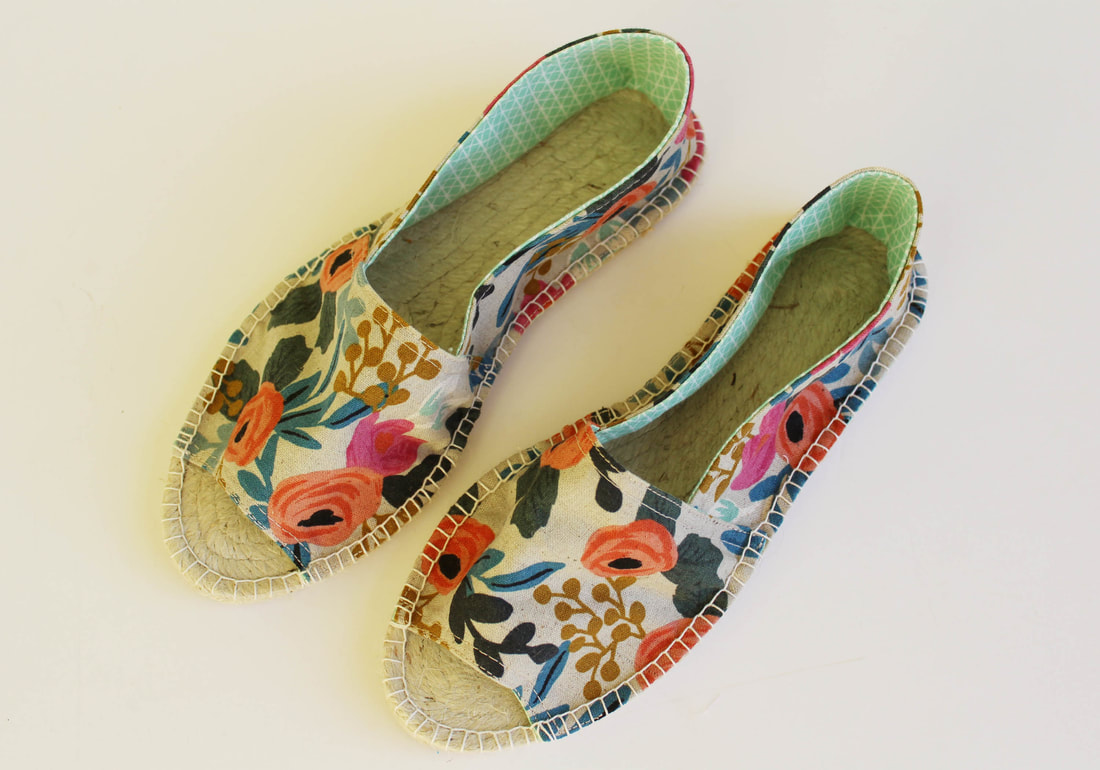
What to do? What to do? I had one shoe that didn't fit and one unfinished shoe. I researched options on how to make it bigger but in the end I knew the sole just wasn't designed for my adult kinda wide foot but rather for a child's size 5 foot. In the end I forced my self to finish the other shoe and here they are. Aren't they cute? I do love them and now I want to purchase my correct sole size and make another pair because honestly mother and daughter matching shoes is just too cute for words, or at least I think so.
At this point I just have to decide what to do with these? Sell them, maybe? Or maybe I should save them for my little girl because in 7-8 years she could possibly wear them. What do you think?
Overall this was a really fun and fairly fast project and if you have the chance and can find some soles then I recommend stitching up a pair and having your own handmade shoes.
This project was on my quarter 2 Finish-A-Long list, number 6, which can be found HERE. I'm happy to say that this one is now finished. On July 1st (Sunday) the Q2 link up opens and I hope you have some finished projects to link up.


 RSS Feed
