• Home
  • Blog
  • 2020 Finish - A - Long
  • 2019 Finish - A - Long
  • 2018 Finish - A - Long
  • Contact
  • 2017 Finish - A - Long
  • Shop
Marci Girl Designs

Triple-Zip Pouch - An Alternate Ending Tutorial

1/31/2013

28 Comments

 
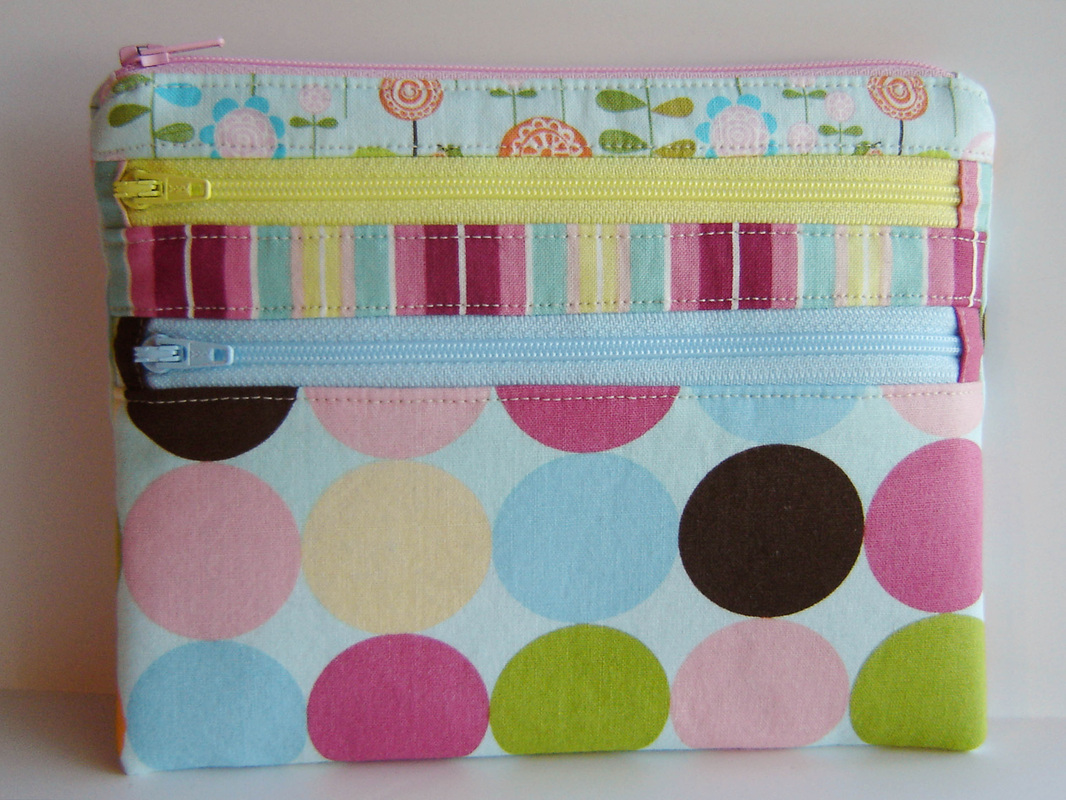
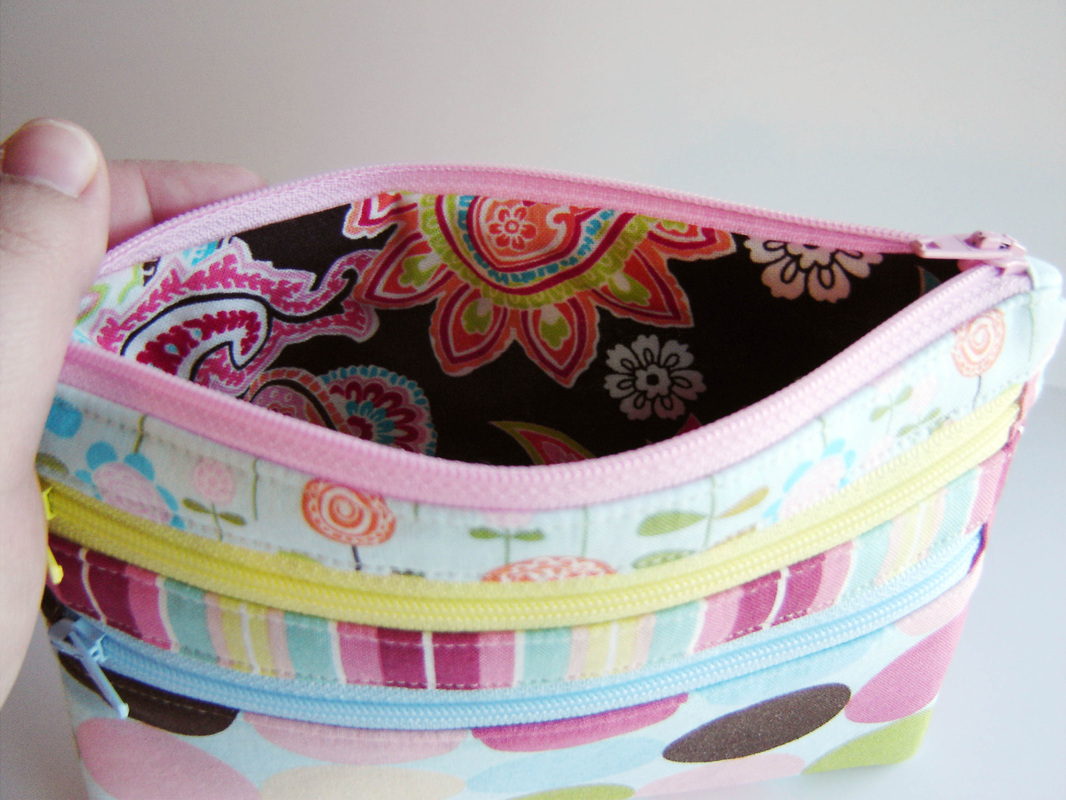
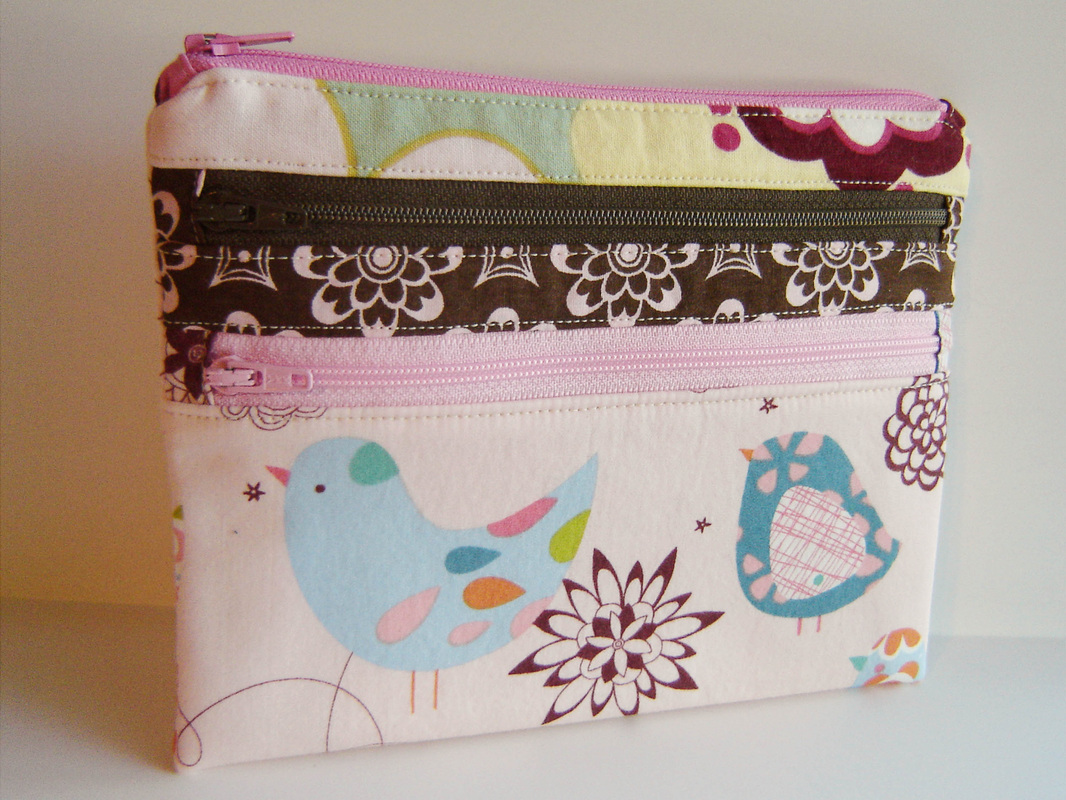
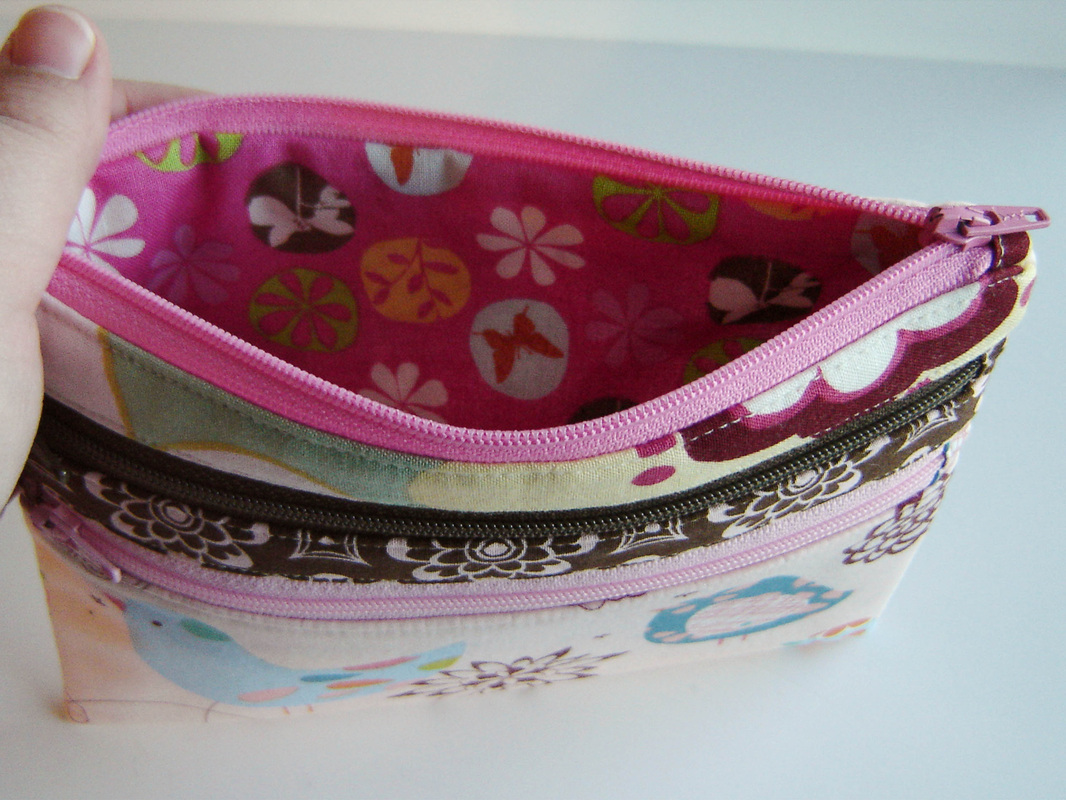
My last post showed off the two Triple-Zip Pouches that I made back in December.  At the time I figured out a different way to finish up those pouches (different from Debbie's tutorial.)  You see, the last steps of the tutorial were really hard (virtually impossible) for Debbie to photograph, so there weren't any photos, just step by step directions.  Well that is a problem for me, I'm totally a visual learner, so I was kinda like "what?"  So I stopped and I thought about it for a few days.  The more I thought about it, I started pondering a different way to finish, then decided to try it out.  Success!  It worked!  Debbie has so graciously given me permission to share my method (tutorial) with you guys here today!  I have photographed every single step of the process, and hopefully for those of you who are visual learners this alternate ending will help you finish it up!

I know that several of you have figured out this method already and have even posted basic directions in the Flickr group and online.  In no way do I mean to step on anyone's toes, and only hope to provide a visual step by step to this already great award winning tutorial.  If you have any tips or tricks in regards to this tutorial, feel free to add them in the comments section.

Triple-Zip Pouch - Alternate Ending Tutorial

Triple-Zip Pouch Tutorial by A Quilter's Table found HERE.  Use this tutorial all the way through until the last photo.  This tutorial picks up and replaces the "To Finish" section in Debbie's original tutorial.
Picture
This is a photo of the last photographed step in Debbie's tutorial.  Your pouch is inside out, all zippers and linings are sewn into the pouch and basically it is an odd looking tube.
Picture
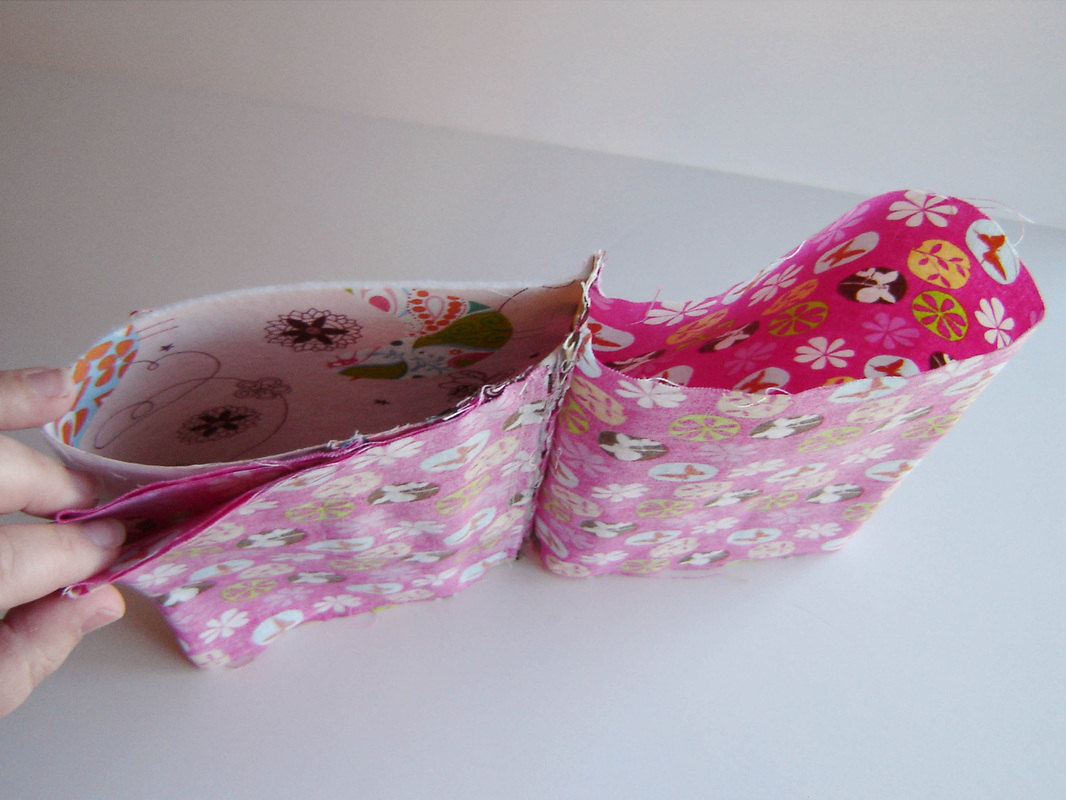
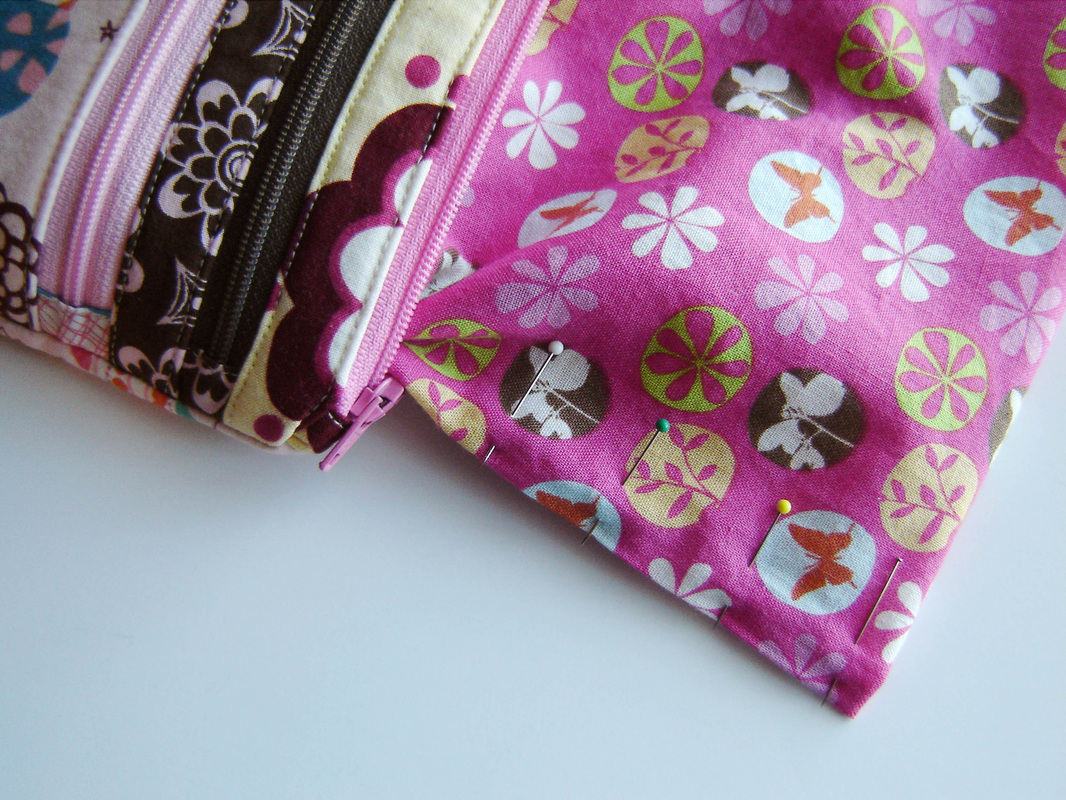
Separate out the main (largest) lining from the main body and two other linings.  Zipper should be centered in the middle.  On the left (in this photo) is the main body fabric, and the two lower pocket linings.  On the right is the main (largest) lining.
Picture
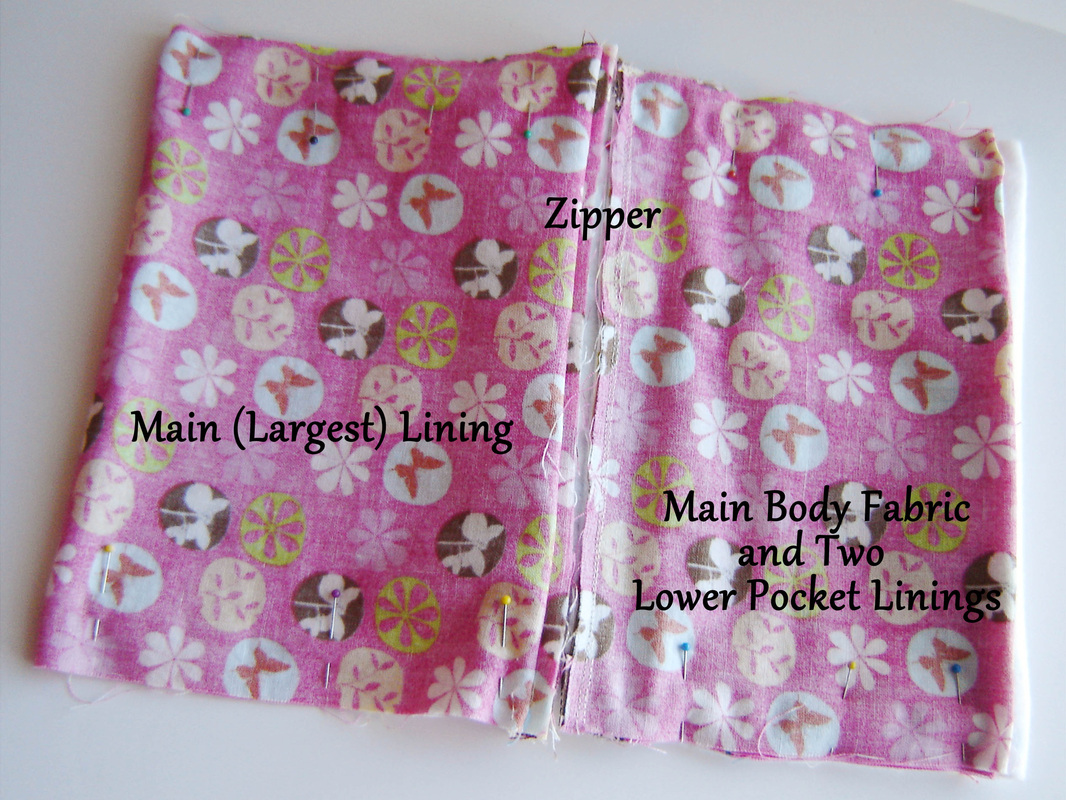
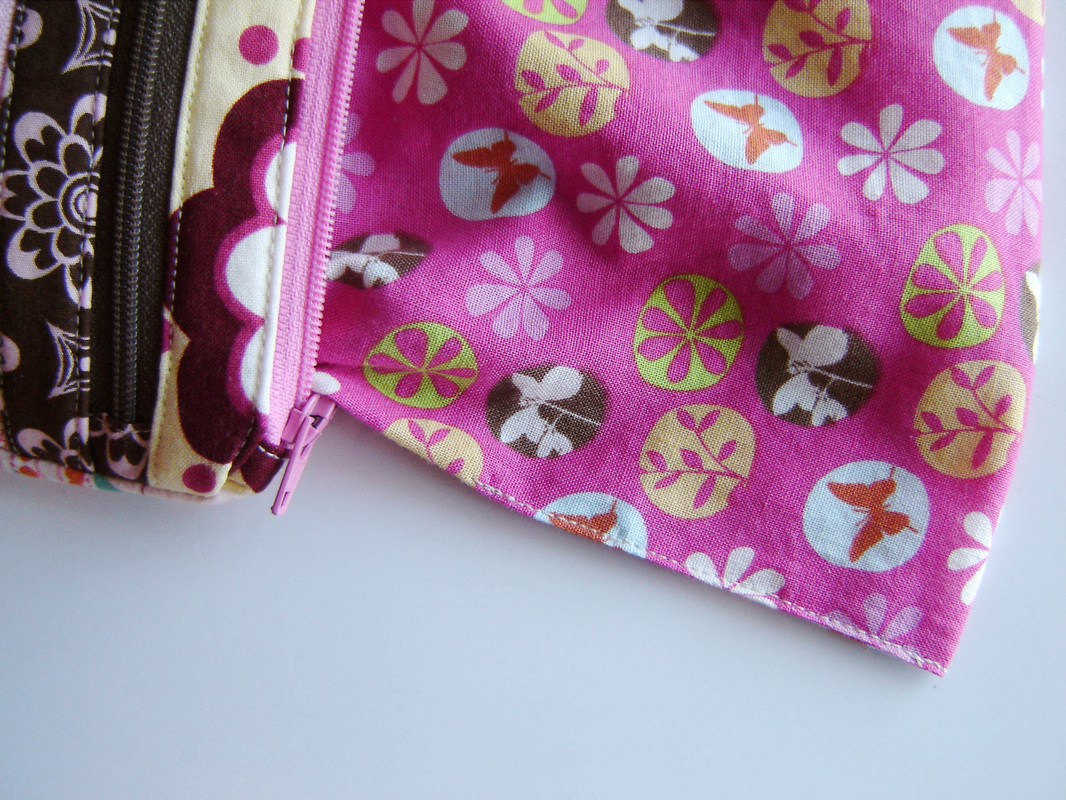
Flatten out and pin.  Zipper should be centered.  One side will be the main lining only, the other side will be the main pouch with two other linings flat on top.
Picture
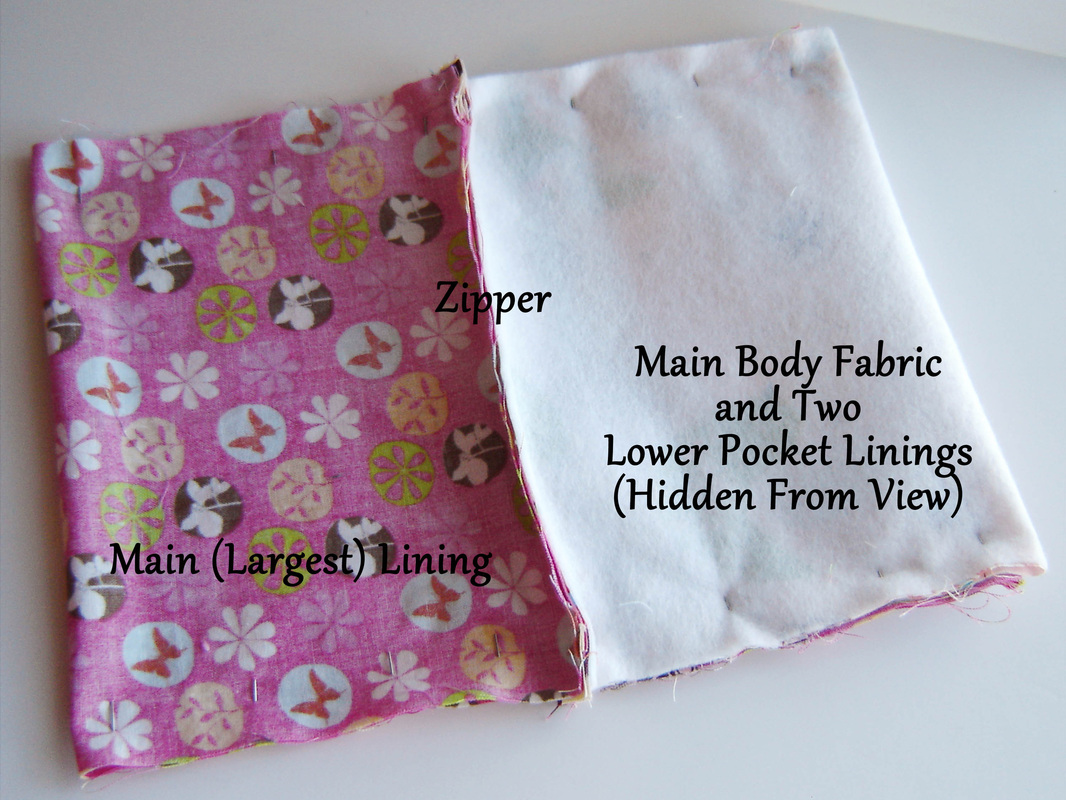
This is the same step, just the back view, pinned.  Basically if you flip it over, it should look like this.  You can see the fusible fleece on the main body of the pouch.
Picture
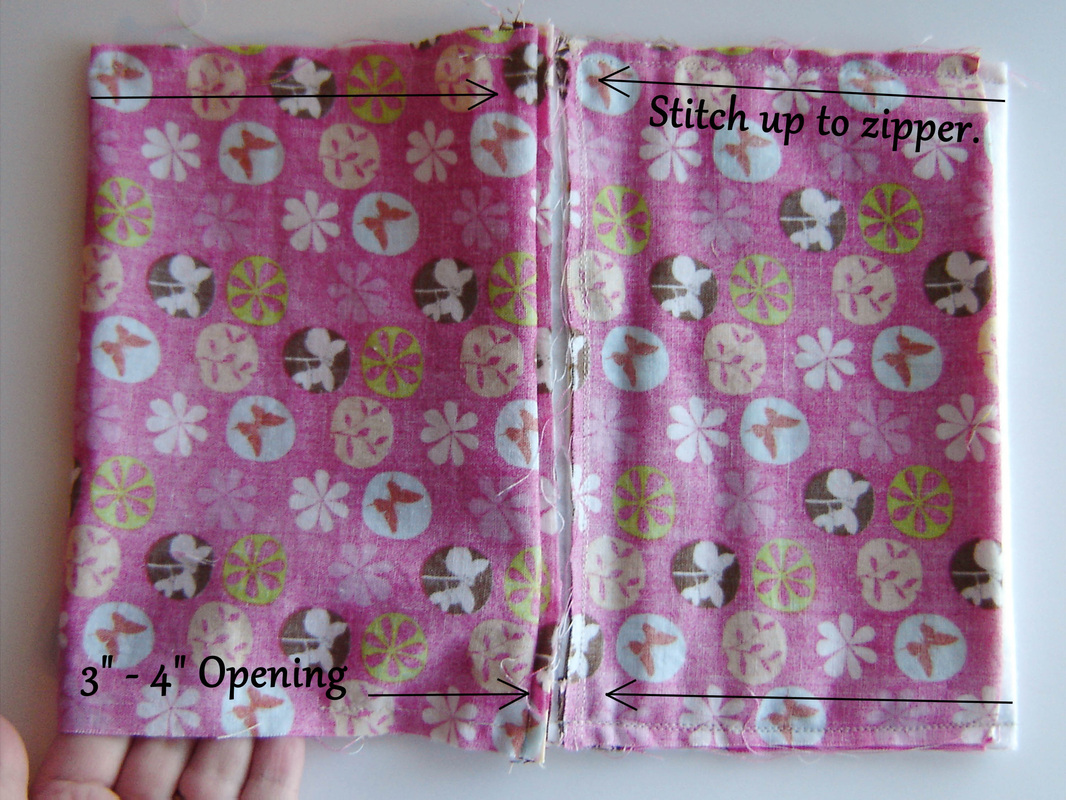
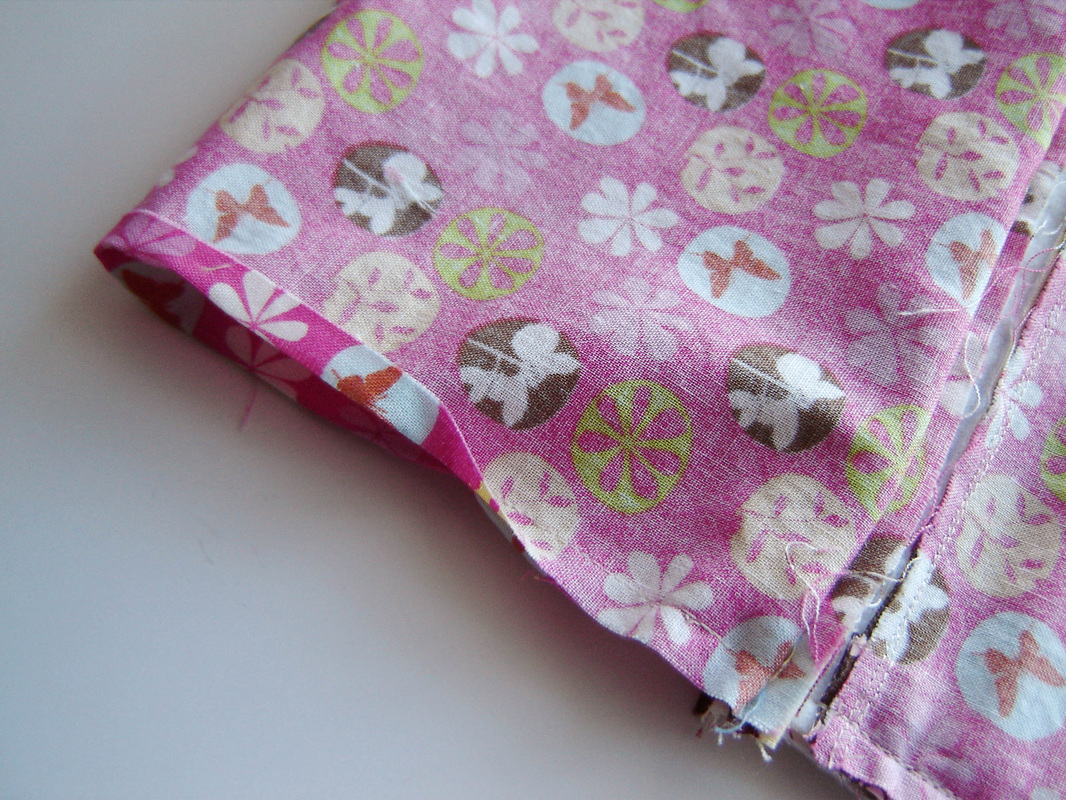
Using a 1/4" seam allowance.  Start sewing on one side, following the directions of the arrows in the above photo.  Stitch up to the zipper, as close as you can without going over the zipper.  Repeat for the remaining three seams.   Leave a 3"-4" opening on the bottom of the main lining.  This opening is for turning the pouch later on.

There are two main reasons for not stitching over the zipper.  First, it is easier not to stitch over all that bulk.  Second, by not stitching over the zipper, once you turn your pouch, it allows for you to push out those top corners further than you could if you had stitched over the zipper. Creating a nice square pouch.  If you choose to stitch over the zipper in one continuous line (it can be done.)  Be sure to go slowly, and to push the zipper itself towards the main body fabric and two pocket linings.  This method creates more of a "rounded corner look" when you turn the pouch later on, which some deem as a slight downfall, but it is totally up to you and your preferences.
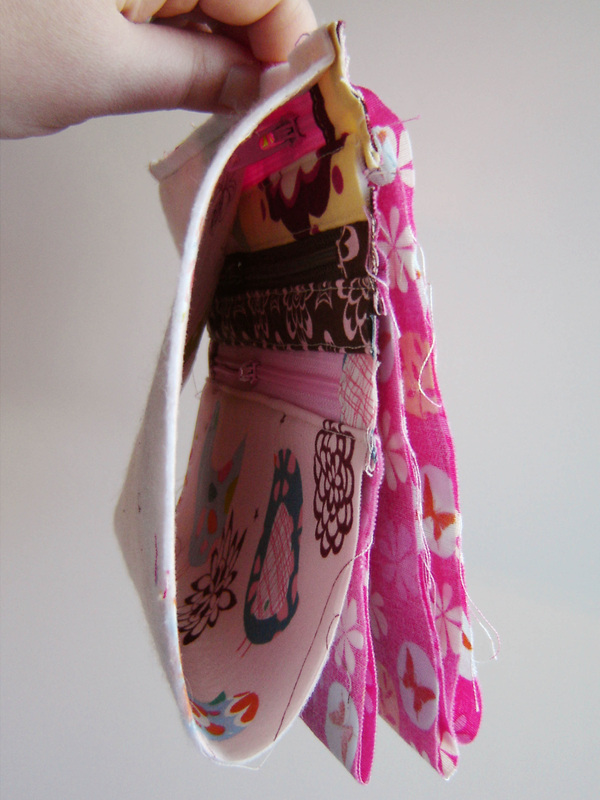
Picture
Press the 3" - 4" open edge of the main lining in 1/4".  You can always finger press this opening, you don't have to use an iron.
Picture
Turn the pouch through the 3" - 4" opening, leaving the main lining sticking out of the pouch.  At this point, push out all your corners to get them nice and square.  Pin the opening of main lining closed.
Picture
Stitch the opening closed, very close to the edge (normally in a matching thread color.)  Push the main lining into the pouch, push out the corners, then iron to smooth out and flatten, creating a nice finished crisp look.
Picture
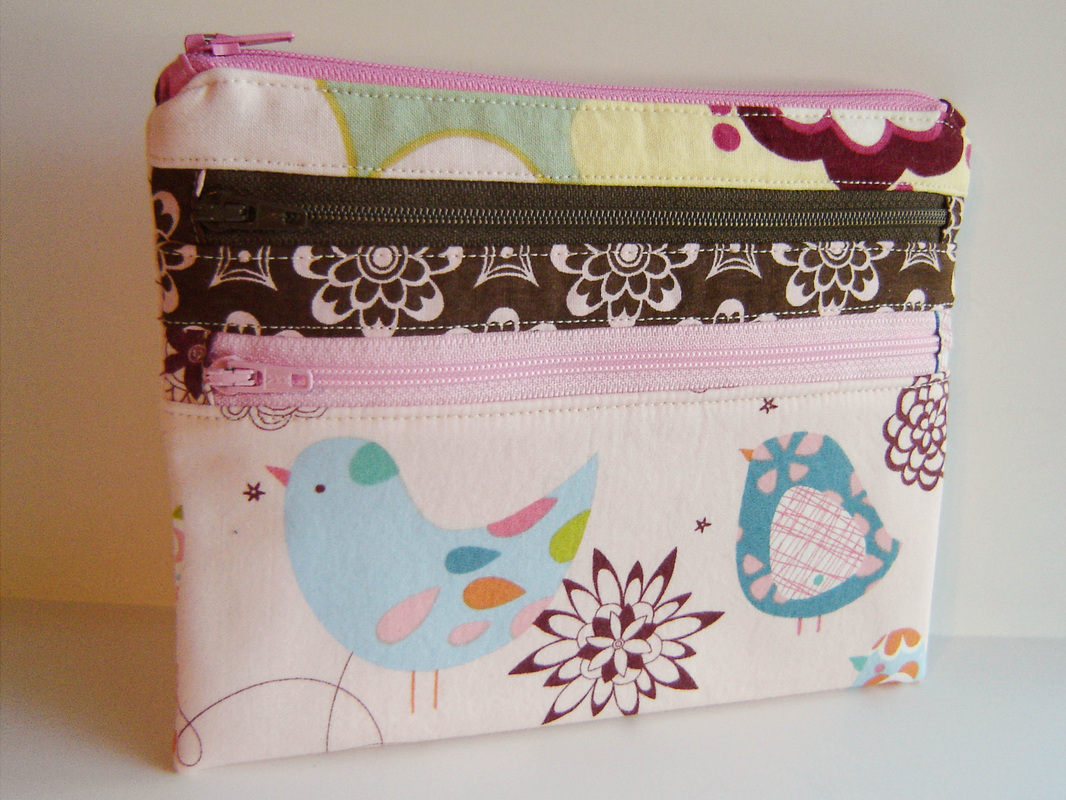
Congratulations, you now have a finished Triple-Zip Pouch!

A Quilter’s Table
This tutorial is part of the Triple-Zip Along hosted by Debbie over at A Quilter's Table.  The event runs from January 28, 2013 through February 15, 2013.
28 Comments

In A Few Short Days...

1/25/2013

6 Comments

 
Picture
It begins!  What, you ask?  The Triple Zip Along hosted by Debbie over at A Quilter's Table.  Debbie designed and created this great tutorial for a super cute triple zippered pouch.  I made two pouches right before the Christmas holidays for my son's two teachers Christmas gifts.  I think they turned out too cute. I plan to participate with everyone who has signed up for this fun sew along, I need to make more!  Debbie has created a Flickr group for you to join and follow along.  It will be so neat to see so many variations of this great little pouch.  It really is easy and totally doable, uses scraps of fabric and is so rewarding in the end - you have a great pouch that is the perfect size to tuck right into your purse.  The event runs from January 28, 2013 to February 15, 2013, so gather up your supplies and get ready to sew!  Hope to see you there!
Picture
Picture
Picture
A Quilter’s Table
6 Comments

So Close To The Finish Line

1/23/2013

5 Comments

 
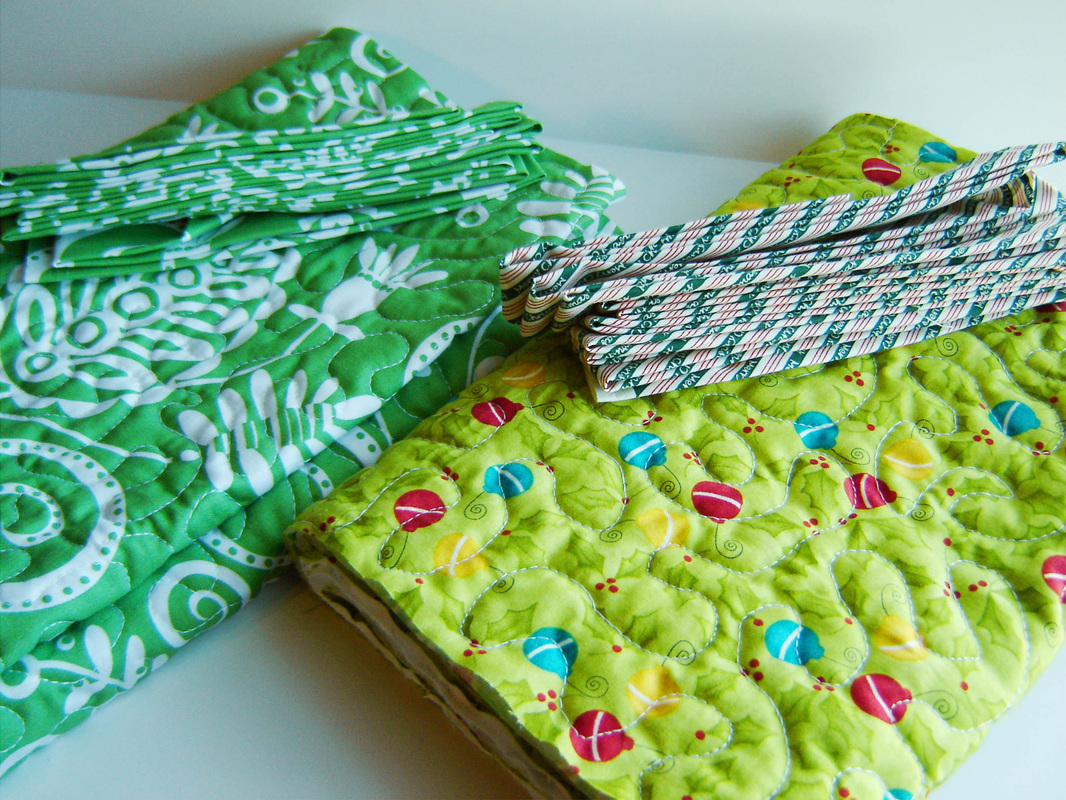
My work in progress today.  I can see the end of these two table runners.  Once they are bound, my January goal will be met.  Woo hoo!  I'm off to stitch on those bindings.  Finished projects here I come!
Picture
Linking up with the following:
WIP Wednesday at Freshly Pieced
she can quilt
Cut To Pieces
Never Too Hot to Stitch!
5 Comments

And Soon He Will Be One...

1/22/2013

6 Comments

 
In a mere two days, my little baby boy will be a whole one years old.  Hard to believe, oh how the time flies.  We had to push back his birthday party a bit because of the never ending illness around our house these days, but that is ok, it gives me more time to plan and prepare.  I am thinking about going a simpler route for his cake.  One cake for the party goers, and cupcakes for my little man and the kids.  I always scheme these elaborate cakes and then end up cursing and swearing I'll never do it again, especially since all my cakes seem to fall into a million pieces every time I have to transfer them.  That being said, I am sticking with it, going the easy route, and plan to do a simple cake like the one below.  Easy enough right?  Maybe I will fancy it up with a pudding layer in the middle.  Yum.


Cake
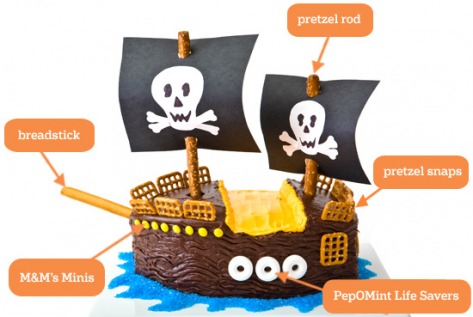
Speaking of cakes, I realized I never shared the cake I made for my older sons fifth birthday.  A pirate cake, yes, he is still obsessed with pirates, which is fine with me!  I found this image originally through Pinterest, but have included the direct link here, just in case you attempt to make one yourself.  I was pleasantly surprised to find all the supplies needed at Walmart, all those different pretzels and all!  The only thing I did differently was to eliminate the breadstick on the front and instead just use another pretzel rod in its place.
Picture
Instructions on how to make this cake can be found at Parenting.com. Click on the photo to go directly to the instructions. Photo property of Parenting.com.
What do you think?  It turned out pretty good, in my opinion.  I have a number five candle and 4 pirate themed candles stuck in the center if you were wondering what all that junk was.  The only thing I would do differently is to make the sails a tad bit smaller and work at getting more of a "yellow" icing color than the peach that is below.  My son was tickled pink and that is all that matters.  I had left over icing, so I dyed it blue and made the "ocean" around the ship, which also hid those crumby edges.  As good as this looks, the cake fell into a million pieces and is held together by mushing it with my hands and icing.  Very frustrating at the time, but at least the end result is good.  All this talk of cakes falling apart had me wondering, do you know of a store bought cake mix that holds together well?  I know for sure that Pillsbury is just too spongy and soft, it falls apart every time.  I used to think that Betty Crocker was perfect, but lately those cakes have fallen apart too?  Any ideas or suggestions?
Picture
Linking up to Tuesday at the Table over at A Quilter's Table.  Hop on over and visit all the other wonderful link ups.

6 Comments

Welcoming the New Year

1/8/2013

7 Comments

 
Wow, I had no intention of taking a two month blogging break, but alas it happened and nothing I can do about that, so Happy New Year!  I am starting this New Year with a fresh approach, fresh outlook and fresh new goals.  I'm excited!  This is the first year in many that I made a New Year's Resolution!  Oh my!  This is a big deal for me, I'm normally not the type, but it feels good and I'm going with it.

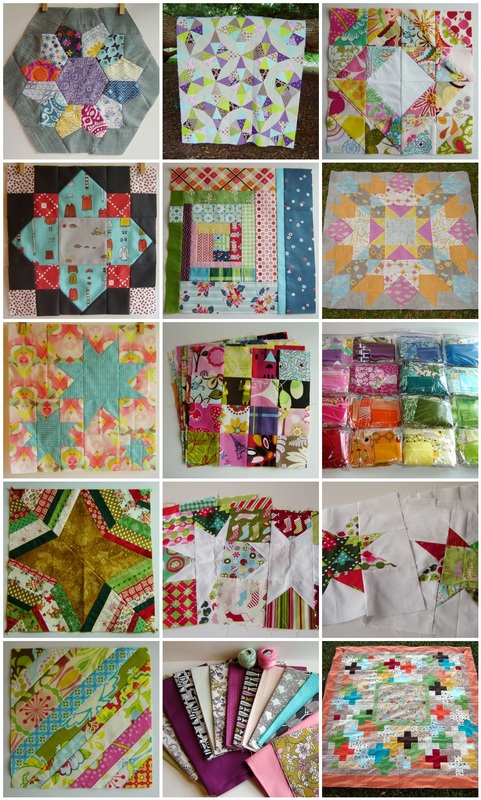
Last year I started organizing and taking stock of the unfinished quilts and works in progress I had laying around and stuffed in cabinets and drawers.  Low and behold I discovered that I have 14 unfinished, started on, in pieces quilts.  Yikes!  So, my solution is to finish one a month for twelve months during this year and knock out the majority of them.  Most of them have all of the blocks done, they just need to be put into a top.  A few are finished tops, and a few need more work than that.  I am only focusing on one at a time, until it is finished.  Hopefully I can keep up!  If I finish it early in the month, then I will go ahead and move on to the next!  Below is my mosaic showing all 14 unfinished quilts.  Below that is my intentions for the next three months, and I will be linking up with She Can Quilt, who will be hosting the quarterly Finish-A-Long this year.  Monthly I will be following along with Cut To Pieces, who is hosting the Flickr group Project: UFO 2.0.  Wish me luck, I'm excited about this challenge and ready to get to work!
Picture
1. Modern Baby Quilt Block, 2. Kaleidoscope Quilt Top Hanging 2, 3. Scrapbuster Swap - Depression Block 5, 4. Quatrefoil Block 3, 5. Log Cabin Block 2 - Quilting newBEES, 6. Macaroni Love Quilt Top, 7. Stargazing Quilt Block, 8. Scrapbuster Swap - Postage Stamp Blocks 2, 9. Bottled Rainbows Scraps, 10. Christmas Spiderweb Block - Christmas Fabric Bee, 11. Scrapbuster Swap Christmas Blocks, 12. Scrapbuster Swap Christmas Blocks, 13. String Pieced Block - Always Bee Learning, 14. Medallion Quilt Fabrics, 15. Le Petite Salon Front View

Finish-A-Long Quarter One Goals (Month by Month):

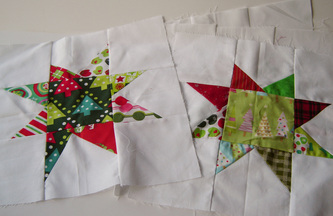
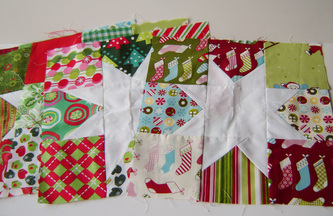
1.  January - Two Christmas table runners, made from these 10 blocks (see photo above.)  I need to construct tops, sandwich, quilt and bind it.  I have all of the supplies needed.  Good to go!
Picture
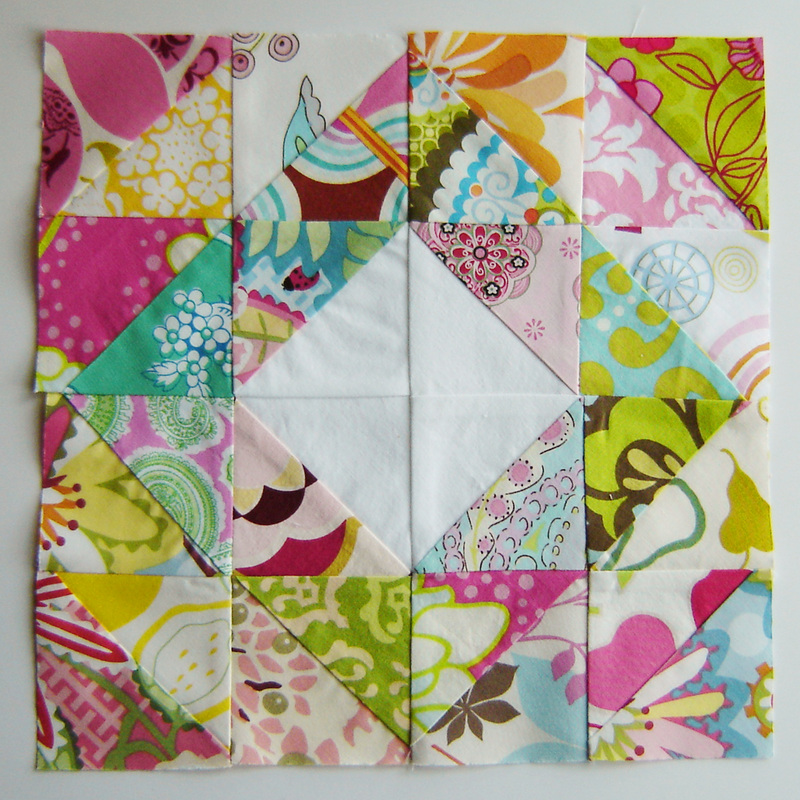
2.  February - One quilt made from these blocks, throw size.  I have either 15 or 16 blocks ready to make a top.  I just need to figure out what I am doing with them, make the top, sandwich, quilt and bind it.  I have all the supplies needed for this quilt too!
Picture
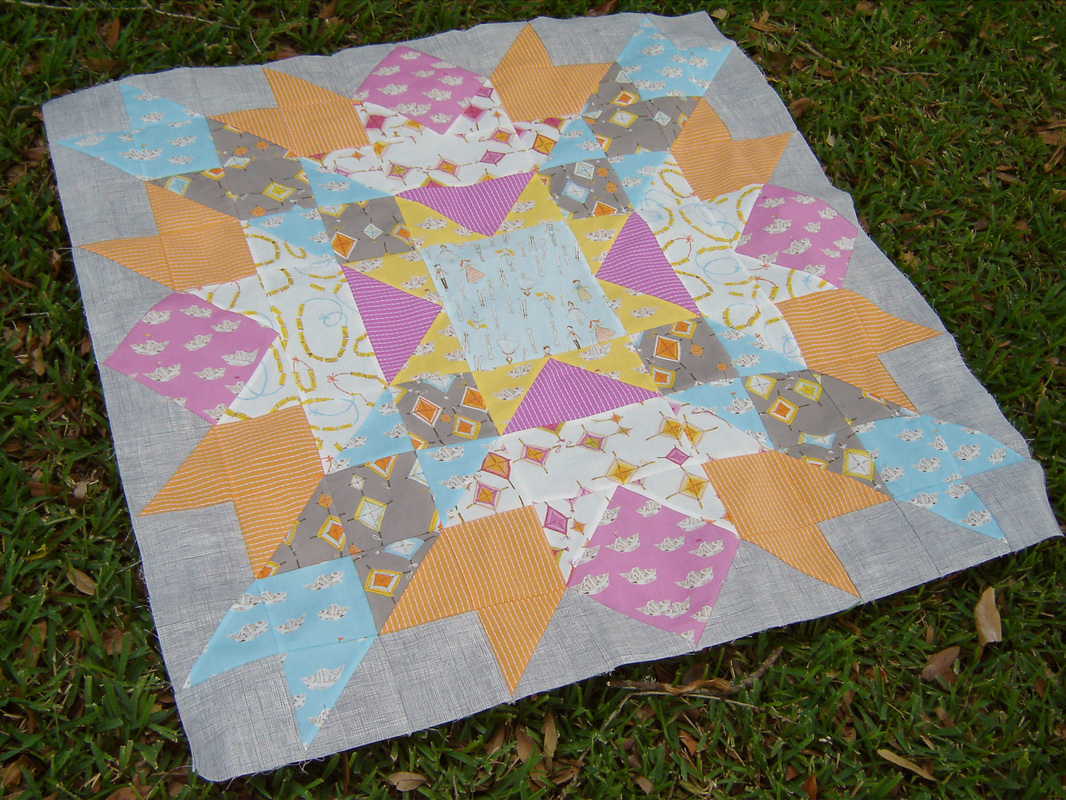
3.  March - Time to finish up Cosmic Burst!  The top is done, so all I need to do is sandwich it, quilt it and bind it!  Once again, I have all of the supplies needed.  Easy peasy!  This will be a wall hanging quilt.
4.  Anytime During the First Quarter - Construct three pairs of pajamas.  I have all the needed supplies, just need to cut them out and sew them together!  I want them ready for the boys to wear next winter.

That is it folks!  Interested in following along or joining in yourself?  Click on either photo below to go to either of these ladies lovely sites!

she can quilt
Cut To Pieces
7 Comments

    Marci Girl

    A feisty mom designing, sewing and blogging her way through everyday life!

    Subscribe
    Follow on Bloglovin
    Picture
    Follow on Bloglovin


    Categories

    All
    2017 Finish A Long
    2018 Finish A Long
    2019 Finish A Long
    Bee Sewcial
    Book Reviews
    Clothing
    Everyday Life
    Giveaways
    Handbags
    Handstitched Class
    Inspirational Projects
    Marci Girl Designs
    Projects
    Quilt Along
    Quilting Bees
    Quilts
    Random Thoughts
    Recipes
    Sew Along
    Sewvivor
    Style Stitches
    Swaps
    The Penny Sampler Class
    Tutorials
    Wip Wednesday


    Happily
    Participating In:

    Picture
    Picture
    Picture
    Picture
    Picture
    Picture

    Picture


    Archives

    January 2020
    November 2019
    October 2019
    July 2019
    April 2019
    March 2019
    February 2019
    January 2019
    December 2018
    October 2018
    August 2018
    July 2018
    June 2018
    May 2018
    April 2018
    March 2018
    February 2018
    January 2018
    December 2017
    November 2017
    October 2017
    September 2017
    August 2017
    July 2017
    June 2017
    May 2017
    April 2017
    March 2017
    February 2017
    January 2017
    April 2016
    March 2016
    February 2016
    January 2016
    September 2015
    July 2015
    October 2014
    September 2014
    August 2014
    July 2014
    June 2014
    May 2014
    April 2014
    March 2014
    February 2014
    January 2014
    November 2013
    October 2013
    September 2013
    August 2013
    July 2013
    June 2013
    May 2013
    April 2013
    March 2013
    February 2013
    January 2013
    November 2012
    October 2012
    September 2012
    August 2012
    July 2012
    June 2012
    May 2012
    April 2012
    March 2012
    January 2012
    December 2011
    November 2011
    October 2011
    September 2011
    August 2011
    July 2011
    June 2011
    May 2011
    April 2011
    March 2011
    February 2011
    January 2011
    December 2010
    November 2010
    September 2010
    August 2010
    July 2010
    June 2010
    May 2010
    April 2010
    March 2010
    February 2010

    Picture

    RSS Feed

Powered by Create your own unique website with customizable templates.