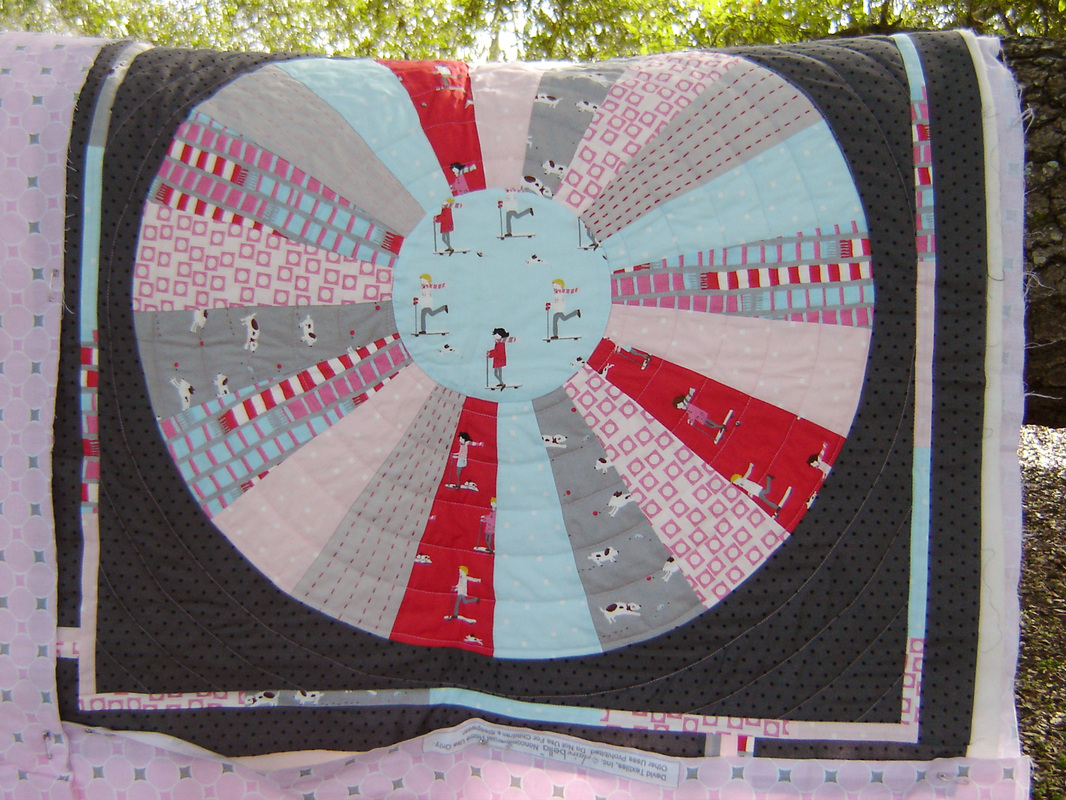
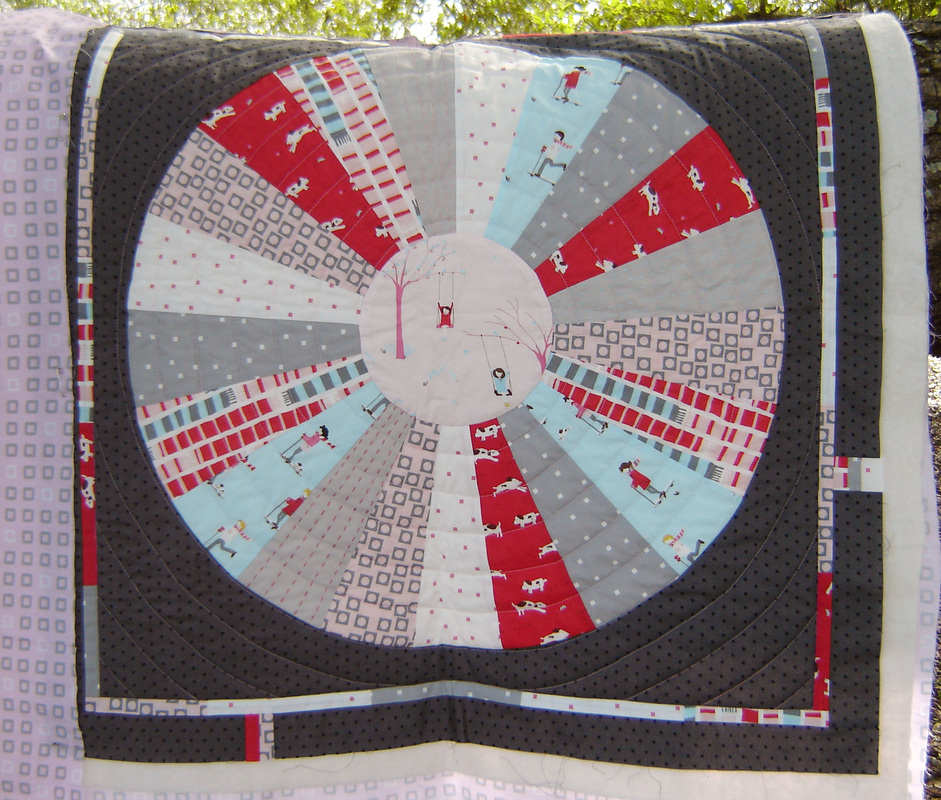
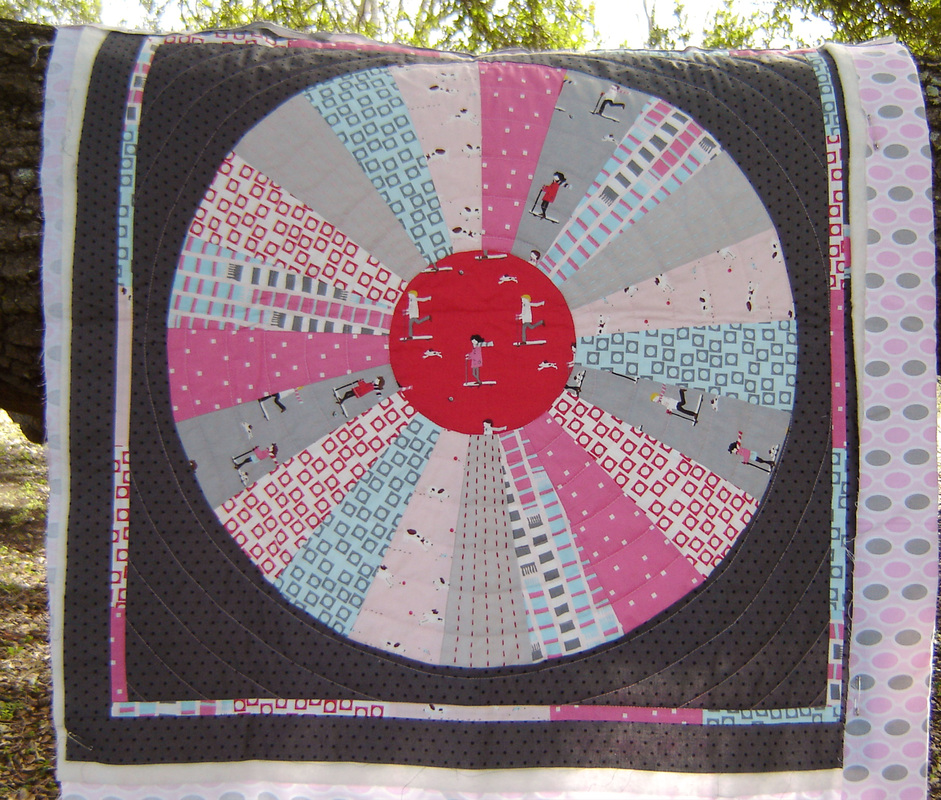
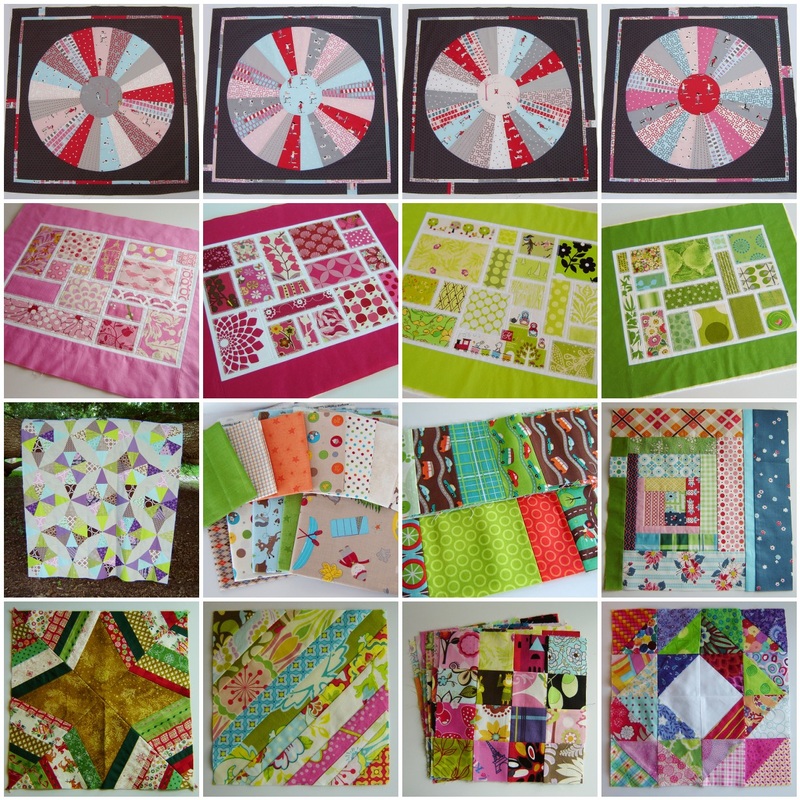
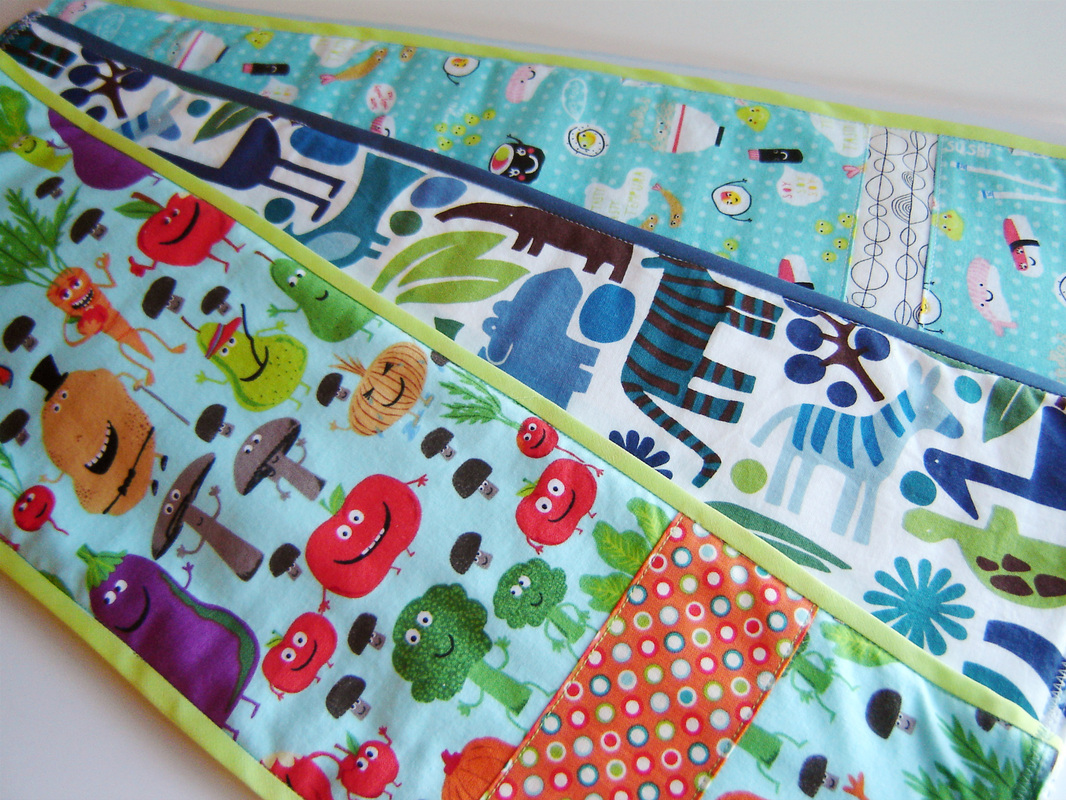
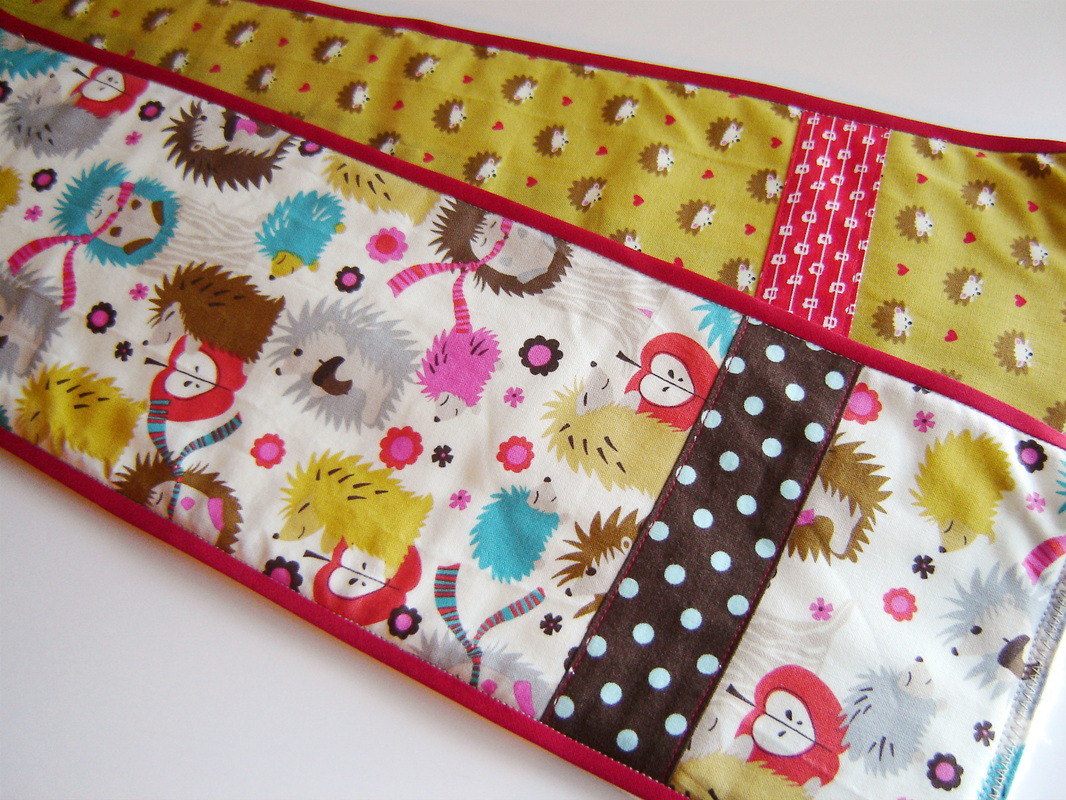
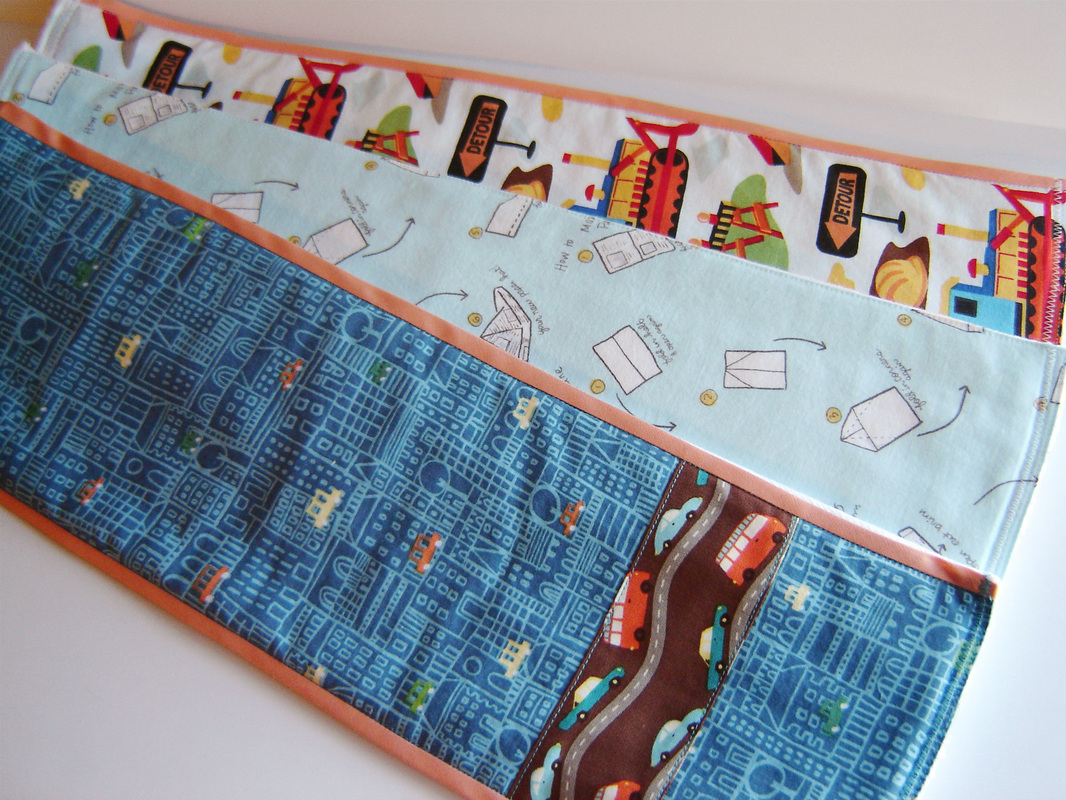
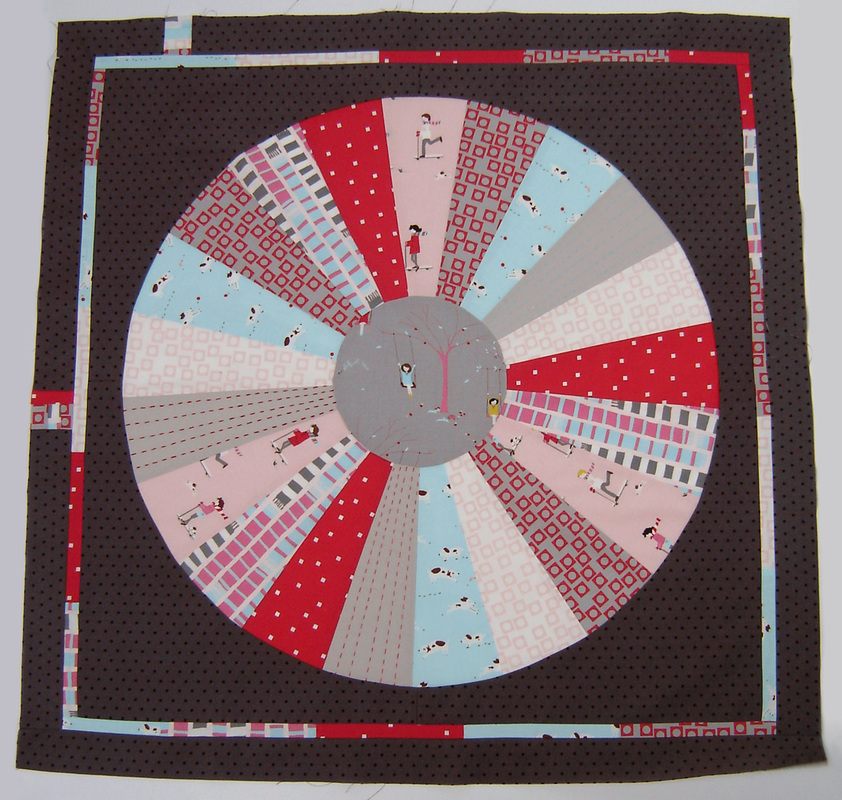
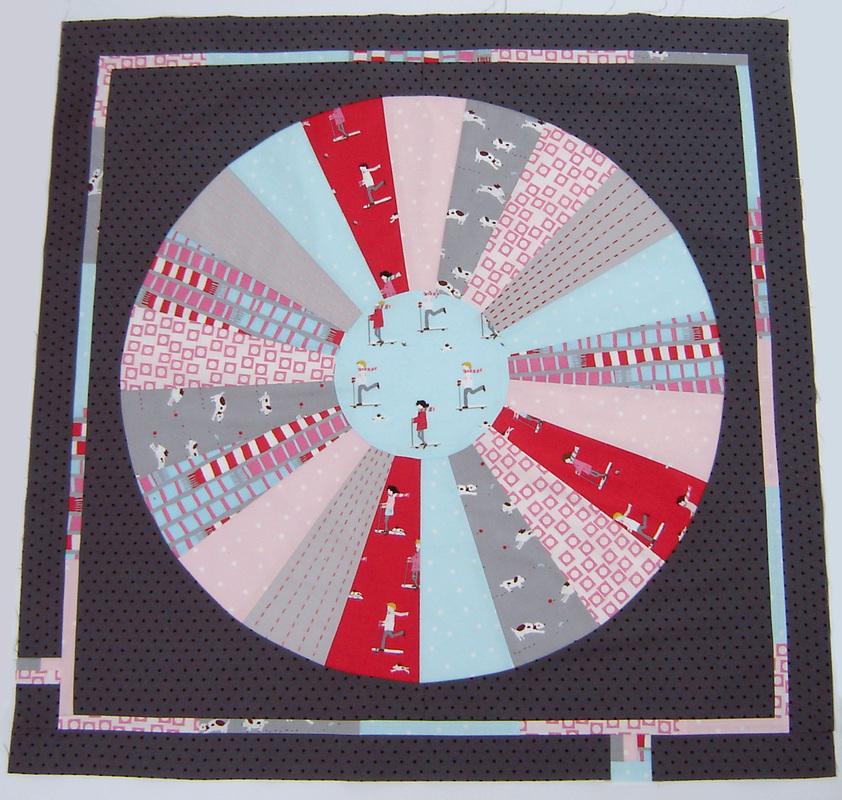
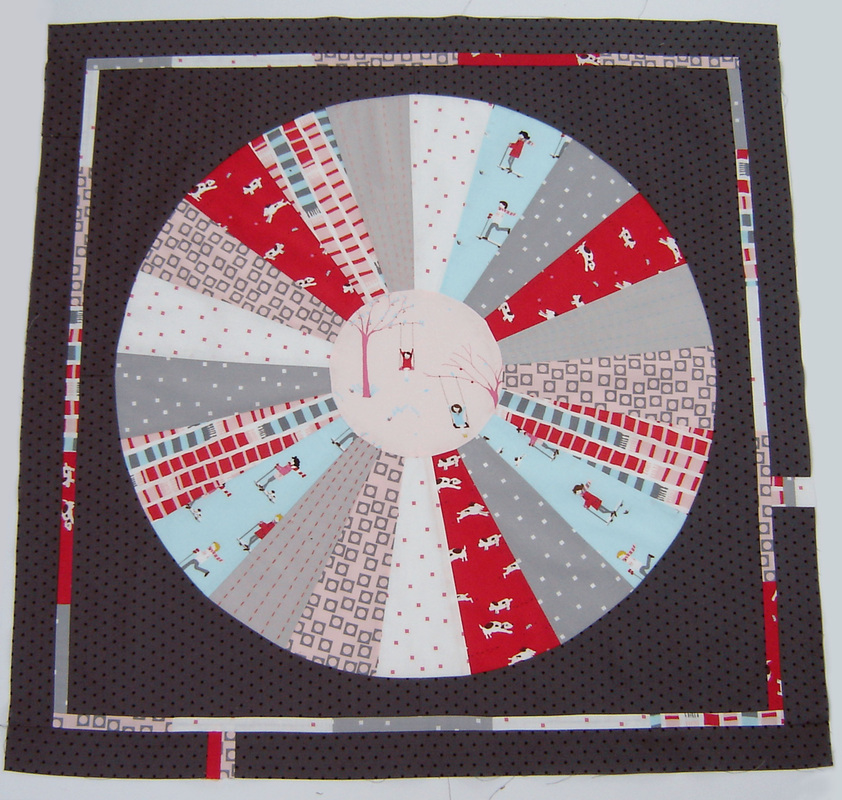
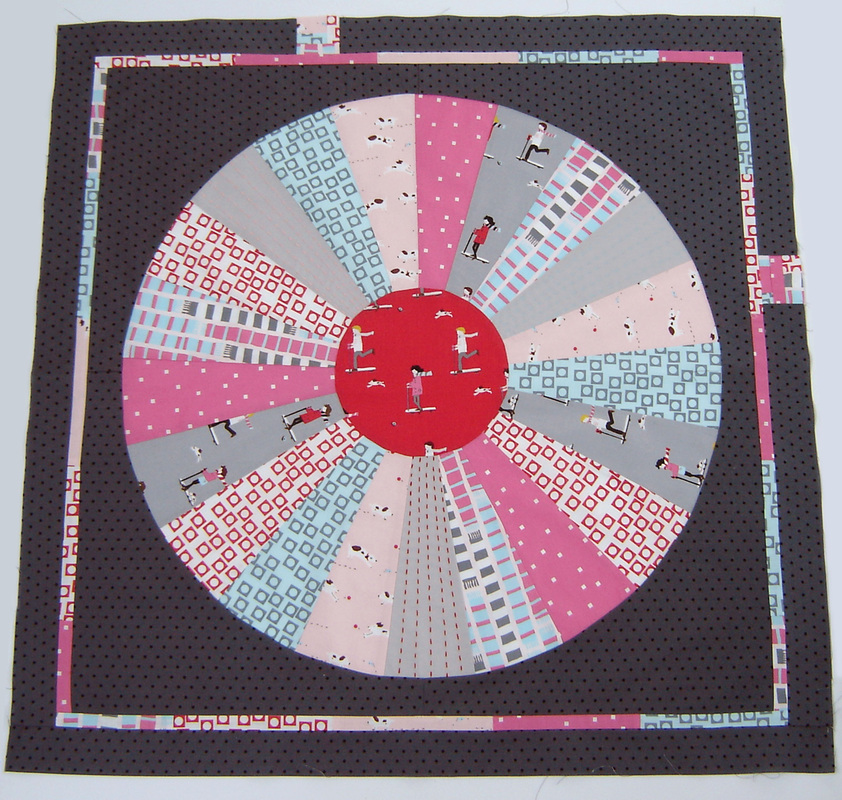
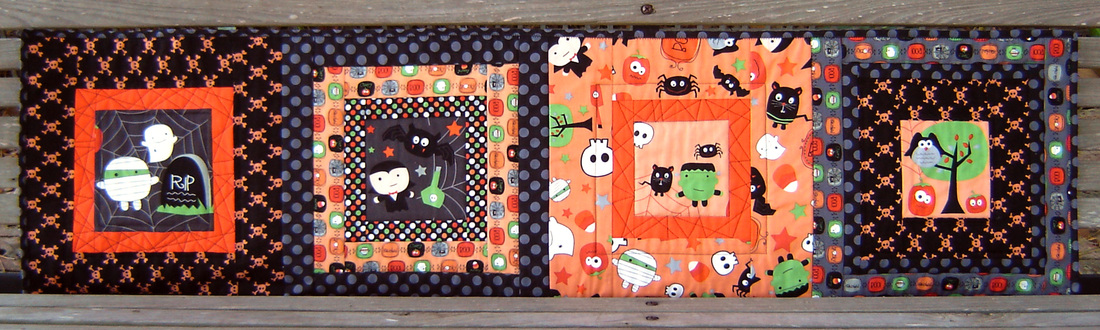
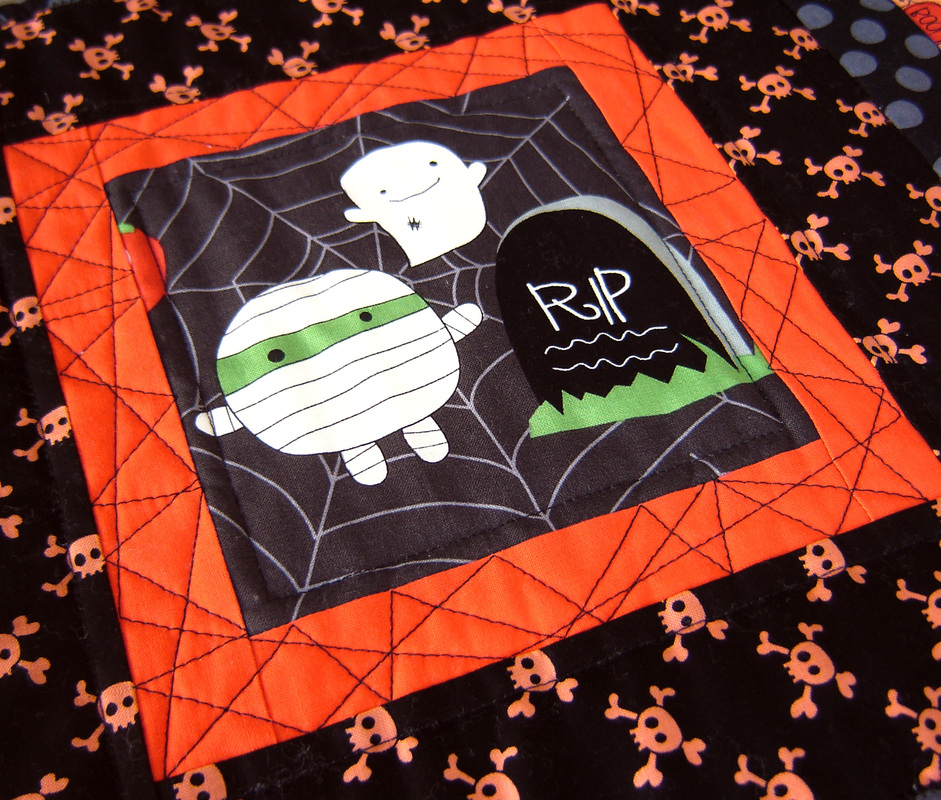
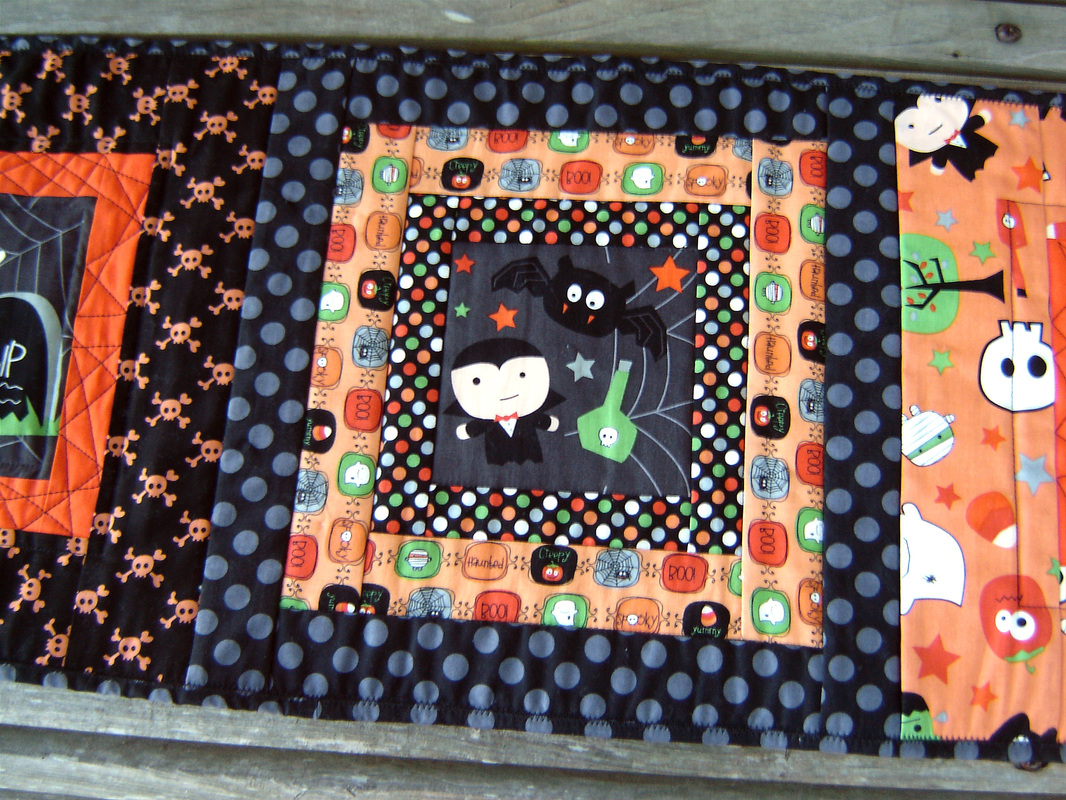
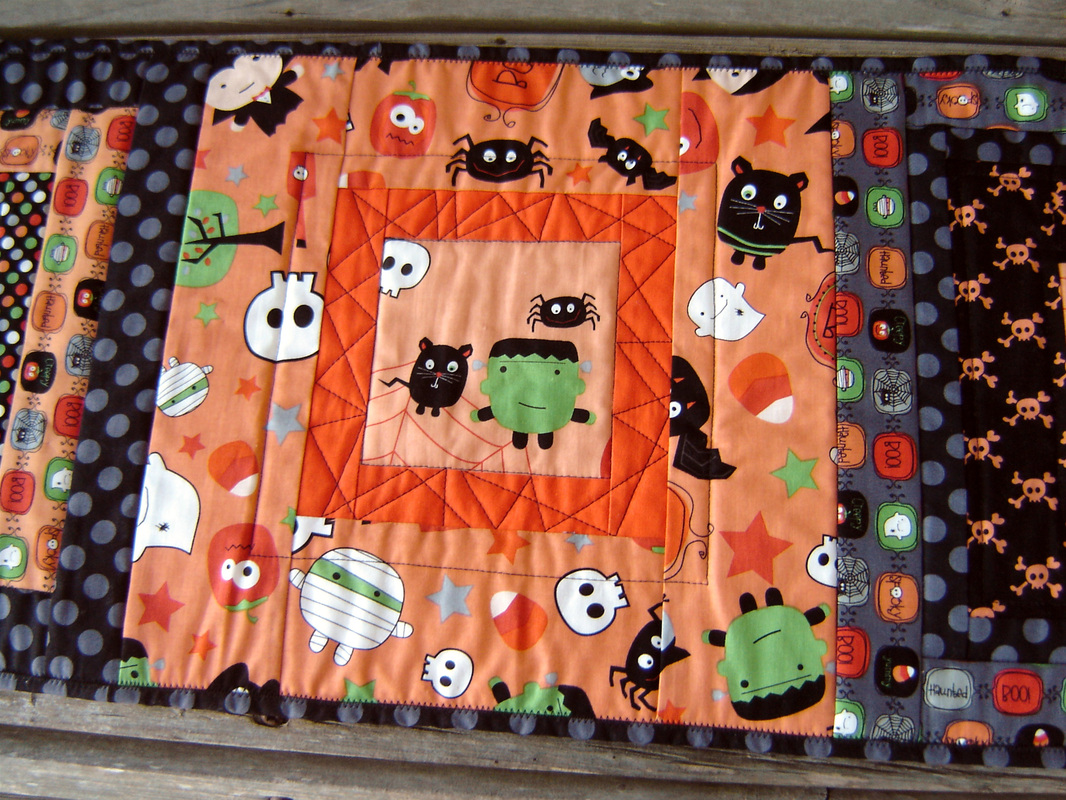
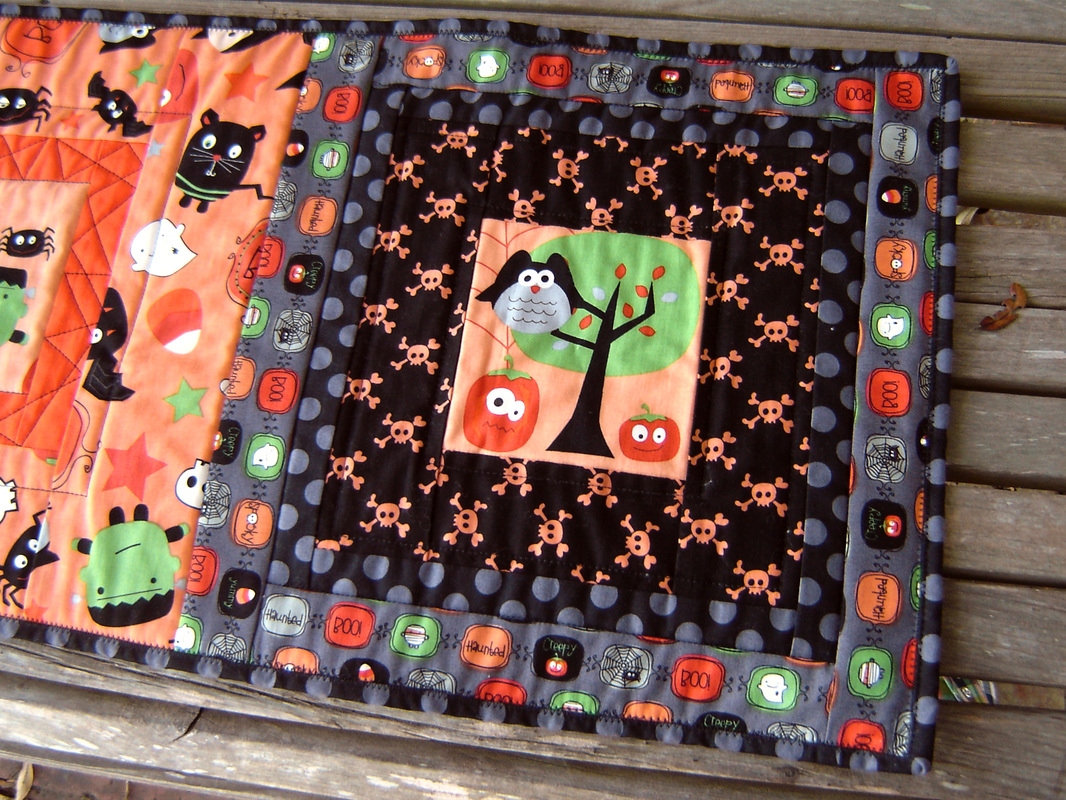
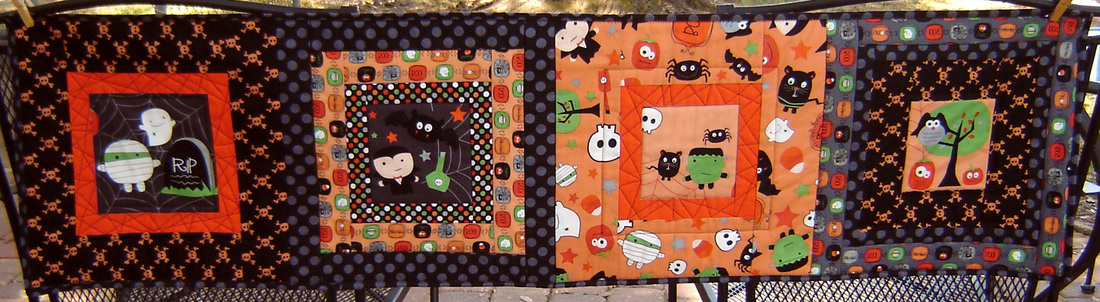
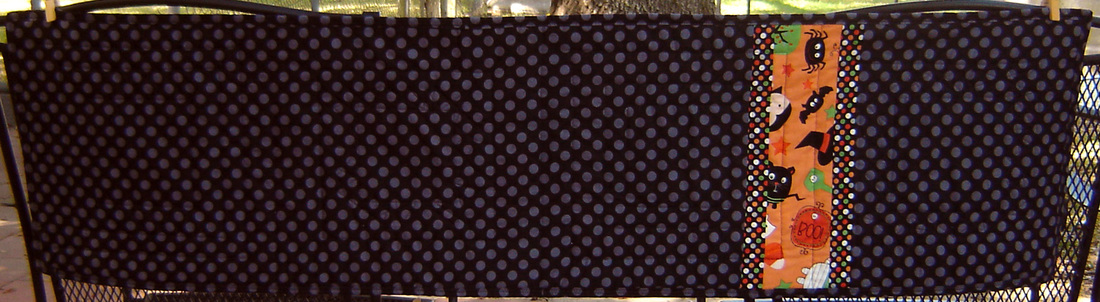
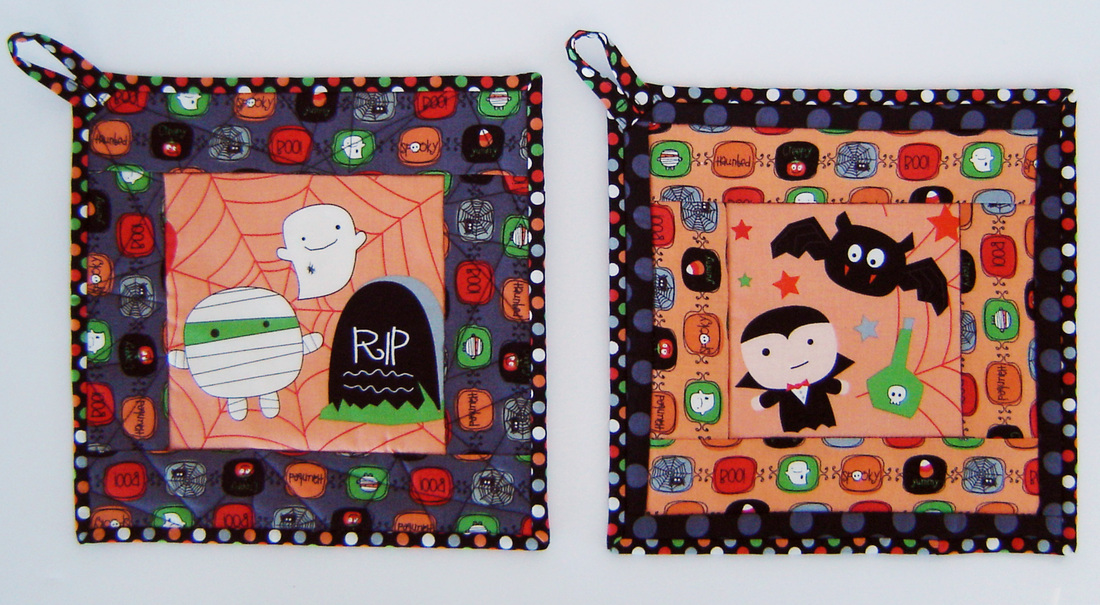
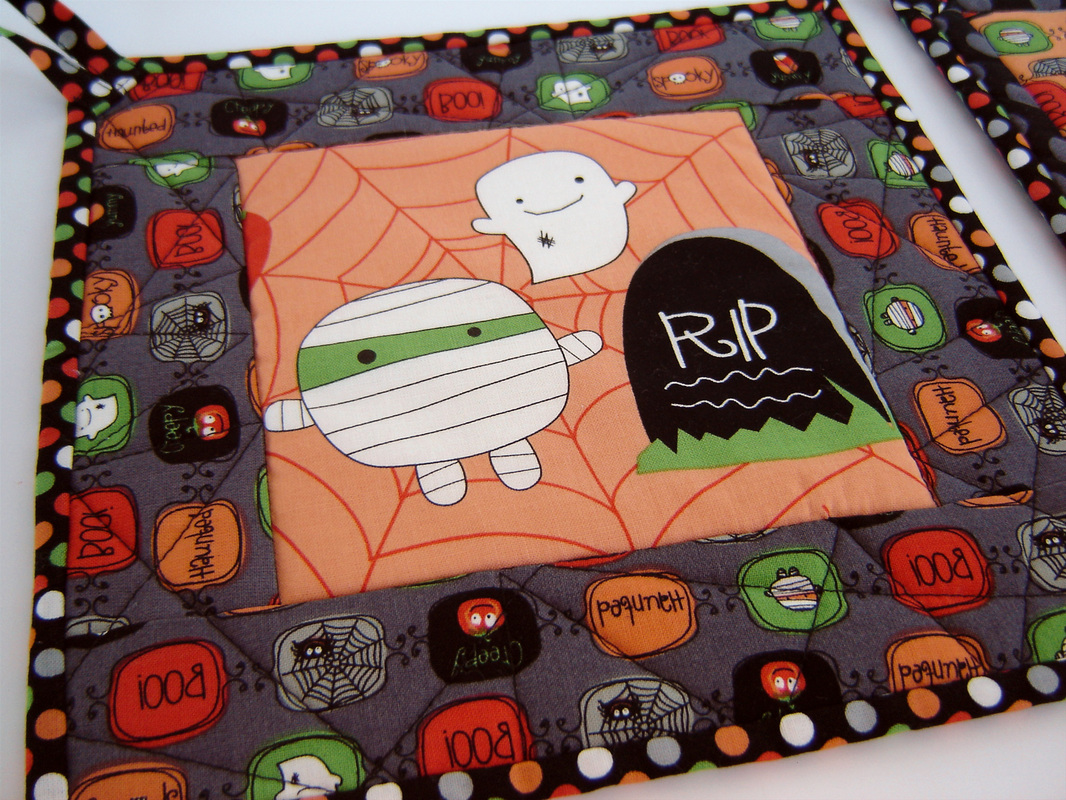
Amy over at Amy's Creative Side challenged us last Monday to pick just one thing for the week and get it finished. I decided to get the straight line quilting done with my walking foot finished on the four panels of my Lily's Quilts QAL quilt, all with the exception that I didn't go into labor. Well here I am, still pregnant (38 weeks) and with proof through pictures that I accomplished my goal! Woohoo!
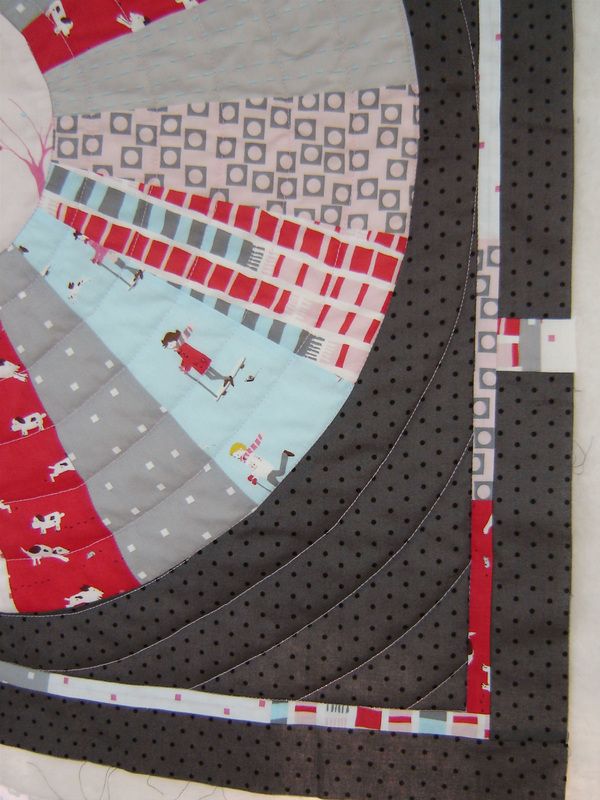
The quilting went smoother than I expected, and I enjoyed it, which is always a plus. Now I just have to do a tad bit of free motion quilting on the center circles, then start joining these panels via my (and Leanne's "She Can Quilt") method of quilt as you go! I will be joining the four panels and then adding a border to the whole quilt when finished. This project is my goal that I set in Rhonda's (Quilter in the Gap) Finish-Along, so I need to have it completed by March. So far, I am right on target to actually wrapping this project up! I'm going to try and get as much finished before I go into labor, wish me luck folks! Thanks again Amy for hosting this challenge and helping me to reach my goals! I always need that extra little push.
The quilting went smoother than I expected, and I enjoyed it, which is always a plus. Now I just have to do a tad bit of free motion quilting on the center circles, then start joining these panels via my (and Leanne's "She Can Quilt") method of quilt as you go! I will be joining the four panels and then adding a border to the whole quilt when finished. This project is my goal that I set in Rhonda's (Quilter in the Gap) Finish-Along, so I need to have it completed by March. So far, I am right on target to actually wrapping this project up! I'm going to try and get as much finished before I go into labor, wish me luck folks! Thanks again Amy for hosting this challenge and helping me to reach my goals! I always need that extra little push.


 RSS Feed
