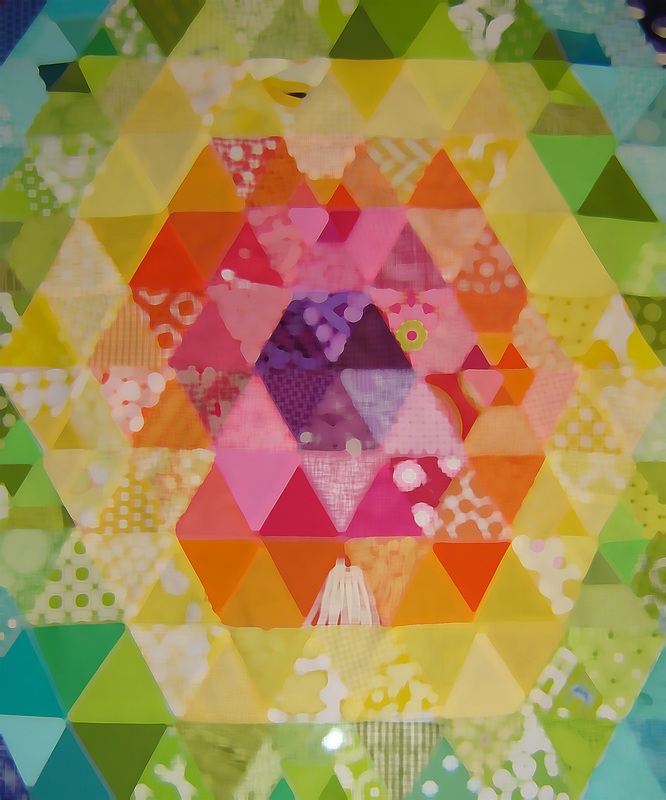
An artistic rendering of what I have been working on for the past few weeks. I finished it up today and I'll be revealing it later this week, can you guess the pattern?
|
An artistic rendering of what I have been working on for the past few weeks. I finished it up today and I'll be revealing it later this week, can you guess the pattern?
6 Comments
The greatest quilt I have made to date! Oh how I love it, my precious Macaroni Love Story in the perfect pattern. Measuring at 40"x40" it perfectly showcases the great Heather Ross fabrics. Now I just have to decide on the perfect way to quilt it! 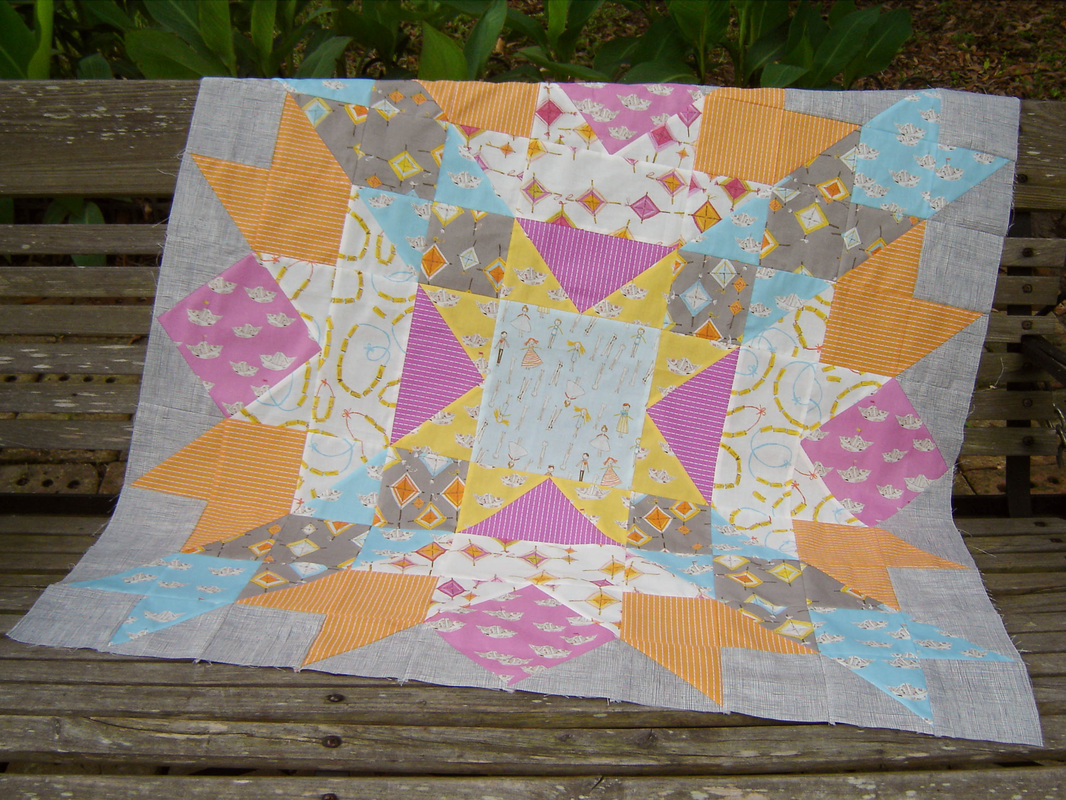
What was wee man doing? Watching the quilt and mommy! 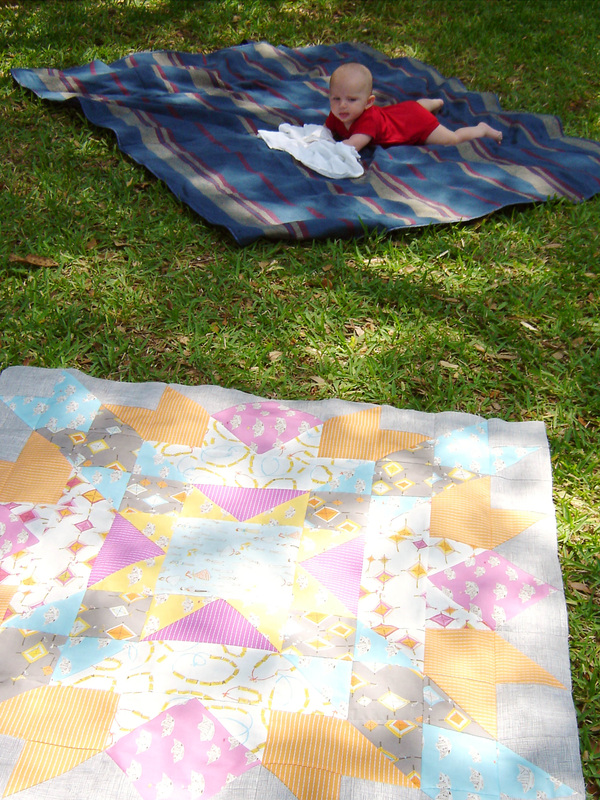
   This quilt was finished before Christmas, and I took the pictures back in January when I was pregnant, just never got around to writing about it. I figured the Blogger's Quilt Festival would be the perfect time for this little guy to make its debut! 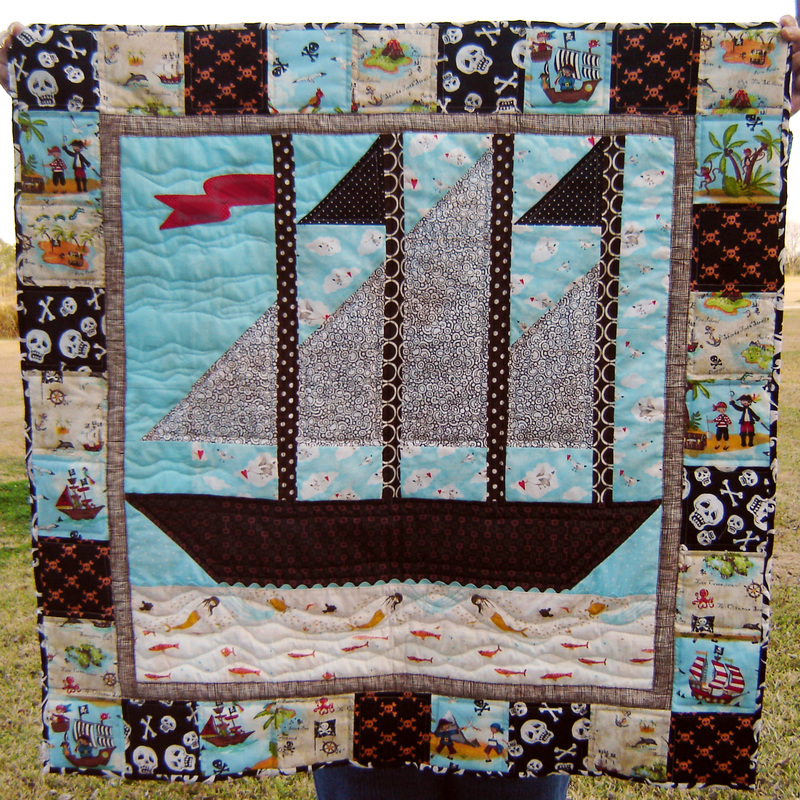
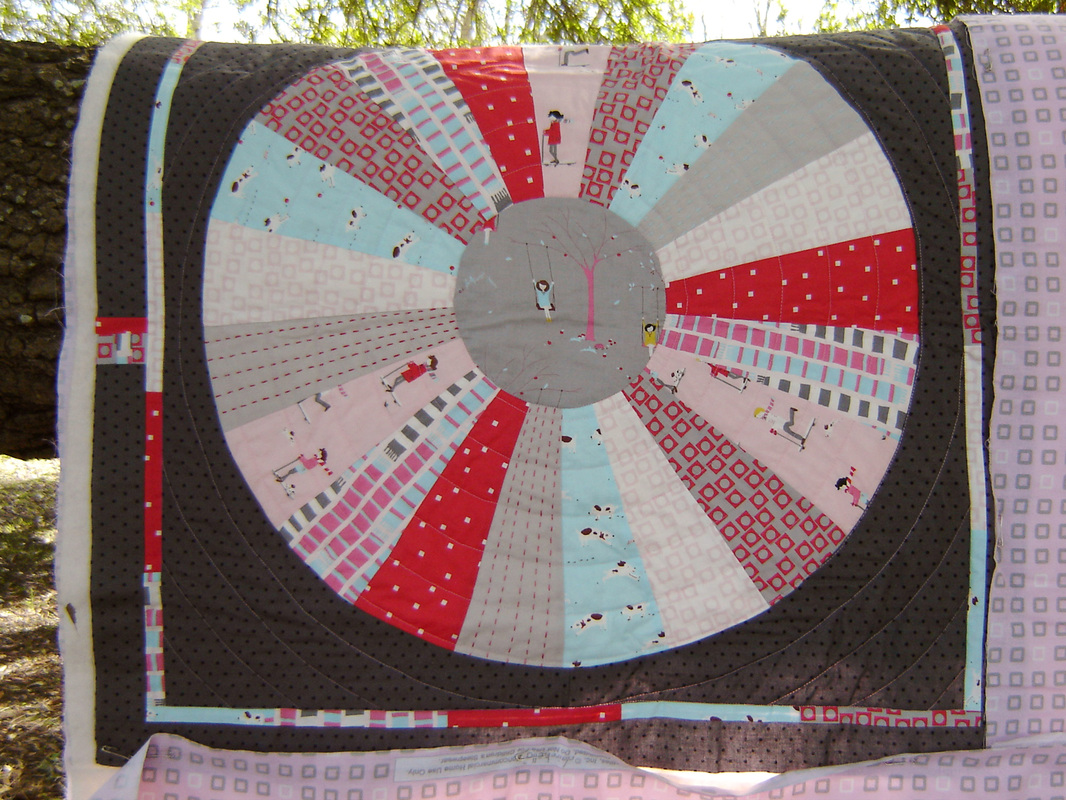
Now that the gift has been received by my son, I am free to show you guys how his pirate ship quilt turned out, without fear of him seeing it prematurely! This is a quilt of many things, first off, I learned a new technique along the way (free motion quilting.) I let go of all my "perfectionist ways" and just went with it, imperfections and all that would normally drive me NUTS (the sky being several different fabrics.) This is the largest quilt that I have done all the quilting by machine, to date, and this quilt is also made of nothing but scraps. The only yardage was used on the back, and I had just one yard of it, so that tells you that this little quilt is 36" x 36." 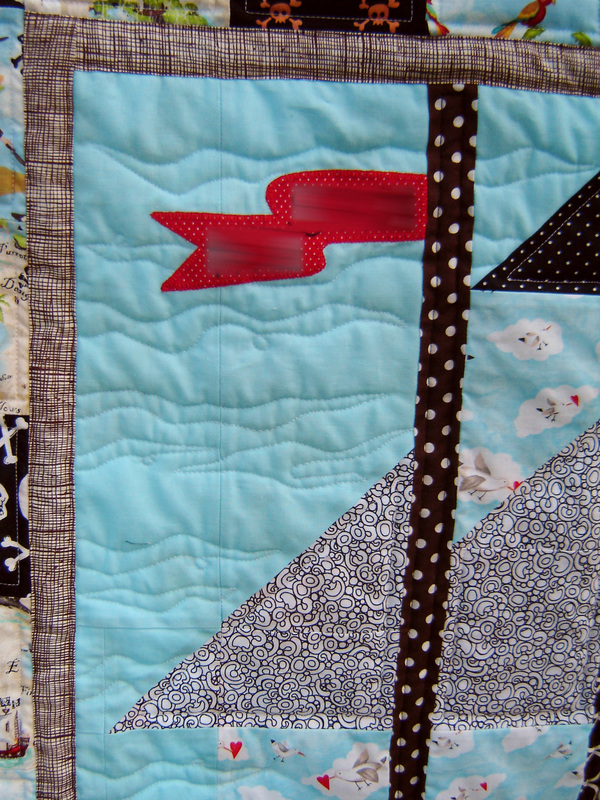
I embroidered his name on the flag, sorry folks that is for our eyes only! You can also see here an example of some of the free motion quilting that I did on this quilt. How do you like my clouds? Not bad for the first time and very little practice before hand, if I do say so myself! Can you tell how proud I am? I was so annoyed that I didn't have enough of the seagulls to do the entire sky, but in the end I decided to use a matching solid for the rest and I pretended that the ship was sailing into a "patch of seagulls!" 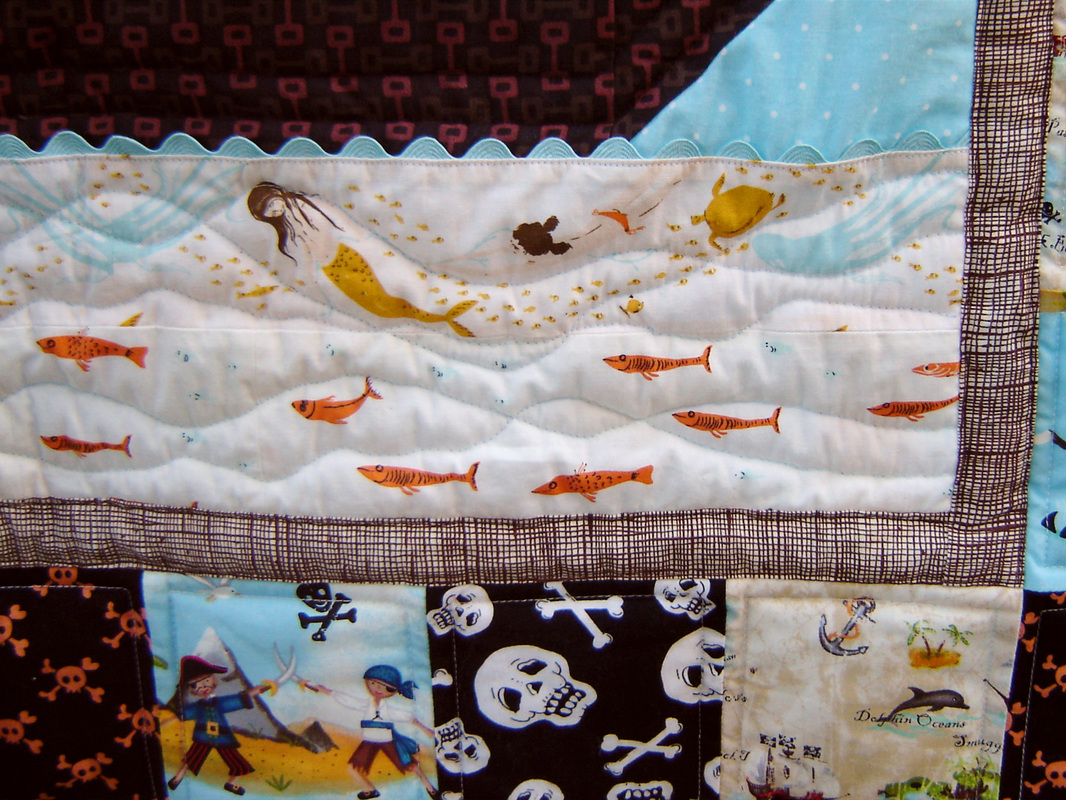
I used the small bit of "my precious" Heather Ross mermaids and fish, which I had to piece together like crazy to make it long enough for this quilt. I figured if my own son didn't deserve this precious fabric, then who does? I also did a bit of FMQ as the "waves in the water." You can also see that I used a large ric-rac for a dimensional aspect and that "wave" effect. You can also see some precious Denyse Schmidt fabric that makes up the body of the boat! The outer border consists of a bunch of pirate and skeleton prints, all of which my son loves, and even though it creates quite the tacky effect, it is perfect for a 4 year old. 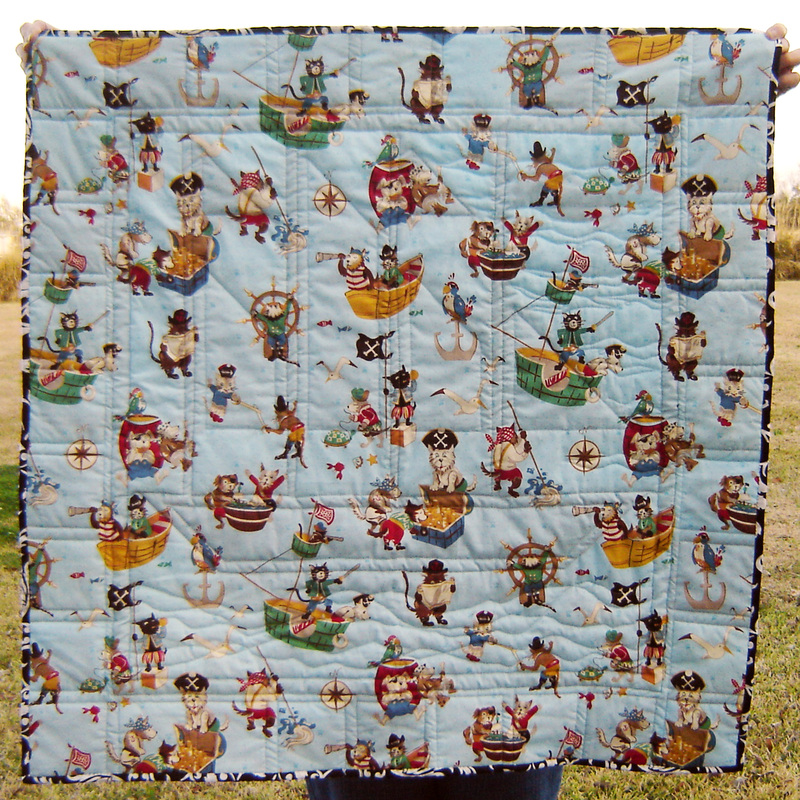
The backing is a great "pirate dogs" print, and I think my son likes the back just as much as the front! I actually used a floral B&W print for the binding, but since it was a large scale print, you can't really tell that it is floral, which worked out quite nice. The pattern for the ship can be found in the Modern Blocks book by Susanne Woods. It is found on page 166-167 and is entitled the "Set Sail Block." The pattern is for a 12.5" square block, so I doubled all of the dimensions, making this ship block 25" square. I used a high loft polyester batting, so that it would be "extra cushy" and soft. Thanks for stopping by and visiting during the festival, make sure to check out the other entries over at Amy's Creative Side!  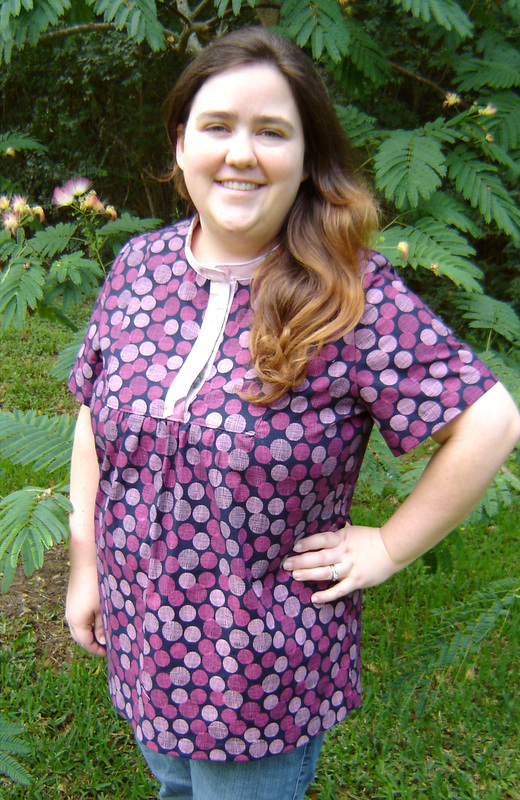
Hi! It's me, Mama Marci, as my son now affectionately calls me, which I think is possibly the cutest thing in the world. I am modeling my brand new Tova top by Wiksten that I made for myself. Technically this is a muslin, made of a cheap print from JoAnn's that I liked and since it fits, I am wearing it! The contrasting collar and front details are up-cycled from a top of mine that no longer fits, but I loved the fabric, so it lives on! It really is quite comfortable and I am so pleased, I will be making quite a few more. 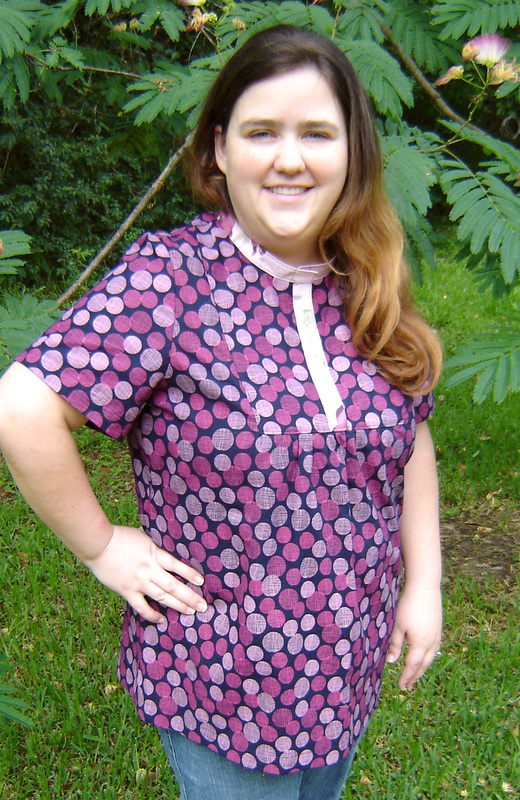
This is a quick sew top, whipped it up in a few hours, which is nice since my time is so limited these days. I made it in the XL, and the body fit perfectly, the length was great, and I shortened the sleeves for a summer top. My only problem was the bust line. I tried it on originally without the sleeves and I quickly realized that the bottom of the inset fell dead center of my boobs and was WAY too tight. I hadn't finished any seams yet, so I let the underarm seams out as much as I could, but it still wasn't enough. What to do??? I decided to add in a triangular "extension" of sorts underneath the arm. The triangle measured 2" across by 7" long, tapering down into the original seam close to the waist. This busy print hides it completely. Since I extended the sides that much, I had to add the same 2" into the sleeve as well, which also worked out perfectly because the sleeves would have been too tight as well. Not as bad as the bust, but not exactly comfortable. The fit is much better in the bust, not perfect, but on the next I will try to fix the minor problems I have with it. The sleeve is too big around, so I will also try to correct that in the next go around also. In essence I will be making another "muslin" just to be sure I can get a great fit before I start making the "real" ones! I have some great voile from Anna Maria Horner that I just can't wait to make into this top! This top is super easy to make, and I think the hardest/longest part was printing the pattern and taping it together! I am linking up with verykerryberry, who hosted a lovely sew-a-long and has step by step instructions for this top and some variations. If you are considering sewing for yourself, this is a great starter project!  P.S. I asked my husband what he thought of the top, and he replied, "Yeah, I like it." So I responded, "Can you tell that I made it?" His response, "Really? I didn't realize that you made it, I thought you bought it!" That simply made my day!
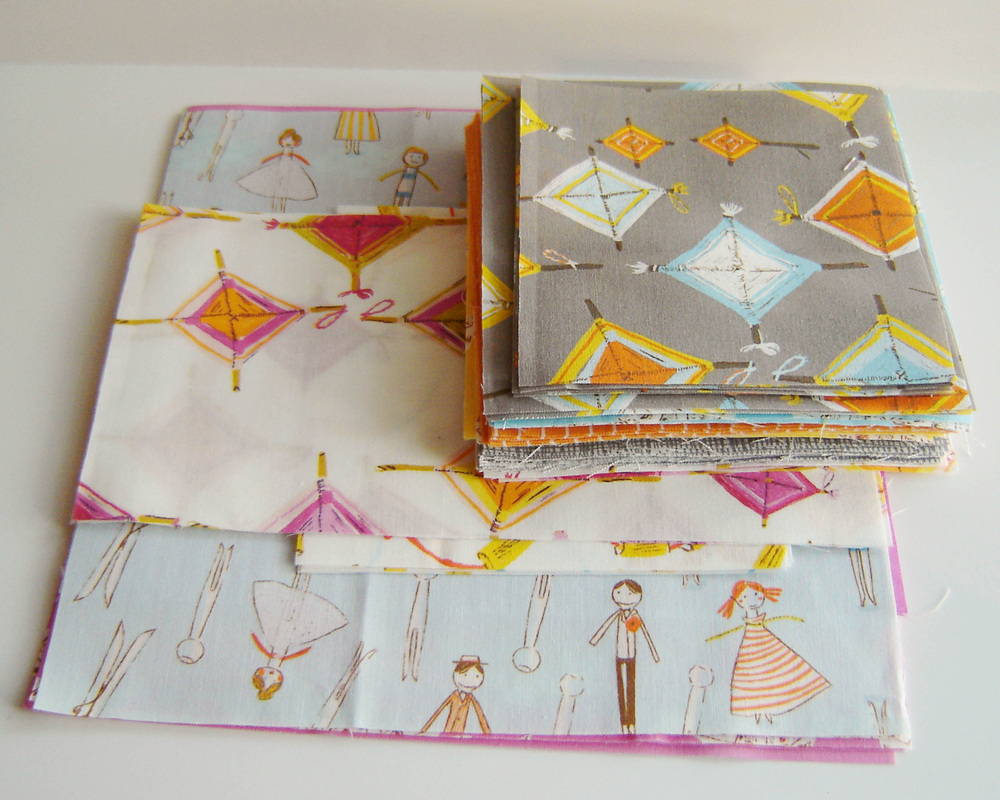 Having every intention of making this a wordless Wednesday, I quickly realized that it wasn't wordless when I promptly began typing. I guess I am unable to be wordless? Maybe it is because I don't have any adult interaction during the day! Oh well.... I bit the bullet and cut into my precious Macaroni Love Story by Heather Ross. I had a plan and a pattern for quite some time now, spent an enormous amount of time doing the math and changing the pattern a tad bit, but finally last night I cut it out! It felt good and rewarding. Can't wait to get stitching!  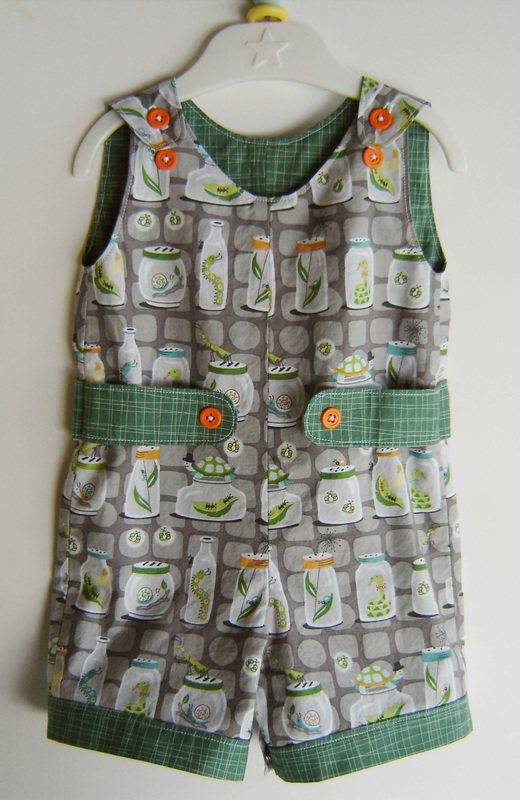 Just a super quick pop in to show off two little rompers I finished this past week. I signed up for the One Thing, One Week Challenge over at Amy's Creative Side last Monday and set these two rompers as my goal to finish this week! Goal accomplished! I am going to post more about these adorable outfits at a later point, but I will say they are super easy, super cute and the pattern is by Patty Young and is the Natalie and Nate pattern. LOVE IT and can't say enough great things about this pattern! 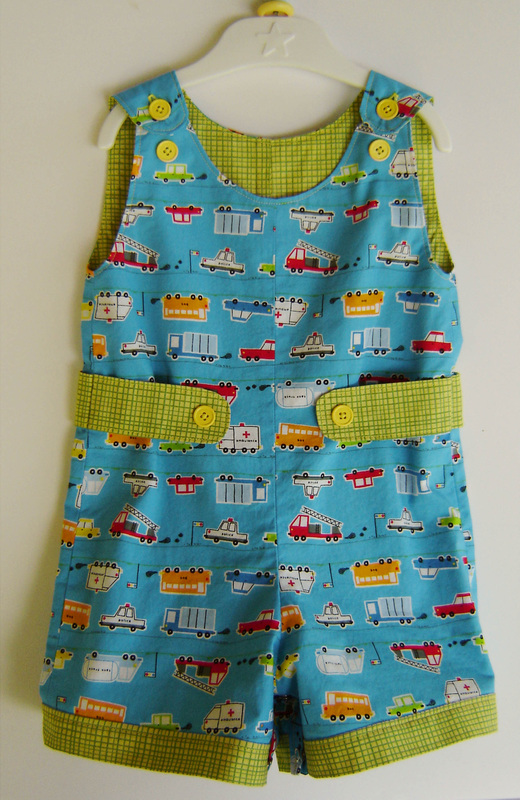  Elsie Marley is holding the kids clothes week challenge this week and I have jumped on board! The concept is to work one hour each day, for seven days on clothing for your kids. Anything counts, just so long as it is related to making something for your kids to wear, and it doesn't have to be just sewing, it could be knitting or whatever. I figured I probably won't get a whole hour to work, so I'll aim for 4 - 15 minute intervals, and even if I have to wait until the children go to sleep, I'll work at night. 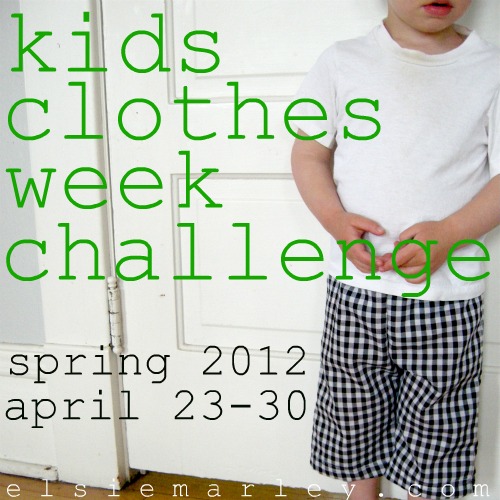
What are my plans? 1. To fix a pair of pants I bought for my 4 year old from Old Navy that unraveled the first time I washed them. Either fix them or throw them in the trash. 2. I want to sew a pair of pajamas for my 4 year old from the Star Wars fabric I recently found at JoAnn's, using the book Sewing for Boys. 3. I want to sew a romper for my baby boy from the Natalie and Nate pattern by Patty Young that I also bought recently. See photo below! So cute! 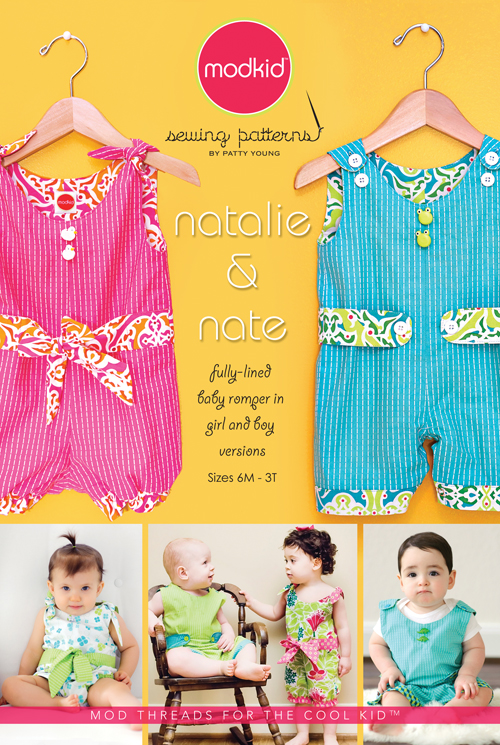
It isn't to late to join in, the fun starts today! I hope to be back during the week with progress updates and hopefully some finishes! Wish me luck!
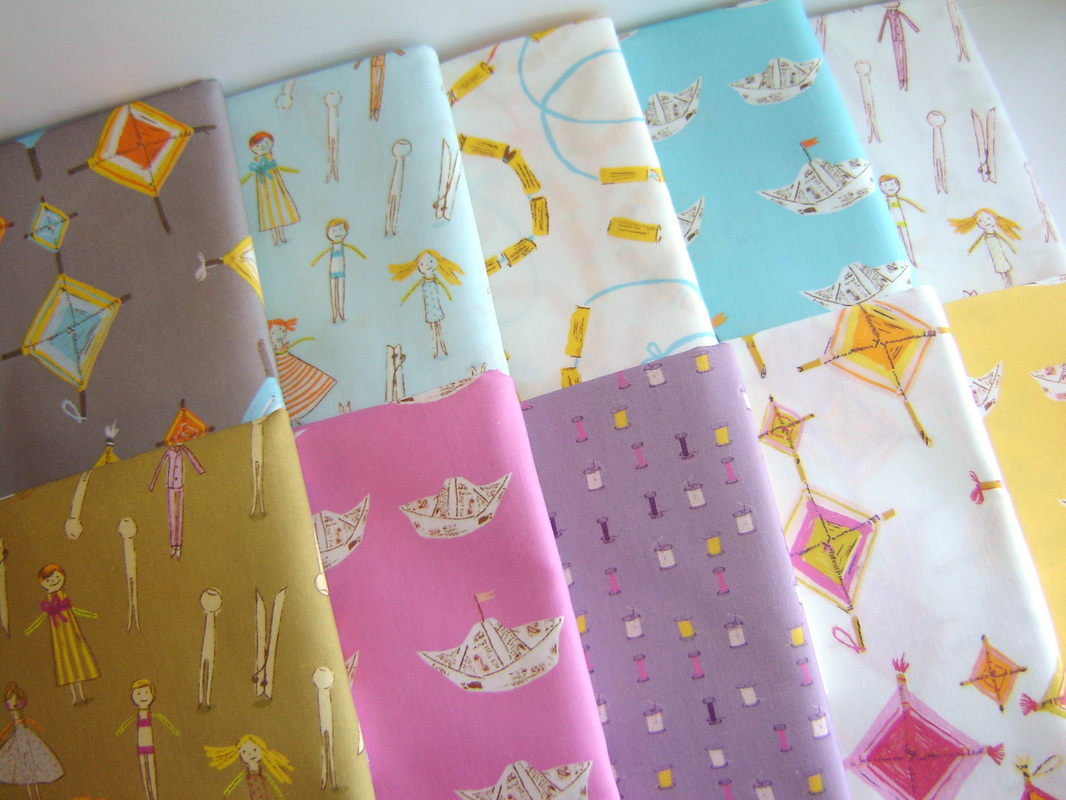
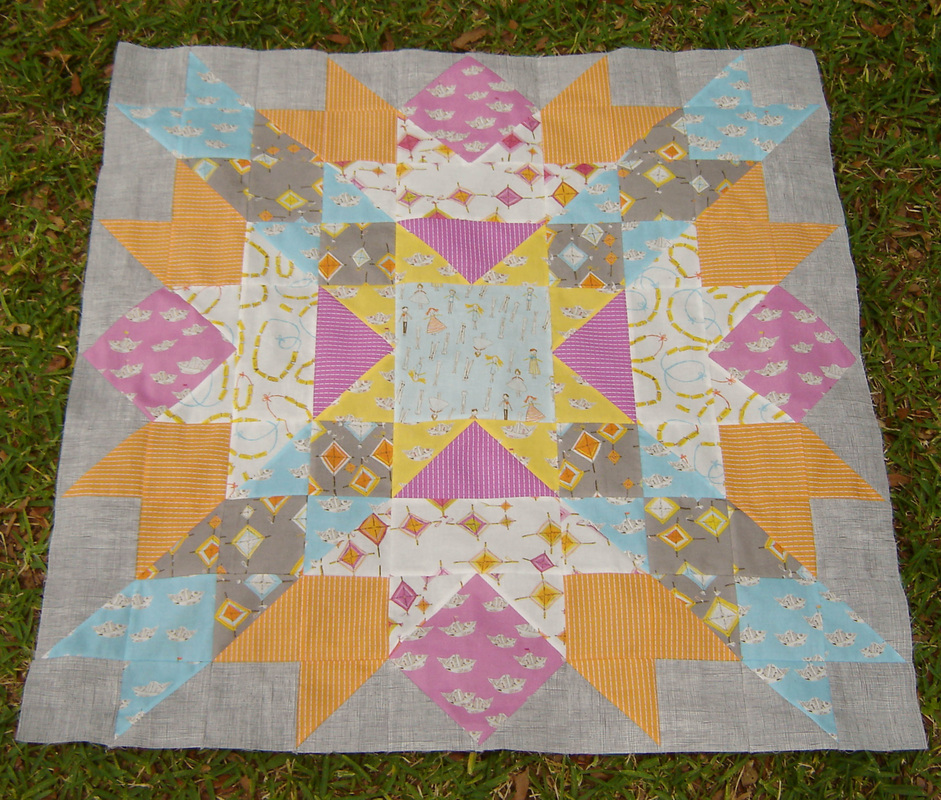
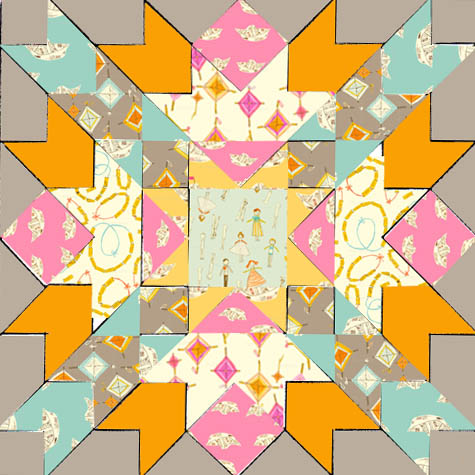
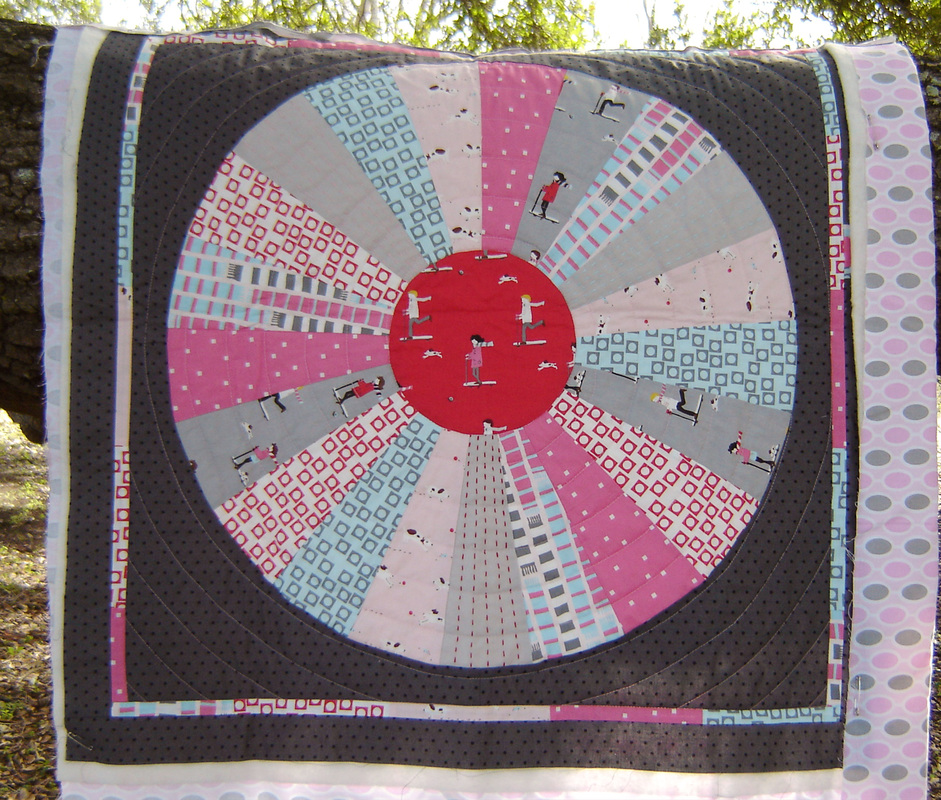
Here it is, my precious. Macaroni Love Story by Heather Ross, I've been hoarding it, and now it is time to cut it up, stitch it up, and then love it up! I've actually decided to join in two quilt-alongs at the same time (as if I don't have enough on going projects.) I think fate threw me head first into both of these quilt-alongs and that it is meant to be, so I'm going with it! The first is the My Precious QAL hosted by the lovely Kelly over at Kelby Sews. The second is the Cosmic Burst QAL hosted by the also lovely Julie over at Distant Pickles. Both of these quilt-alongs will result in one quilt, I will be using my precious fabric to make the Cosmic Burst quilt. I wont be killing myself to get it done by any certain deadline, but I do hope to get cutting soon. First, I have to decide on fabric placement and that is where I need your help. When you have fabric this precious, you don't just cut into it all willy-nilly...no YOU HAVE A PLAN. I have roughed up three fabric placement images, and I would love to know which of the three you like the best. Husband and I mutually agreed on one last night, but I would love to get your opinion too! Several things to keep in mind. The orange is going to be Patty Young's Creamsicle Stitch fabric, and the Gray is probably going to be Alexander Henry's Heath. Kind of undecided on the Heath as of right now, we shall see. The scale of the fabrics is a bit off also, (this is a rough layout) and keep in mind this quilt will measure 40" x 40" and will showcase these prints nicely. This quilt is one big block. Here we go: 
Option 1 - Purple Star Spokes, No Yellow
Option 2 - Yellow Star Spokes
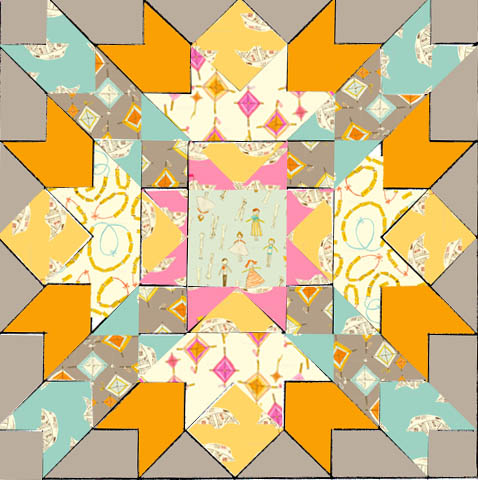
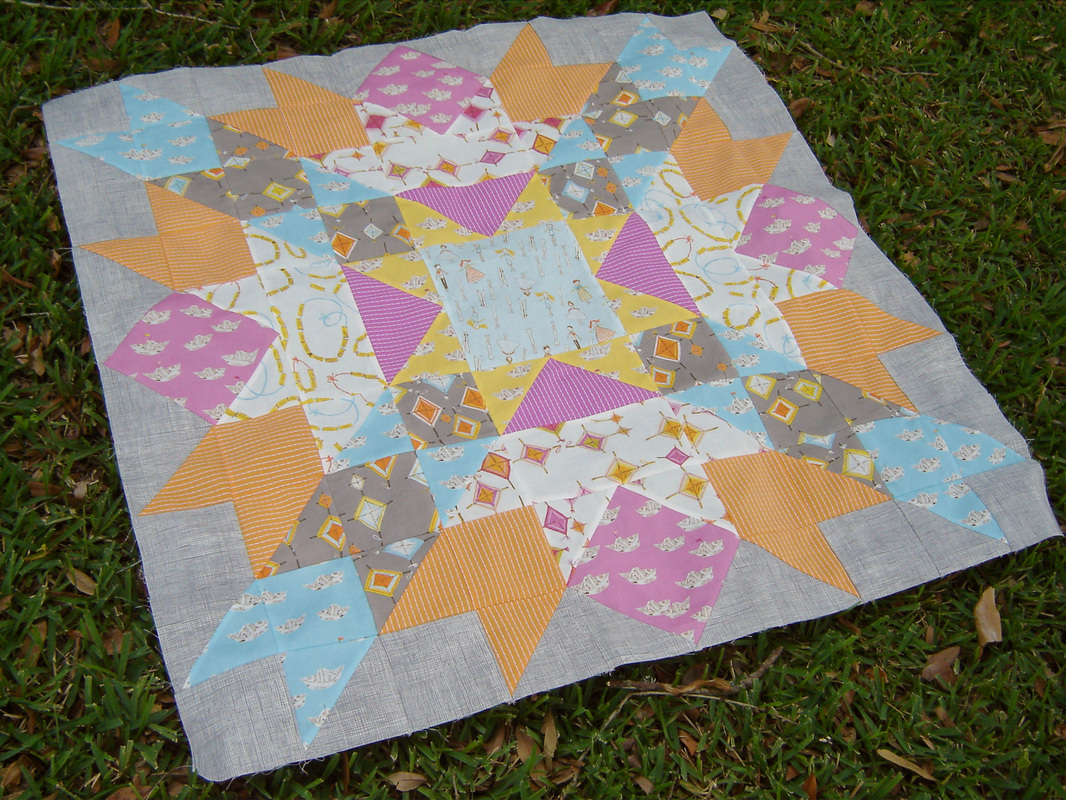
Option 3 - Pink Star Spokes, Different Yellow Placement
Linking up to WIP Wednesday over at Freshly Pieced, this is my newest work in progress, and honestly what is the point in listing the 100 other on-going projects that you all have heard about over and over again. Heck, I'm tired of hearing about them too! Maybe from now on, I'll just feature one work in progress, we shall see. Thanks in advance for your help in choosing my layout. Ughhh...Fail. I didn't meet my ONE goal in the first quarter of the Finish-Along over at Quilter in the Gap. I came really really close, but alas my little one was born, and it just didn't happen. The pictures below show the last photos I have taken of that quilt, but it is further along than that. I have the four pieces sewn together, and since I am doing quilt as you go, I really only have one middle panel left to quilt, quilt the border, and then bind it. About two days worth of work really, not much. So this project is getting carried over to this quarter. I also am going to add another project that has been sitting for far to long. These two handbags that I am making for a friend. They are also further along than this, I just need to take the time and finish them up. This is also about two days worth of work. So let's see if I am able to muster up about 4 days worth of sewing time during the next three months! HaHa.... don't hold your breath. 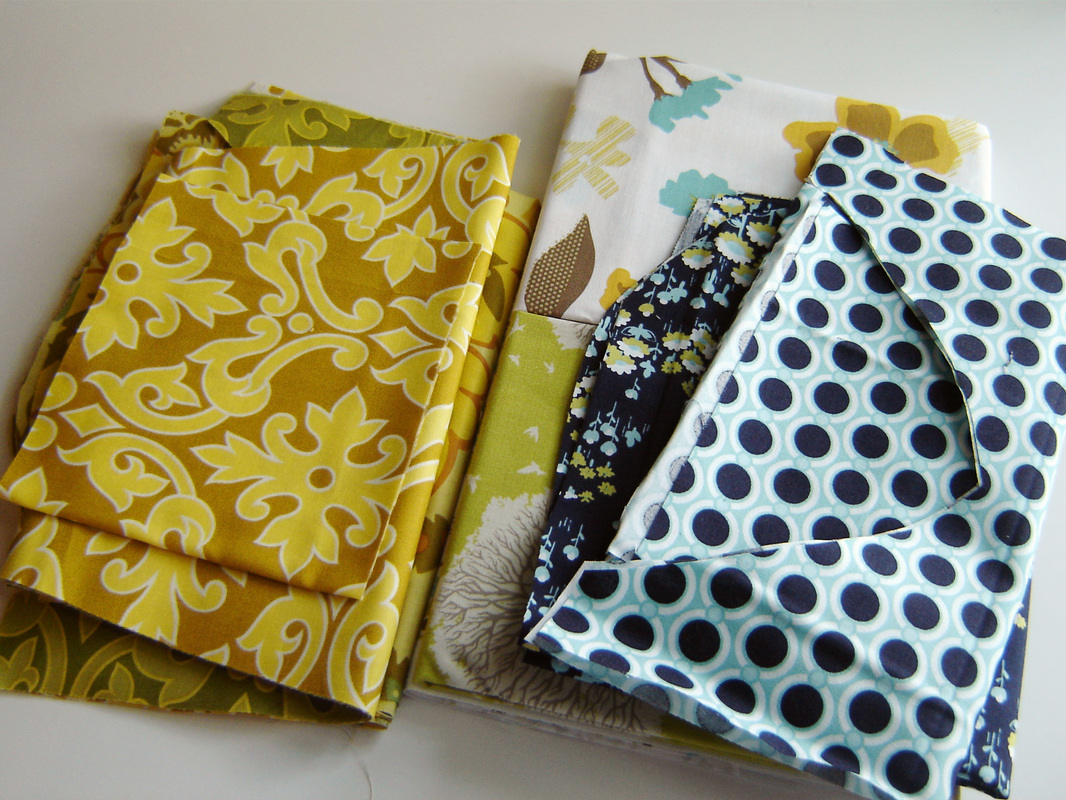
Fabrics for Uber Handbags
I have decided to set a new resolution for the year, a more realistic resolution. Originally my resolution was to finish all my WIP's from 2011, which is about 14 projects. Not going to happen, honestly. So... my new resolution is to get one quilt finished per quarter. I am happy to say that I did meet this goal in the first quarter by finishing the little boy car quilt that I shared last week. I just didn't have that one on my Finish-Along list originally, hence the fail. But that is OK, I finished one quilt last quarter, and hopefully can finish this one quilt this quarter! Wish me luck! 2012 Finish-Along Second Quarter Goals: 1. Finish Sherbet Pips Quilt 2. Finish the Two Uber Handbags  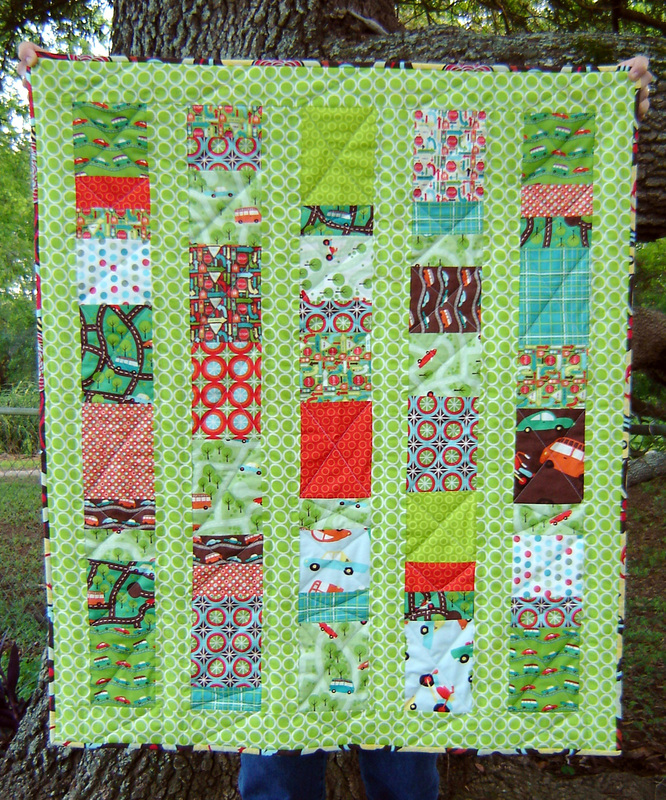
Oh my goodness, I actually finished something! I started this quilt almost a year ago, and this past weekend it was gifted to my just turned one year old nephew. I ended up with a bunch of random scraps that were roughly all the same width, and I didn't know what I wanted to do with them for a while, but last summer when I joined Stashtacular! and this pattern was released, I knew it was perfect and meant to be, my scraps were the same width the pattern called for! I quickly stitched up the rows, but then the project stalled out for quite some time as I tried to decide what fabric I wanted to use as the sashing. Nothing seemed right and I bought several solids that didn't quite work. About six months later I bought the green circles and knew that I would use it, even though it is quite busy, I like all the colors and patterns on this quilt. In an effort to finish up all my works in progress from the past few years, I worked hard the past few weeks to get this quilt done on time. I am so happy to actually have met my own deadline! 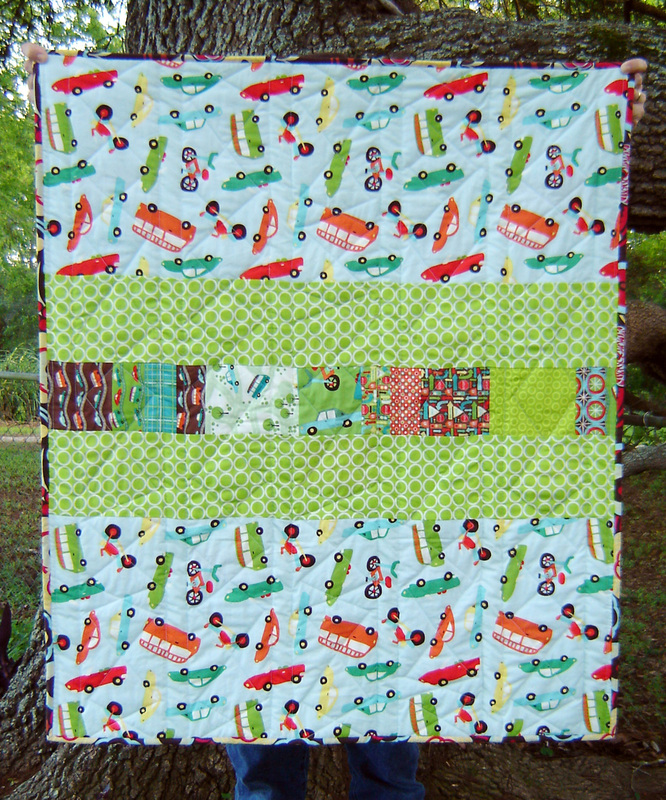
This quilt pattern comes from Jenna over at Sew Happy Geek, and was a featured tutorial last year during Stashtacular! You can find the tutorial for this quilt HERE. The fabric is My Mind's Eye by Riley Blake Fabrics and is the Wheels collection. The green and white circles print is Metro Living Circles by Robert Kaufman. I used a polyester high loft batting for that extra puffy feel, and machine quilted it with straight lines and simple "x's" or from the back view it looks more like wonky diamonds. The binding is an abstract floral print from Micheal Miller, but since the print is so large and abstract you can't really tell that it is flowers, and the best part is that it matches all the colors so perfectly! Jenna's pattern calls for six rows on the front, but knowing that I wanted the quilt to be a certain size to accommodate the backing fabric, I used the last extra row on the back, and couldn't be happier with how the back turned out. I really feel this is a reversible quilt, which is perfect for a little one who has no idea of a "right side" or "wrong side!" 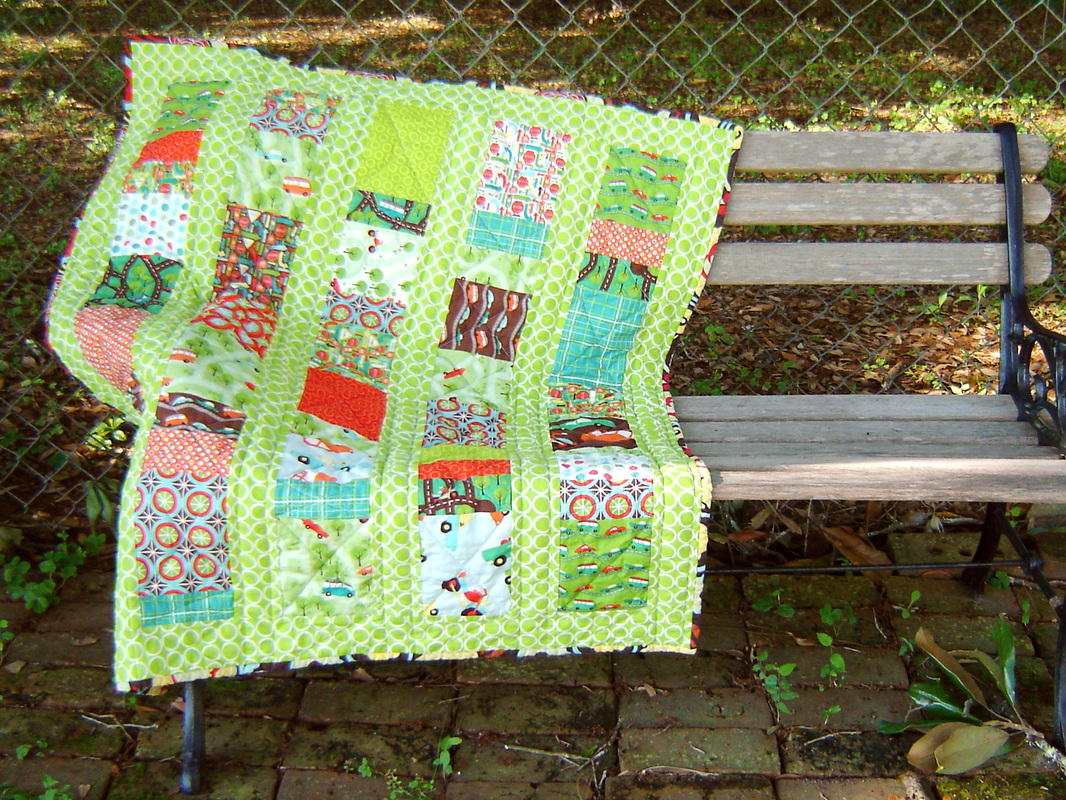
I learned a little something while making this quilt. I used my walking foot for the quilting, and everything I had read about a walking foot always mentioned to go slower, so that it worked correctly, but the last few quilts that I quilted, I had problems with the foot not really working right. Out of sheer frustration and lack of free time, I put the pedal to the metal on this one and stitched a lot faster than I normally would, and found out that on my machine, the foot worked much better and I had absolutely no puckering or problems. So from now on, I'll be stitching much more quickly than I normally do! 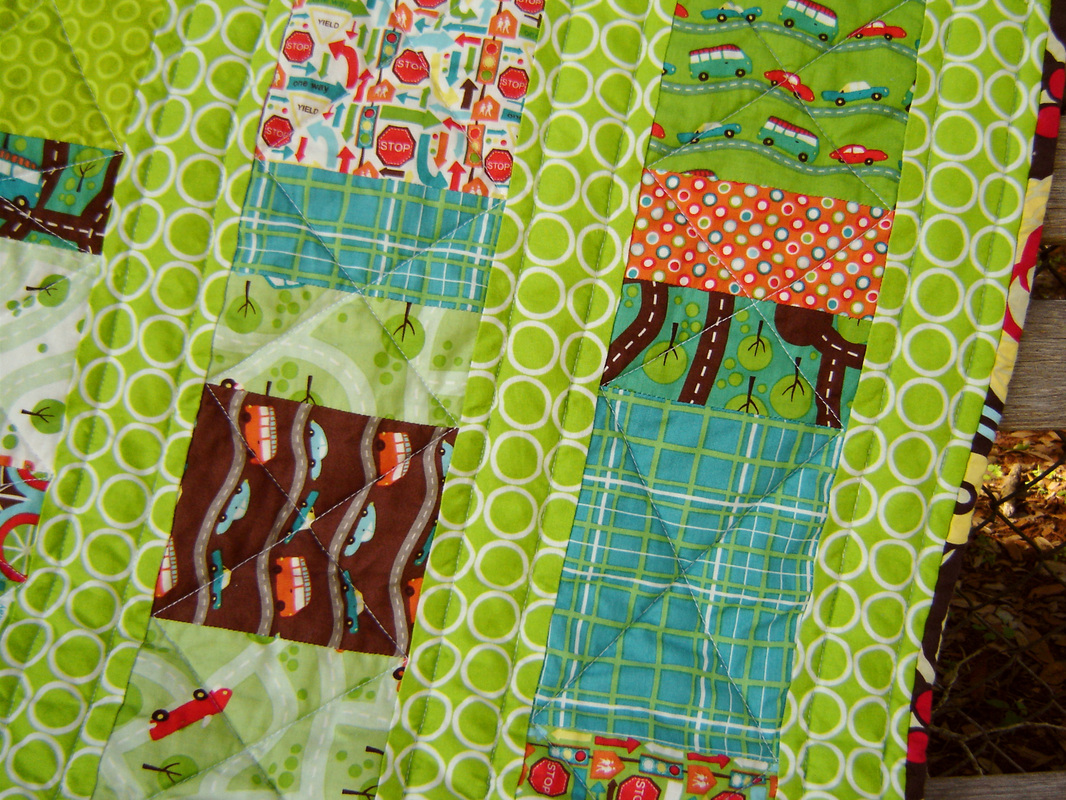
Quilted x's on the front.
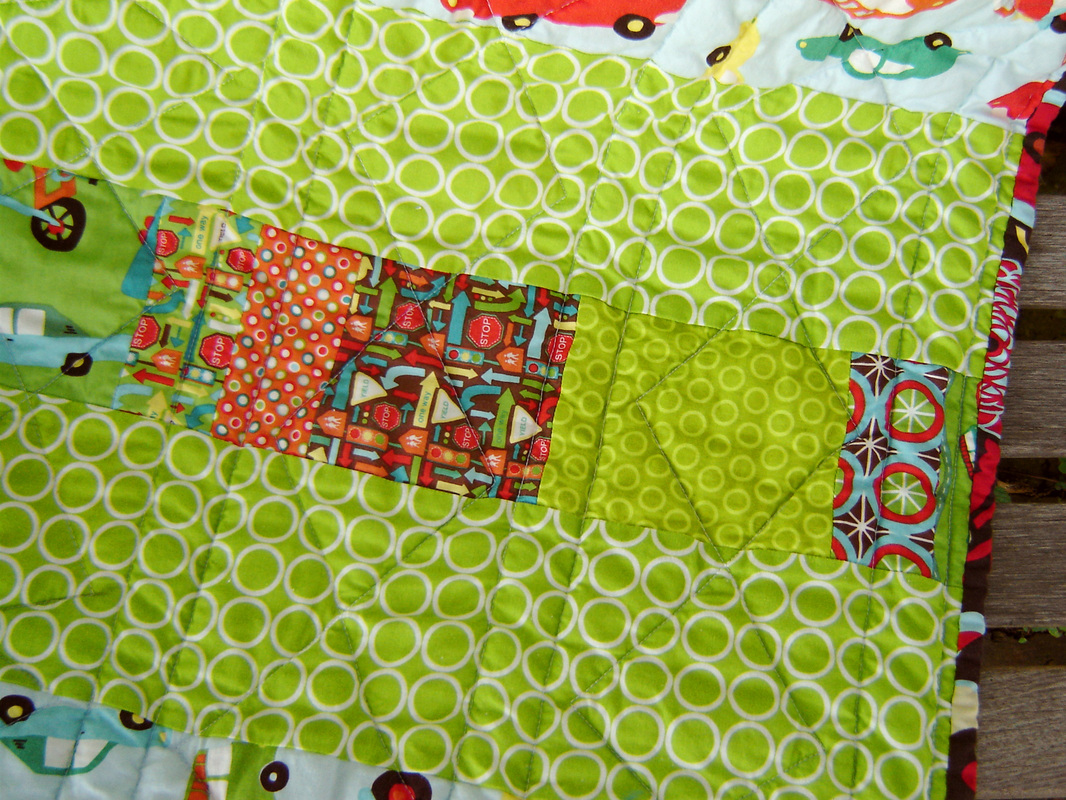
Quilted wonky diamonds on the back.
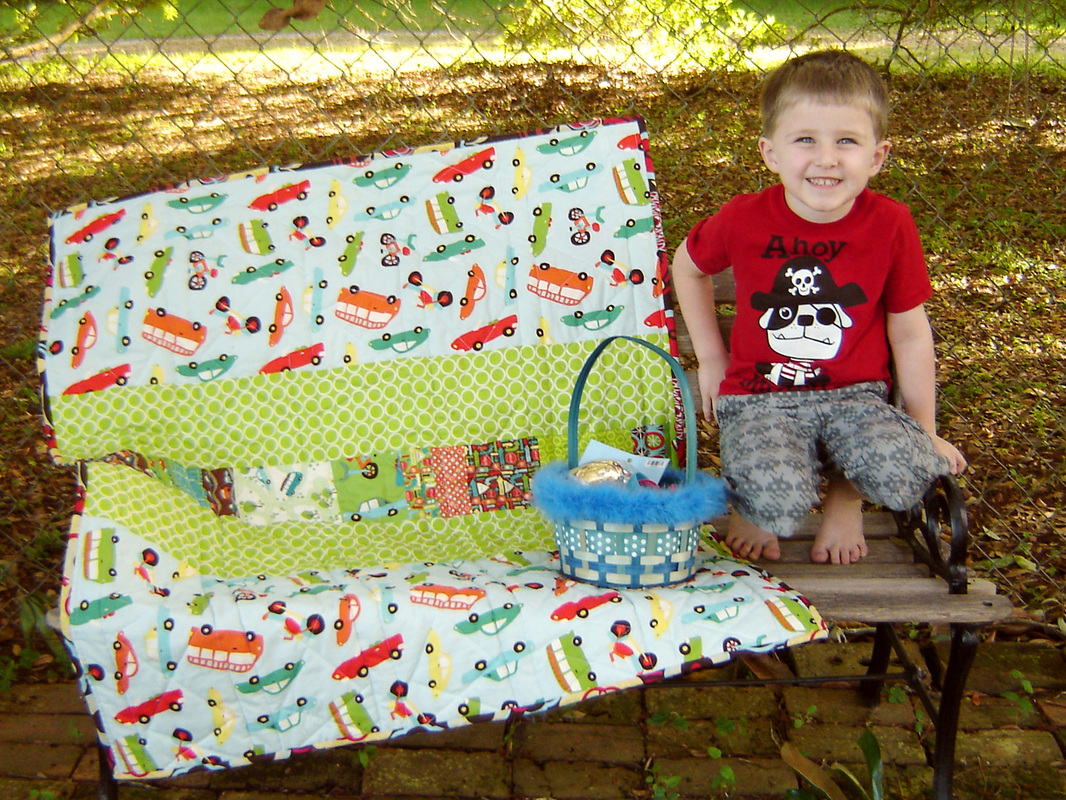
What was my four year old doing while I was snapping these shots? Desperate to be included in the photo, of course. So this one is for him, Easter basket, cheesy grin and all! Since i forgot to measure the finished quilt before I gave it way, this picture serves as a great example of scale! |
Marci GirlA feisty mom designing, sewing and blogging her way through everyday life!  
|


 RSS Feed
