I'm totally proud of my reversible/double sided quilt and honestly want to do this for every quilt I make now, especially throw quilts and quilts for children. You can change the look totally just by flipping it over!
|
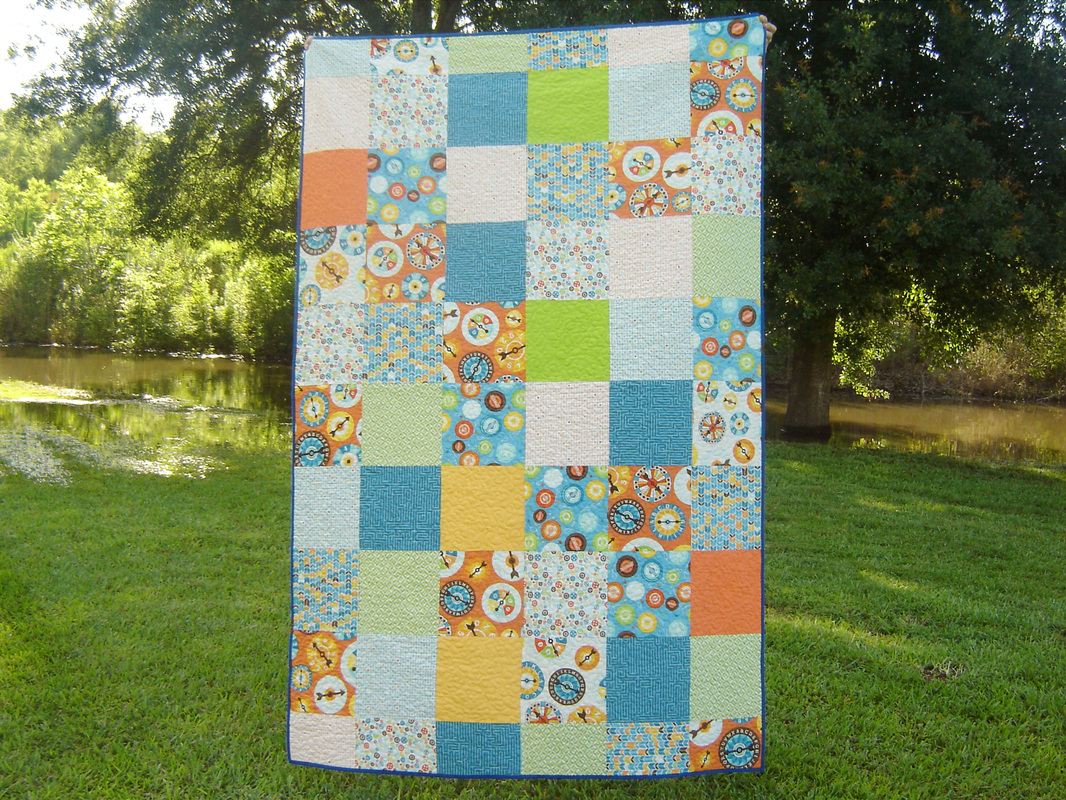
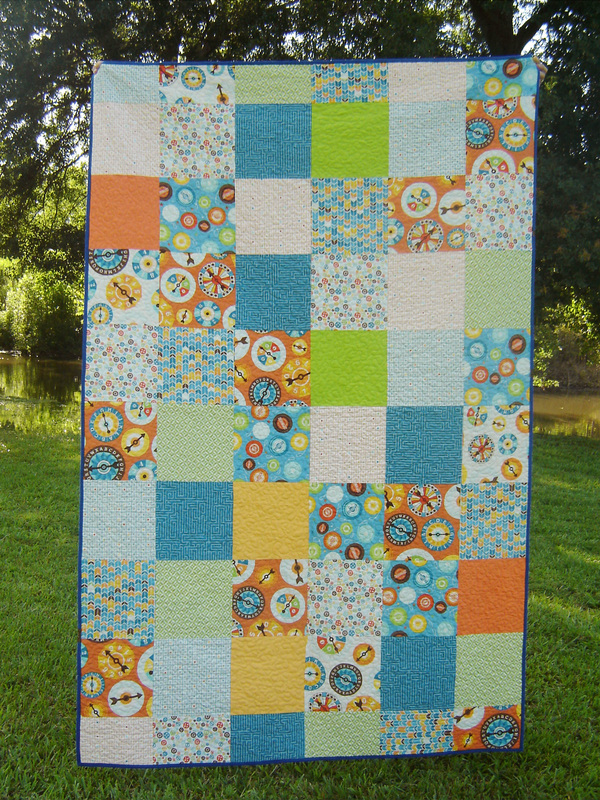
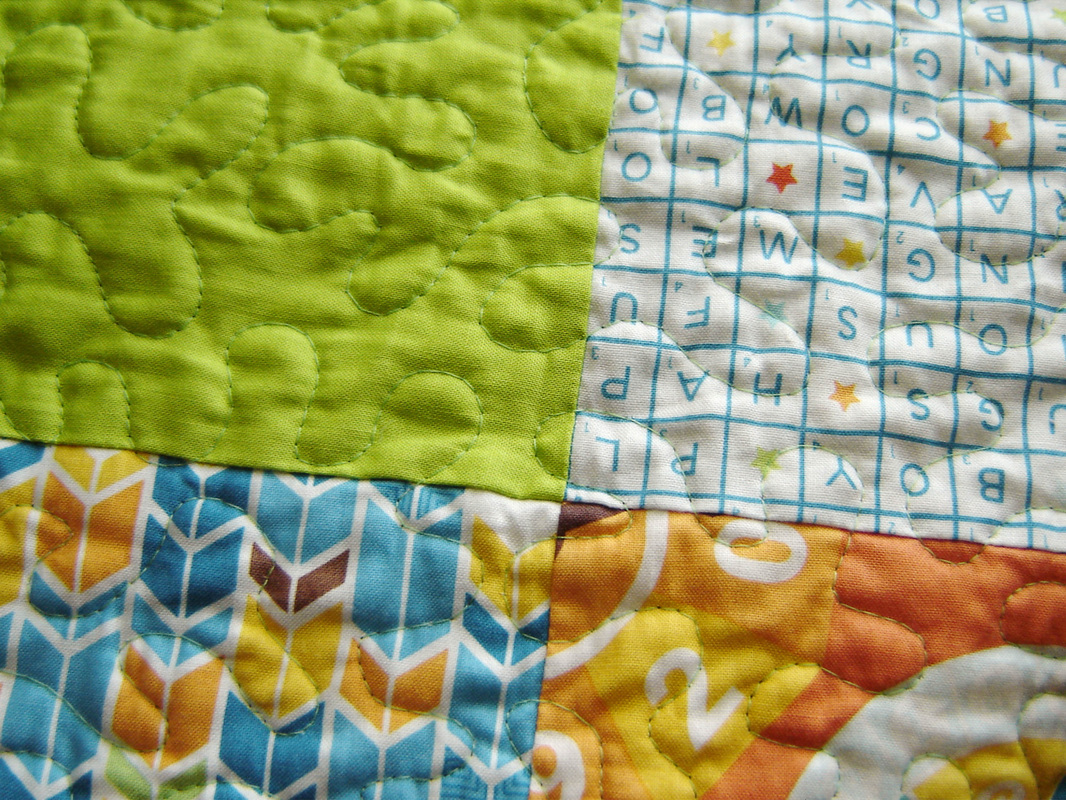
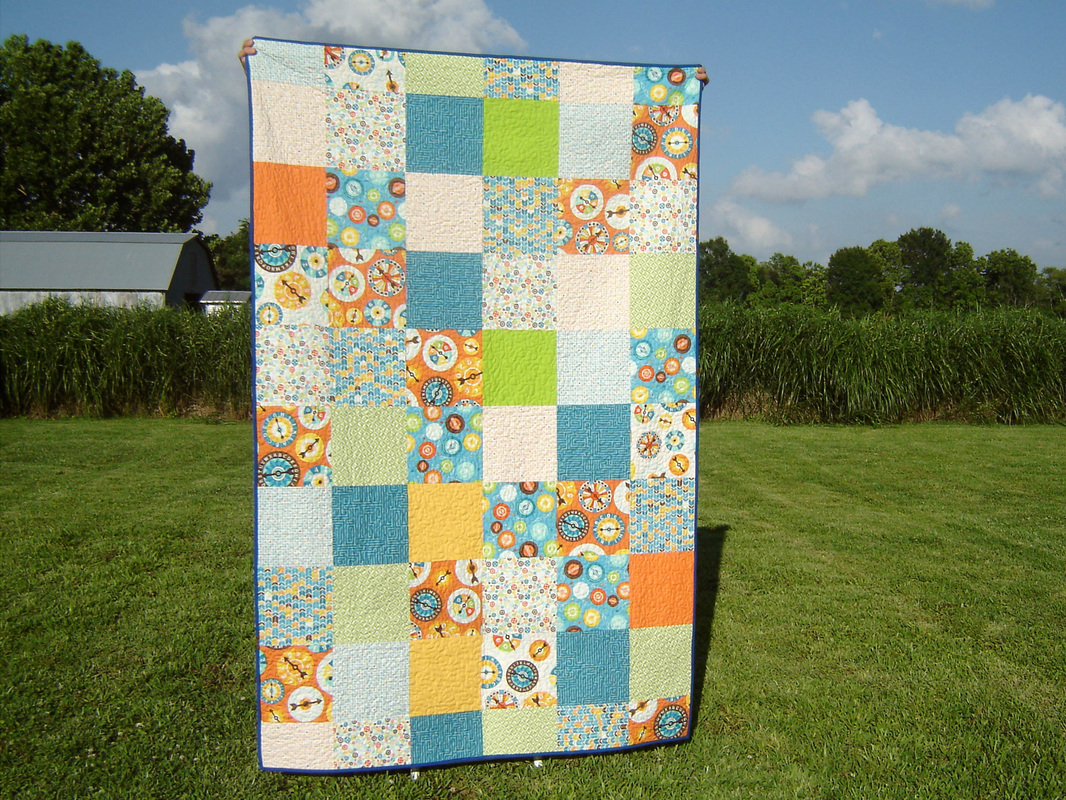
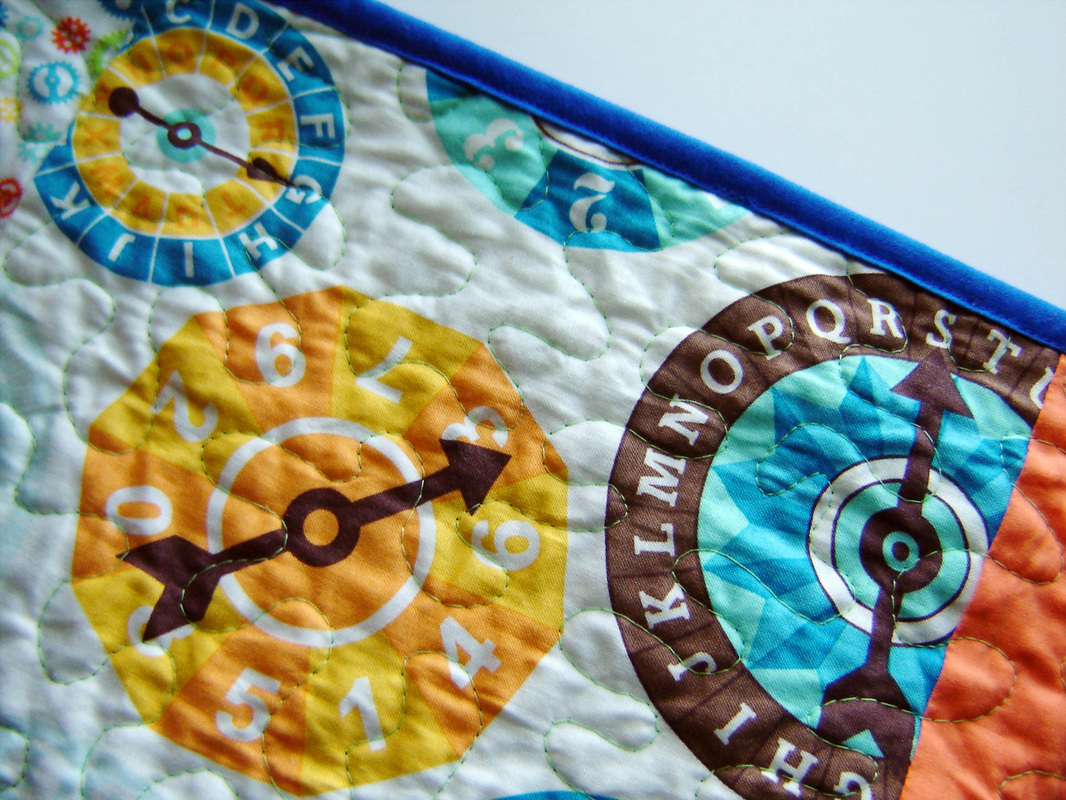
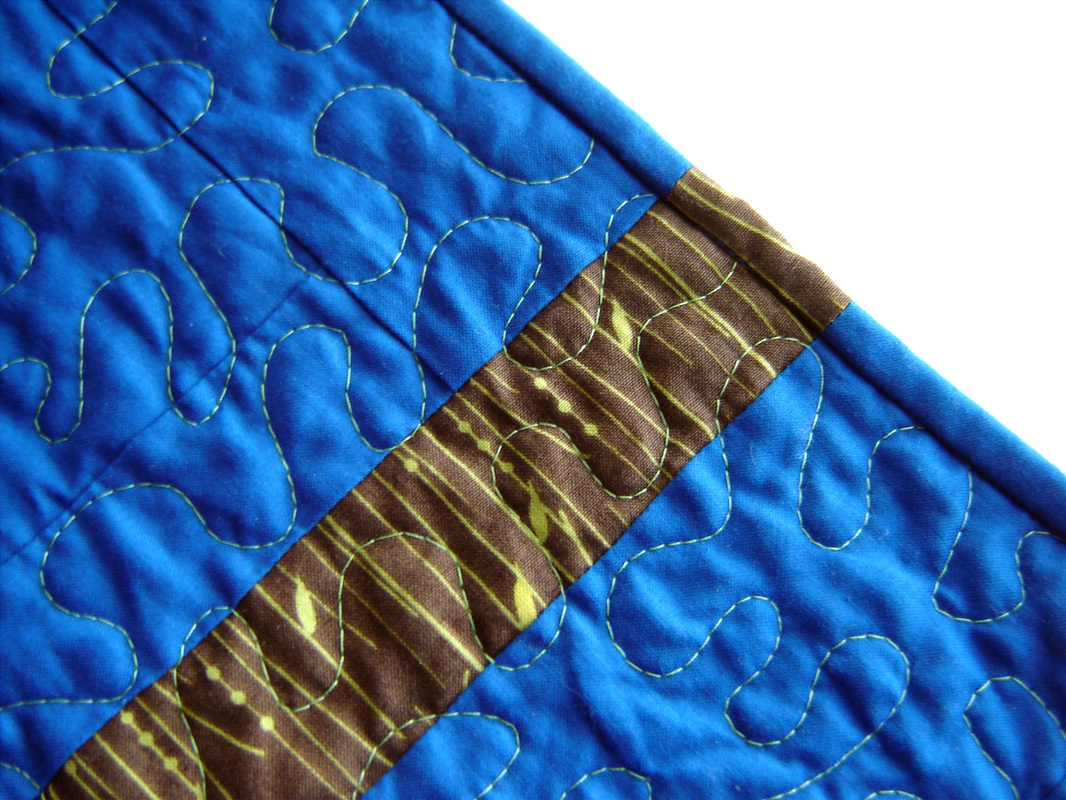
Well I'm only a day late on a post I said I'd have up yesterday. Oh well, I blame it on summer! Friday, I showed you guys my 'Gator Quilt, made using The 'Gator Quilt Pattern by I'm Feelin' Crafty. Well today I am showing you the back of that quilt, or is it the front? It is totally reversible! I didn't necessarily start out the quilt with the intention of it being reversible, but it ended up that way because I struggled to find a suitable backing for the 'Gator Quilt. Usually I like to have a solid fabric backing, usually a print that somewhat matches the front, but always something that I get the yardage at a great price. Once I had the front finished, I started searching for a suitable backing and just didn't run across anything that I was in love with. Then I started thinking about other options. What if I found a bundle of fabrics and pieced the backing into something that I actually liked, and better yet, my kids liked. This is where The Intrepid Thread comes in, because honestly, lately it has been my go to shop! Julie had these great bundles of Fun and Games by Lori Whitlock on sale, so I ordered a half yard bundle, plus one extra yard of a print in a different colorway. My basic math calculations were that this should be just enough. In the end I ended up adding in several solids just to have a bit of variety. I think it turned out pretty cute! In the photo above you can see the all over stipple that I stitched on this quilt. I used a matching green thread and it matches the other side as well as this one. The simple stipple worked equally for both sides and doesn't take away from the great prints in this collection of fabrics. At about the time I started to look around for backing fabrics, Heidi at Fabric Mutt announced her Graph Paper QAL. I figured this would work out perfectly for this quilt, a simple use of the fabrics and I could participate in this casual quilt along. I ended up cutting 9.5" squares, 60 total. Super simple construction, I didn't worry about fabric placement, my only goal was to not have two prints touching on the sides and with basically no planning, it just happened naturally. I knew with my 9" finished squares I would be cutting off chunks at the top and bottom, but the sides would fall just about perfect, so this didn't leave any overhang for the quilt backing like you normally need. So to accommodate, I cut 20 of the squares 9.5" x 11.5" and this allowed me to have 2" of overhang on each side. Once it was quilted and trimmed, the sides turned out to be perfect squares! I chose to totally machine stitch the binding on this one, and you can see that row of stitching above. I didn't cut my binding quite wide enough, so I admit it was a challenge to catch that edge, but on a whole I did, I only had to go back and fix a few spots (ok maybe 20) that didn't catch and since I used a matching blue thread you can barely see any mistakes anyway. I'm totally proud of my reversible/double sided quilt and honestly want to do this for every quilt I make now, especially throw quilts and quilts for children. You can change the look totally just by flipping it over! Before I totally forget, one of the things I forgot to mention about the other side of this quilt (The 'Gator Quilt) was that I did a straight matched binding, using a tutorial by A Quilter's Table, found HERE. I thought the three little ground pieces underneath the alligators would be a perfect use of this technique and I am really happy with the results. It extended the ground just a tad bit and added a neat little detail to this quilt! The best part is that on the other side, the brown fell really near other brown patterns and you don't even see it on the other side. Win win!
5 Comments
6/24/2014 06:05:59 am
This is so completely adorable! I love your quilting too!
Reply
Leave a Reply. |
Marci GirlA feisty mom designing, sewing and blogging her way through everyday life!
|






 RSS Feed
