Today is my stop in the 'Gator Quilt Blog Hop! I am showing off my awesome 'Gator Quilt made from the pattern designed by I'm Feelin' Crafty! I was fortunate enough to be able to test the pattern and now I have this super cute quilt to share with you guys!

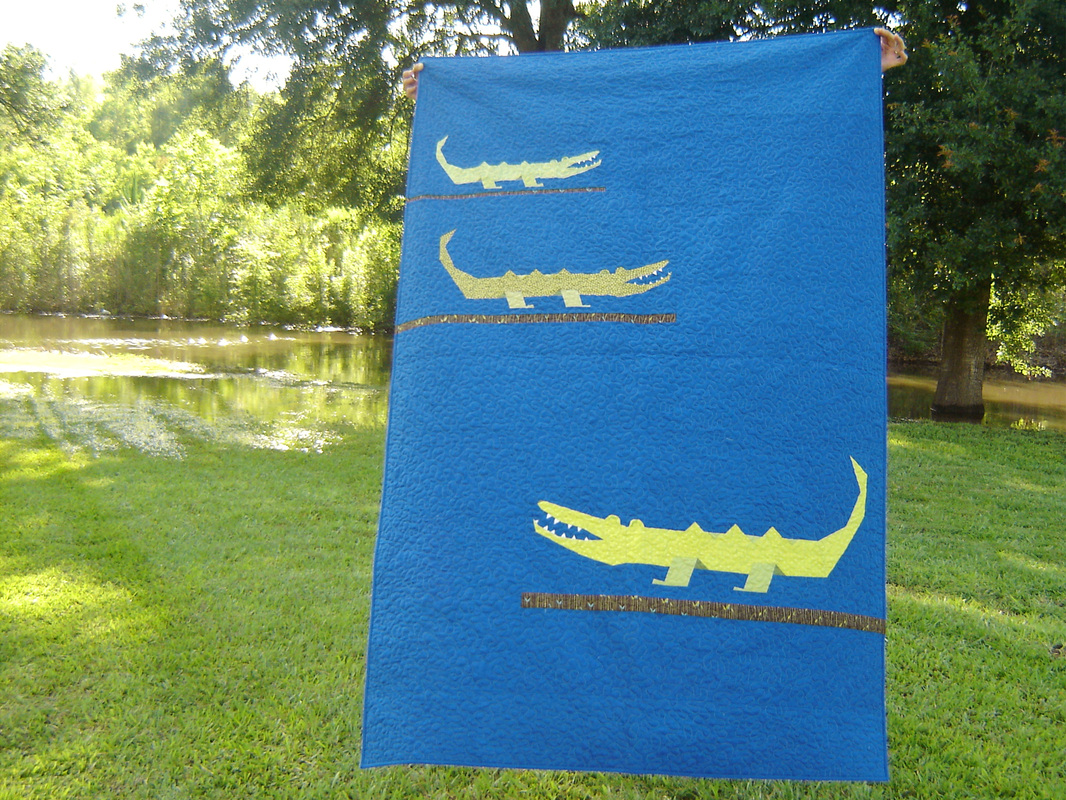
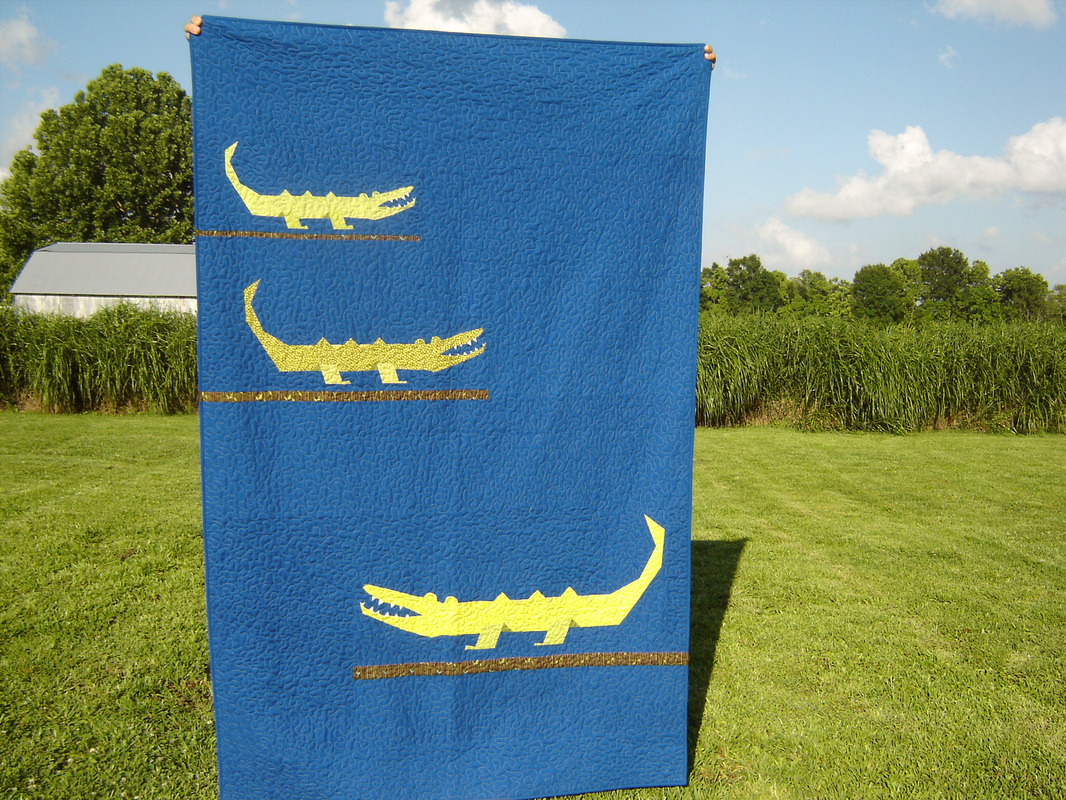
Once I had agreed to be a pattern tester, I knew immediately that I wanted to make the whole quilt, I just knew my kids would love this. We are in South Louisiana, alligators are a common thing around here in these swamp lands! My journey started with a fabric pull from my stash, I have a lot of greens, so this wasn't a problem at all. I decided to make each alligator different, but each out of just one main fabric. The large polka dot is the medium sized alligator, the little white checks are the large and the green grid fabric is the small guy. I didn't have enough of any fabric in my stash for the background so I decided on this lovely Kona Ocean. It is a beautiful dark blue, but unfortunately it doesn't photograph well and honestly I am including the above photo to give you an idea of the true colors of this quilt, because once it was outside, my camera did some funky things with these pictures. The photos I chose to show today are the "most normal" ones and not the crazy neon blues that my camera created!
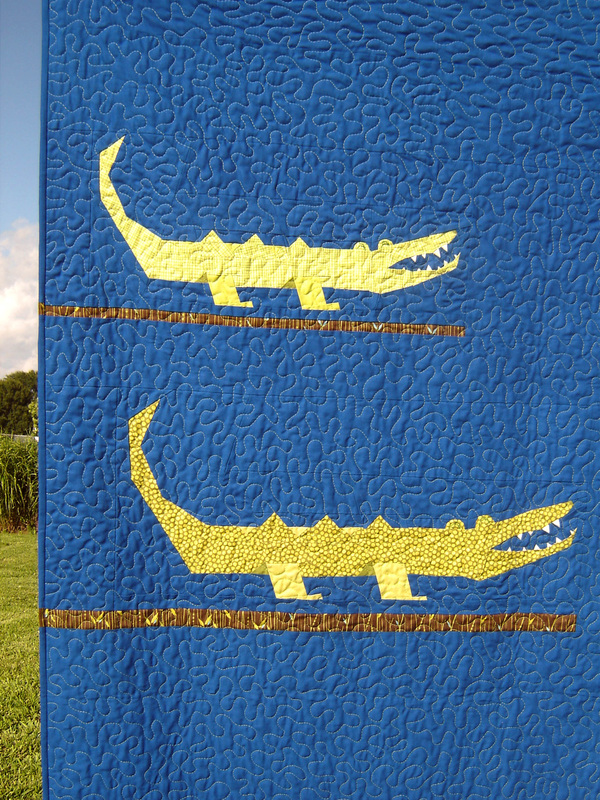
I have a little bit of experience with paper piecing, but honestly not too much, just enough to get me through this without having to look up how to do it again. I was worried when I first started out that this would be too complicated, but honestly the way the pattern is broken down, it really was simple. The alligator is made up of lots of smaller sections, each of which are paper pieced. For example the tail is probably the most complicated part, as it is one large piece that has around 7 sections, but honestly it really isn't that hard. You then take the multiple sections that you paper pieced and just sew them together like normal blocks. So it looks really difficult, but it totally doable. I promise!
The small alligator.
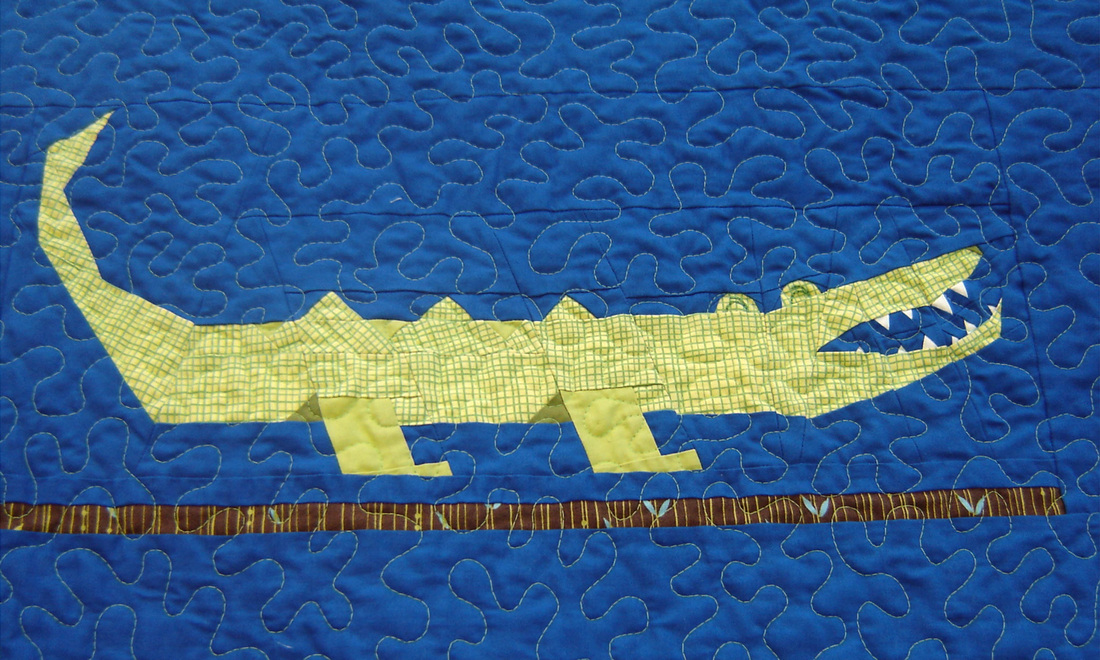
I started with the largest alligator and since the pieces were larger I found it to be easier to put together. This also created a lot of smaller scraps that I was able to incorporate into the other two smaller alligators. I really had only a small pile of scraps leftover once I was done with the quilt, which is really nice. Once I made the largest, the smaller two went together so quickly. i think I did all my "learning" with the largest, and then the other two were just smooth sailing, you have learned what color goes where and how to construct the alligators, so the little tiny pieces don't seem daunting, it was fun!
After the three alligators are pieced, the rest of the quilt is just a series of rectangles to assemble, quick and easy. Before you know it, you have a finished quilt! This is my first quilt that I have made that incorporates such a large amount of negative space and I love it!
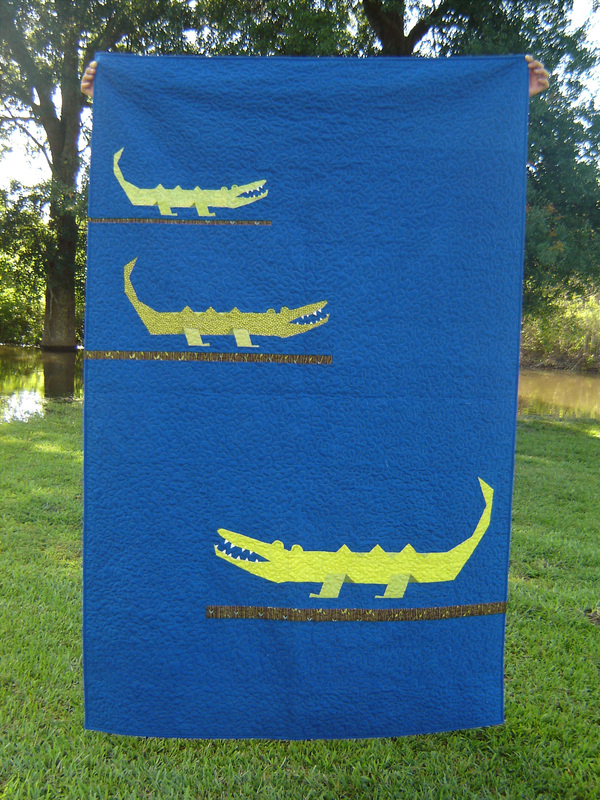
The finished quilt measures 54" x 70" or at least it did, that is what the pattern's finished dimensions are, but of course I had to change things a bit. You see once I had the whole top together I quickly realized this thing was way bigger than I thought it would be. I think in my head I was thinking small baby quilt, but no, this one is a good throw sized quilt. While staring at the quilt top laying on the floor I had an epiphany! What about making this quilt fit my youngest bed? You see earlier this year my husband built my youngest (2.5 years old) a trundle bed that rolls underneath my older son's bed. This trundle is not intended to lift up, but rather stay low to the ground. This creates a problem when it comes to comforters and quilts, they generously pile on the ground around the trundle. Yuck. So I grabbed my measuring tape and Eureka! 54" wide perfectly covers the mattress, doesn't drag the floor and will work out just fine. My only problem is the length, it was about a foot shy of being long enough. Thankfully I had enough background fabric left over and was able to add strips to both the top and bottom, so now my quilt measures 54" x 81." I have a quilt that is "almost" a twin size.
The finished quilt measures 54" x 70" or at least it did, that is what the pattern's finished dimensions are, but of course I had to change things a bit. You see once I had the whole top together I quickly realized this thing was way bigger than I thought it would be. I think in my head I was thinking small baby quilt, but no, this one is a good throw sized quilt. While staring at the quilt top laying on the floor I had an epiphany! What about making this quilt fit my youngest bed? You see earlier this year my husband built my youngest (2.5 years old) a trundle bed that rolls underneath my older son's bed. This trundle is not intended to lift up, but rather stay low to the ground. This creates a problem when it comes to comforters and quilts, they generously pile on the ground around the trundle. Yuck. So I grabbed my measuring tape and Eureka! 54" wide perfectly covers the mattress, doesn't drag the floor and will work out just fine. My only problem is the length, it was about a foot shy of being long enough. Thankfully I had enough background fabric left over and was able to add strips to both the top and bottom, so now my quilt measures 54" x 81." I have a quilt that is "almost" a twin size.
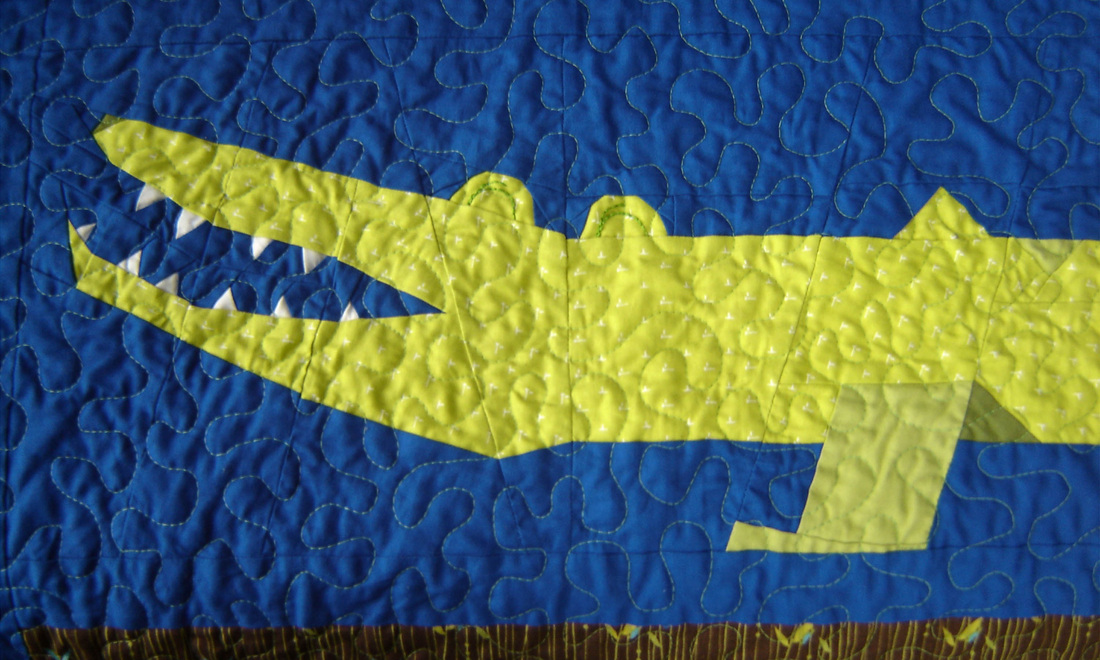
The back of this quilt is a story I will share Monday, because I made this a double sided quilt, yes totally reversible. Because of this decision I limited myself with my quilting options. Originally I was going to do some really detailed free motion quilting on the alligators themselves, and then some kind of design for the background, think wood-grain or grass. Well that option is now out, I needed something that will work for both sides. That is where the simple stipple comes in. I bought a matching green thread and just went to town. I focused on getting the stipple very evenly spaced, I worked hard to get the tension perfect on both sides and I really paid attention to what I was doing. I quilted this baby in 5 hours! Woo hoo! So fast and I am really happy with the end result, the texture is great, I feel there is just enough stitching on the alligators to really secure them and their seams for generations to come. Since I used a green thread, it really stands out on the blue background and creates a nice visual element as well. I bound the quilt in the same Kona Ocean as the background and ta-da, finished quilt!
Ok enough tooting my own horn, I did have one fail with this quilt. The pattern calls for embroidered eyes, on each of the alligators, which I did, except I didn't use a dark enough thread and I feel it is really hard to see the eyes. If I had to do it again I would use either a really dark green, or even a black so the eyes would really show up.
Ok enough tooting my own horn, I did have one fail with this quilt. The pattern calls for embroidered eyes, on each of the alligators, which I did, except I didn't use a dark enough thread and I feel it is really hard to see the eyes. If I had to do it again I would use either a really dark green, or even a black so the eyes would really show up.
I know you are ready to make one of these yourself! If you are, click HERE to purchase the pattern from the I'm Feelin' Crafty Craftsy store. Thank you so much Louise, for letting me test this pattern for you, it really was a rewarding and a learning experience, and now I have this beautiful quilt to show for it! Make sure to stop by the other participants in the blog hop next week and if you want more information about the pattern or how to paper piece, stop by I'm Feelin' Crafty for all of the details.


 RSS Feed
