• Home
  • Blog
  • 2020 Finish - A - Long
  • 2019 Finish - A - Long
  • 2018 Finish - A - Long
  • Contact
  • 2017 Finish - A - Long
  • Shop
Marci Girl Designs

The Open Wide Zippered Pouch x2

3/11/2014

9 Comments

 
Picture
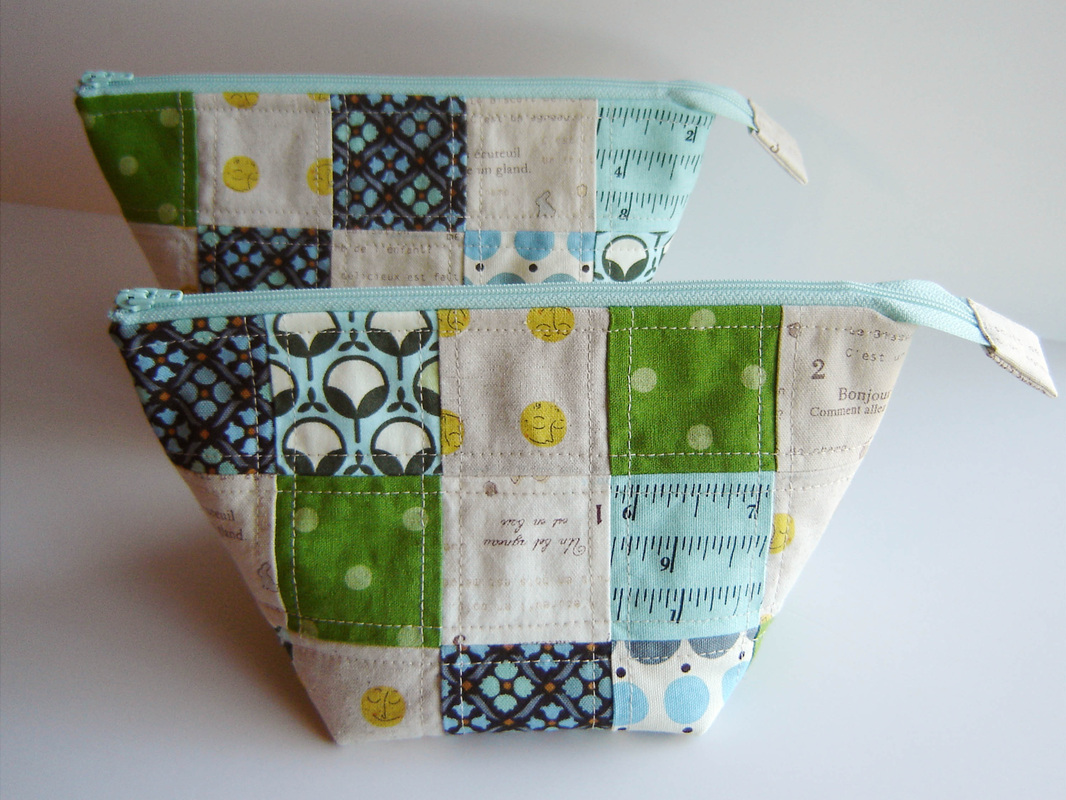
In my last post (Rebecca bag) I mentioned that my mom had picked out a ton of fabrics for me to choose from to make her bag.  Well here is what I did with some of the fabrics that didn't make the cut.  You see, she also requested a pouch, and I thought it would be the perfect time to make the Open Wide Zippered Pouch from Noodlehead.  Oh and why make one when you can make two at the same time!
Picture
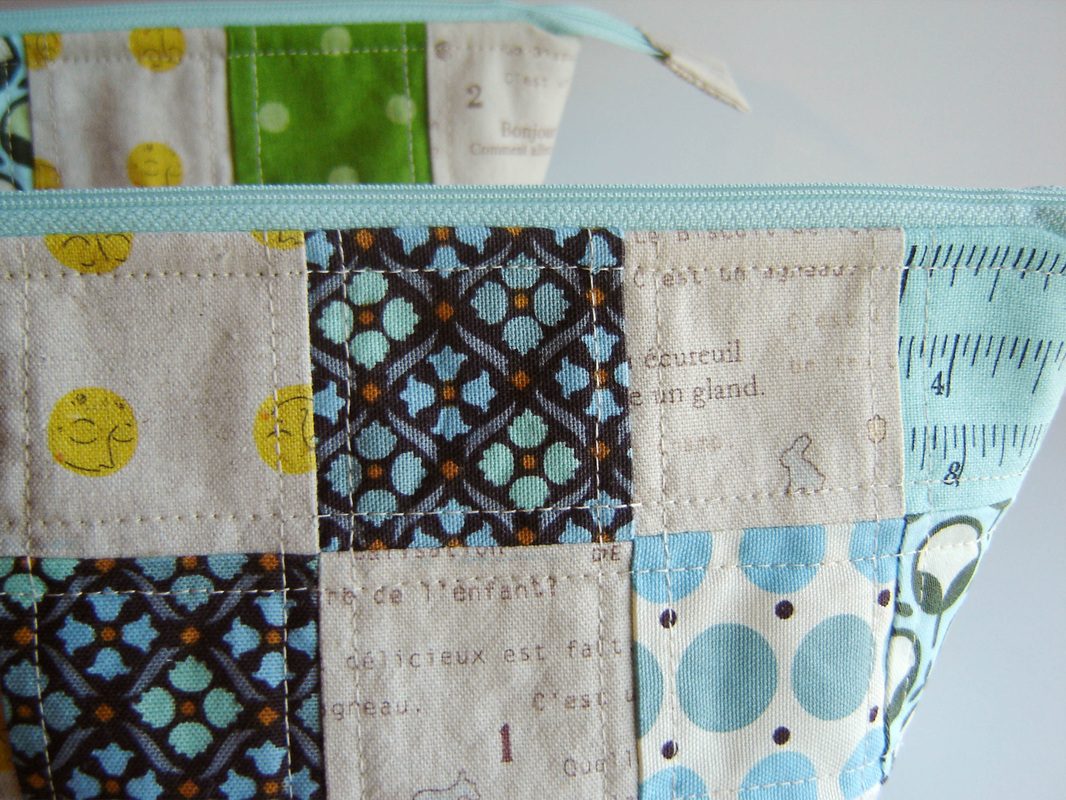
I started with an assortment of home dec fabrics, some from Denyse Schmidt, a touch of Heather Ross and even some cool Japanese prints.  I cut them into 2.5" squares and created 2 patchwork panels, one for each side, so I really created 4.  My panels ended up being not quite the size that Anna from Noodlehead suggested, but I just rolled with it, it was close enough.  Oh and I made the smallest size (the tutorial has 3 sizes, you can find it HERE.)  Once the patchwork panels were done, I ironed them onto some fusible fleece, and then proceeded to straight line quilt them with a nice neutral thread.  I love patchwork!
Picture
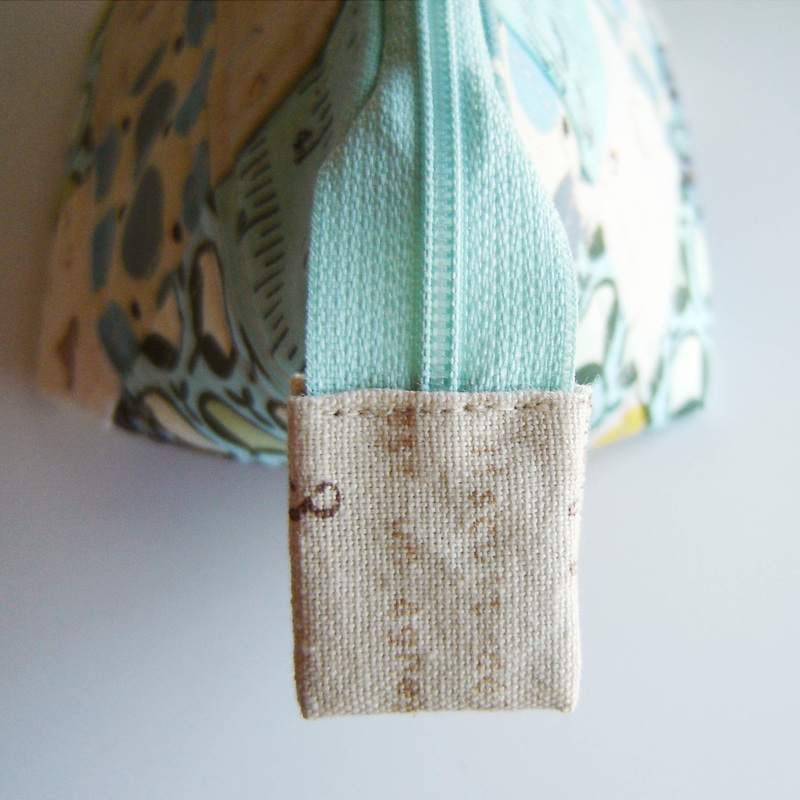
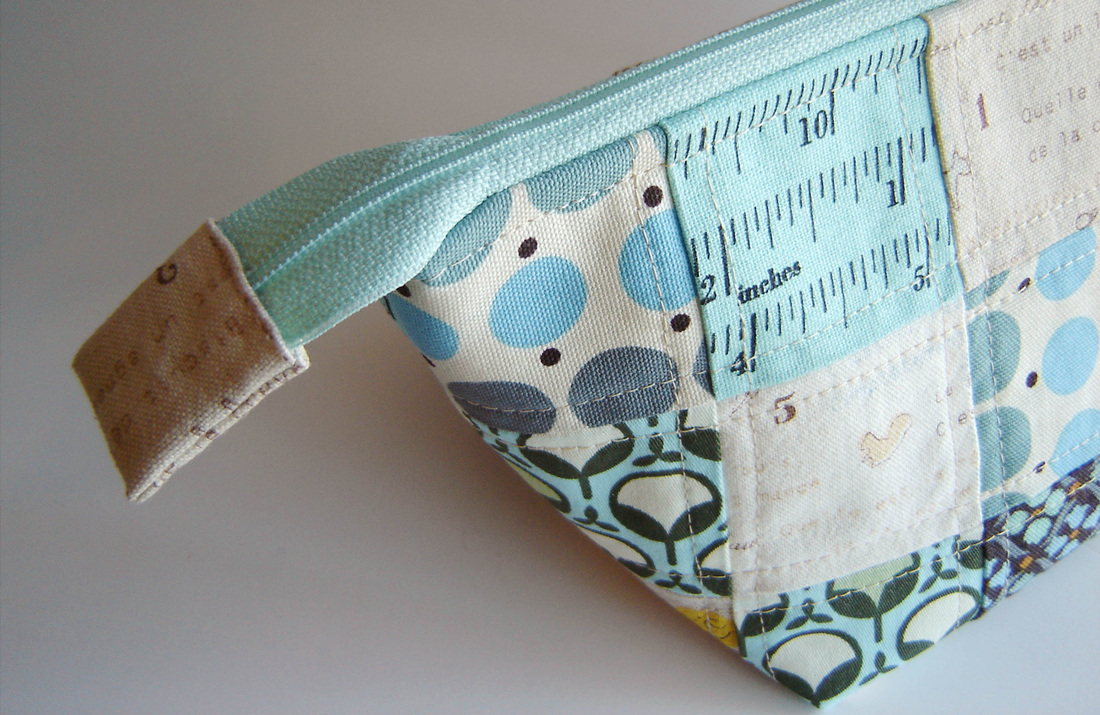
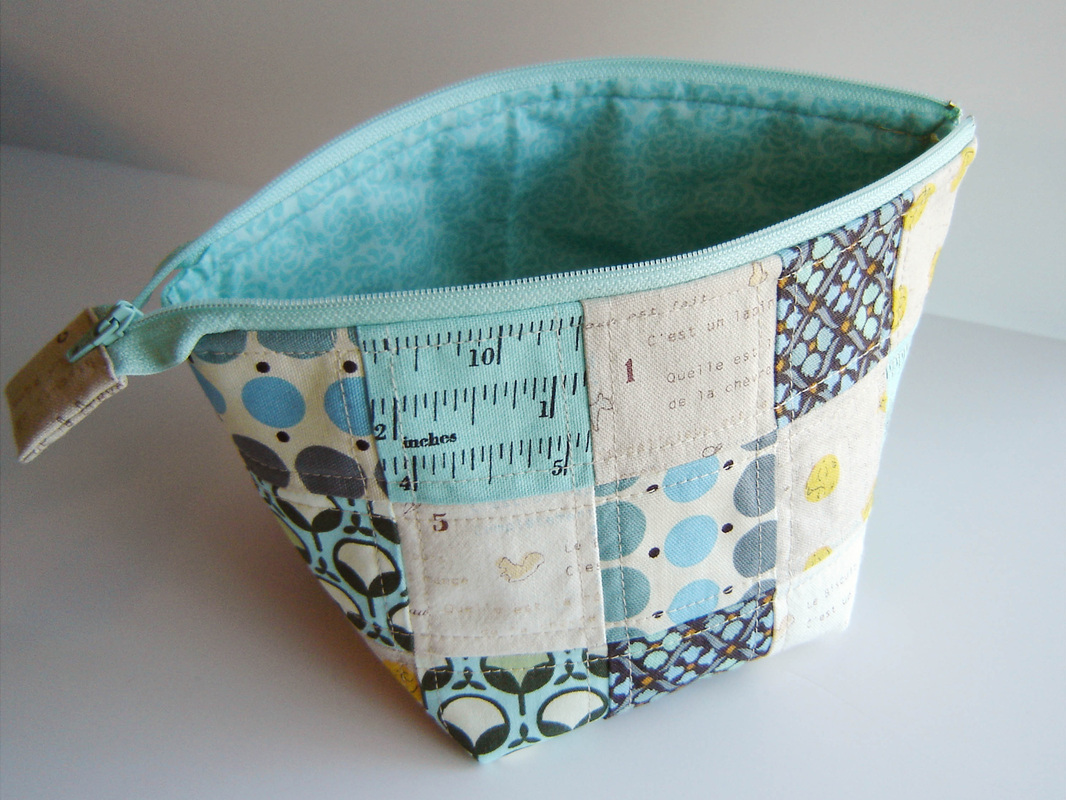
At this point I just followed the directions and kept on sewing.  It really is a great tutorial, very easy to understand and I love the way the zipper is done.  I only changed two things from the original tutorial.  The first was the little zipper end cover shown above.  I put the fabric right sides together and sewed the two sides, then flipped it right side out, thus creating a little envelope of sorts.  I just had to turn in the raw edge by 1/4", slide it onto the zipper end and just stitch it onto the zipper, thus the one showing seam.  The only other change I made was the gusset or box corner width.  The tutorial called for a 3.5" gusset, but I reduced the number to 2.5" so my bag isn't quite as wide and sits a tad bit taller.  The 3.5" measurement fell weird with the patchwork, so I just adjusted it to fit better with the patchwork squares.  If you look at the photo below you can see the bottom corner falls in the middle of the patchwork and not on a seam.  Kinda hard to explain, sorry.
Picture
I used a simple tone on tone for the lining, making it easier to see your stuff inside the pouch.
Picture
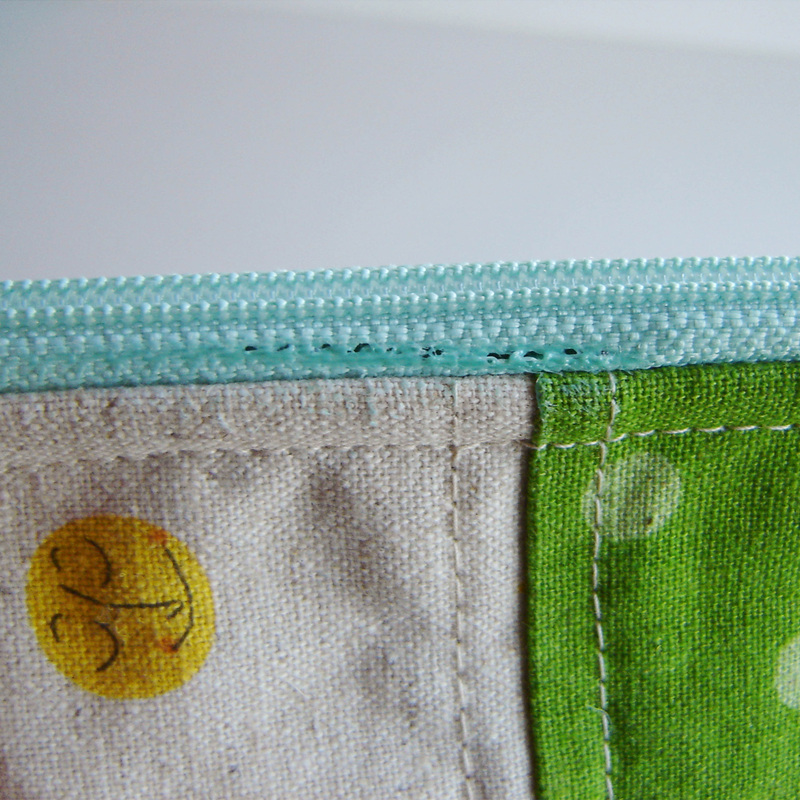
The only snag I ran into during this entire project was entirely my irons (or my) fault.  You see when it came time to iron the exterior and the lining flat after sewing them to the zipper, my iron accidentally touched the POLYESTER zipper and as you can see in the photo below, melted a fine line of holes in it.  On the bright side, the holes are small and since the zipper is polyester, it melted and kind of "sealed" it all at the same time, so it isn't going to run or ravel with time.  Oh and this is also the great benefit of making 2 at a time, you mess up one, you still have a perfect one to gift!  Poor me, I have to now keep the "damaged" one!
Picture
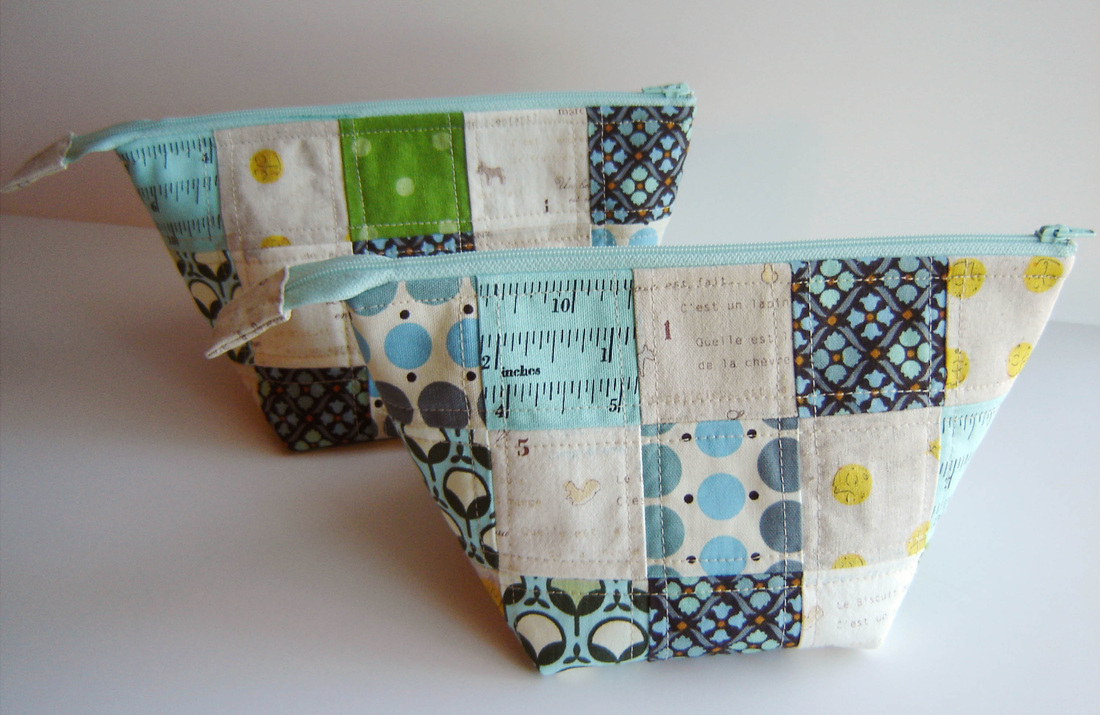
Here they are all finished!  It is really a great tutorial, quick project and honestly fun!  So if you are ever in need of a great little gift, go ahead and make one, I know the recipient will love it!
Picture
These two pouches were my third finish of the first quarter 2014 Finish Along hosted by Katy at The Littlest Thistle.

Finish Along 2014


Edited 3/15/2014 - I just found out about a great Saturday linky party, hosted by My Go-Go Life, so I am editing this post to add in the button and participate in another fun way to meet new people and explore new blogs!
9 Comments
Katy link
3/11/2014 09:39:14 am

I think your mum's trying to get you to make her a matching luggage set on the sly ;)

Reply
Becky Moyer link
3/11/2014 11:58:25 am

These are great! I love those fabrics and I need to bookmark that tutorial! You can never have enough pouches. Bummer about the iron mishap, good thing you made two!

Reply
Susan link
3/11/2014 03:53:38 pm

These pouches are so cute! Lucky mom :)

Reply
Jane B
3/12/2014 02:35:23 am

This is my favorite go to pouch. I've made a bunch of these. I really like your patchwork version.

Reply
Kim link
3/15/2014 02:36:03 am

I love these little bags! Congratulations on your third finish! I know how good that can feel! Thank you so much for the link up :o)

Reply
Wendy link
3/15/2014 05:34:33 am

Oh what wonderful bags. I still haven't tried zippers yet. I love that fabric!

Reply
Ali m
3/15/2014 05:43:19 am

I've made a few of these but never managed to make them look so finished, very nice! Now I think I need to do a patchwork one, I love how they turned out.

Reply
Cheri link
3/15/2014 12:39:17 pm

Your zipper tabs are absolutely perfect! Hope I can get that good some day!
Cheri
www.fabricandmemories.blogspot.com

Reply
Lisa link
3/16/2014 04:16:28 pm

Wow! This turned out great! I recently made one, but learned that I really dislike zippers. :)

Reply


Leave a Reply.

    Marci Girl

    A feisty mom designing, sewing and blogging her way through everyday life!

    Subscribe
    Follow on Bloglovin
    Picture
    Follow on Bloglovin


    Categories

    All
    2017 Finish A Long
    2018 Finish A Long
    2019 Finish A Long
    Bee Sewcial
    Book Reviews
    Clothing
    Everyday Life
    Giveaways
    Handbags
    Handstitched Class
    Inspirational Projects
    Marci Girl Designs
    Projects
    Quilt Along
    Quilting Bees
    Quilts
    Random Thoughts
    Recipes
    Sew Along
    Sewvivor
    Style Stitches
    Swaps
    The Penny Sampler Class
    Tutorials
    Wip Wednesday


    Happily
    Participating In:

    Picture
    Picture
    Picture
    Picture
    Picture
    Picture

    Picture


    Archives

    January 2020
    November 2019
    October 2019
    July 2019
    April 2019
    March 2019
    February 2019
    January 2019
    December 2018
    October 2018
    August 2018
    July 2018
    June 2018
    May 2018
    April 2018
    March 2018
    February 2018
    January 2018
    December 2017
    November 2017
    October 2017
    September 2017
    August 2017
    July 2017
    June 2017
    May 2017
    April 2017
    March 2017
    February 2017
    January 2017
    April 2016
    March 2016
    February 2016
    January 2016
    September 2015
    July 2015
    October 2014
    September 2014
    August 2014
    July 2014
    June 2014
    May 2014
    April 2014
    March 2014
    February 2014
    January 2014
    November 2013
    October 2013
    September 2013
    August 2013
    July 2013
    June 2013
    May 2013
    April 2013
    March 2013
    February 2013
    January 2013
    November 2012
    October 2012
    September 2012
    August 2012
    July 2012
    June 2012
    May 2012
    April 2012
    March 2012
    January 2012
    December 2011
    November 2011
    October 2011
    September 2011
    August 2011
    July 2011
    June 2011
    May 2011
    April 2011
    March 2011
    February 2011
    January 2011
    December 2010
    November 2010
    September 2010
    August 2010
    July 2010
    June 2010
    May 2010
    April 2010
    March 2010
    February 2010

    Picture

    RSS Feed

Powered by Create your own unique website with customizable templates.