This tutorial is part of the 2018 Finish-A-Long Tutorial Week. The Quarter 1 Finishes Link-Up is currently open and you can find it HERE. It will remain open until April 9, 11pm EST, hope you have some finishes this quarter to link up and if not, join us April 10 for Quarter 2!
The tutorial I have here today is a step-by-step photo tutorial on how to link up your Instagram photos to an Inlinkz link-up via your home computer. Personally, I find this the easiest and quickest way to link-up Instagram photos, and maybe I'm in the minority, but it honestly only takes a minute to do this. You do need to know how to copy (Ctrl C) and paste (Ctrl V) website addresses (or URL) in order to use this method.
A quick note - I know this tutorial seems really simple, but every single quarter I (and the other global hosts) receive questions on how to link-up Instagram photos, so hopefully this will make it easier for everyone.

Step One - Using your home computer, open your favorite internet browser. I'm using Firefox here but it really doesn't matter. In the spot where you type in website addresses, seen above circled in pink you will need to go to your Instagram account. Instagram's website is https://www.instagram.com/ and behind that you will enter your user name minus the @ symbol. For example my user name is @Marci_Girl, so I would type in
https://www.instagram.com/marci_girl/ and ending with a forward slash.
https://www.instagram.com/marci_girl/ and ending with a forward slash.
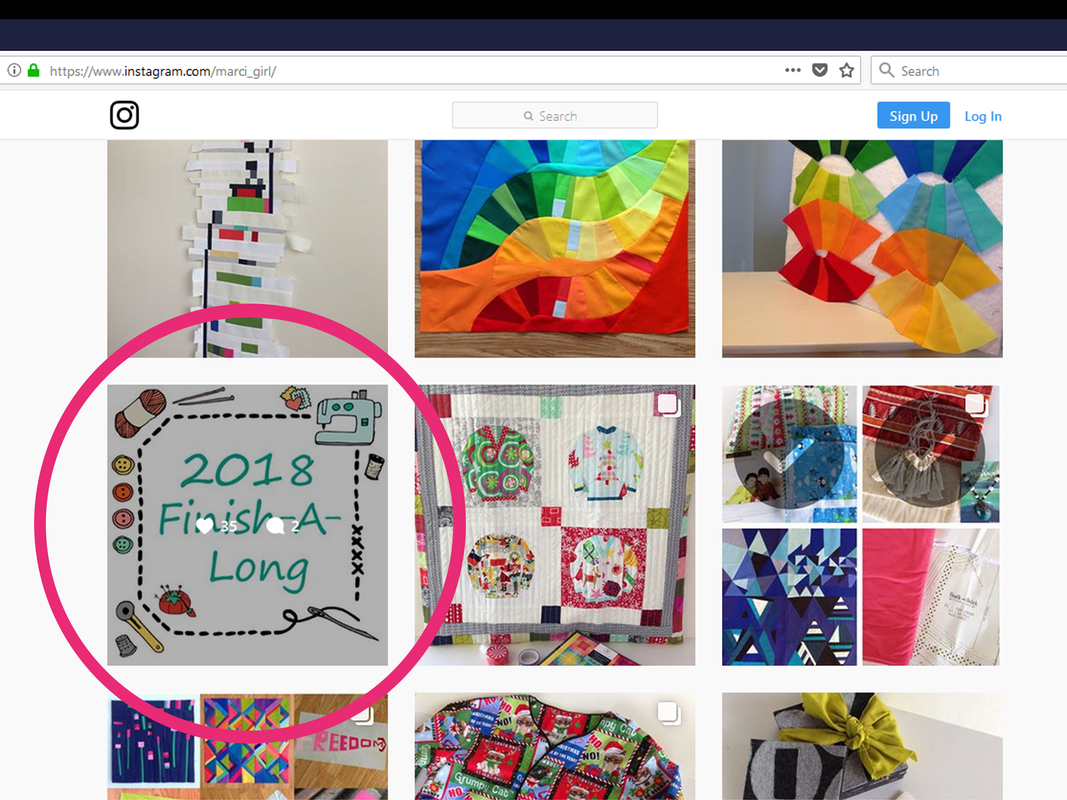
Step Two - Now that your Instagram page is pulled up, scroll down until you see the image that you want to link-up. My chosen image is circled above in pink. Click on the image.
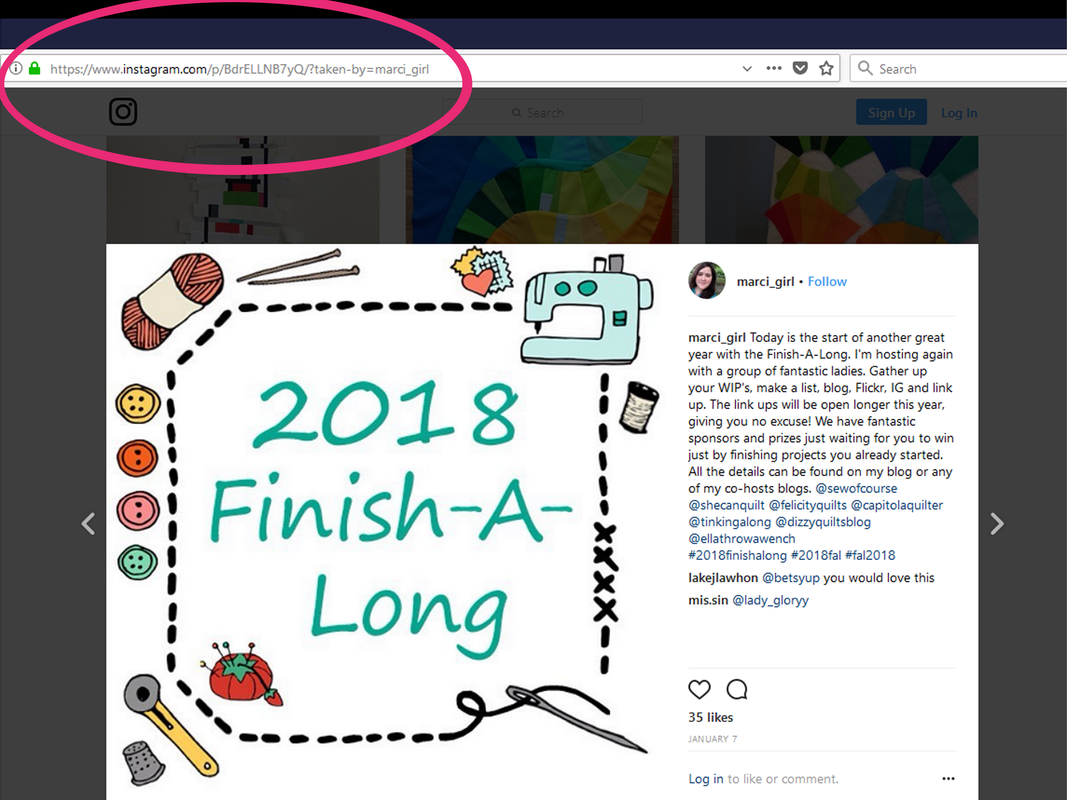
Step Three - Once you have clicked on your image it will open up and look like the screen above. You will see your photo with the description and comments next to it. The individualized website address attached to this image is seen up top circled in pink. You need to copy this URL. Highlight it and hit Ctrl C. This URL is what you will use to link up.
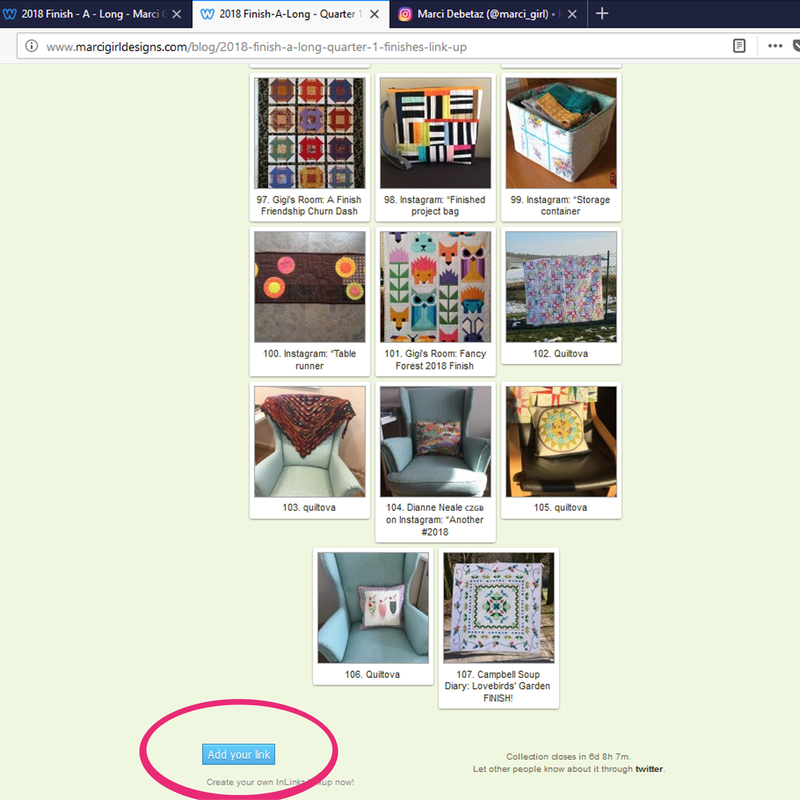
Step Four - Now go to the Inlinkz link-up that you are wanting to participate in. In my case it is the Finish-A-Long Quarter 1 link up found on my blog. You scroll all the way to the bottom of the link-up until you see the blue button on the left that says "Add Your Link" circled above in pink. Click on that blue button.
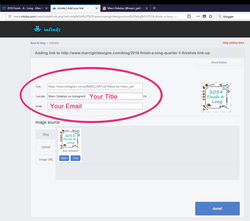
Step Five - Now the Inlinkz link up tool has opened and looks like the screenshot above. There are three sections you need to fill out. The first spot is for that URL that you copied, so paste it there with Ctrl V. The second spot is for your title, you can put whatever you choose there or use what auto populates. The third spot is for your email address. This is how the Inlinkz host can contact you should you win a prize, use an email address that is something you actually check on a regular basis. The image will also auto populate and you can crop it if you choose but normally it is good as is. Once you are happy with everything, click on the blue DONE! button on the bottom towards the right side.
Step Six - You are officially linked-up! I always like to go back to the link-up and double check that my image is there and sometimes I will click on it to make sure it actually works, it usually does, but if not, refresh your page and check again. If for some reason it still isn't working, just repeat all the above steps because sometimes it will glitch, but I've only had this happen once or twice in the past 10 years.
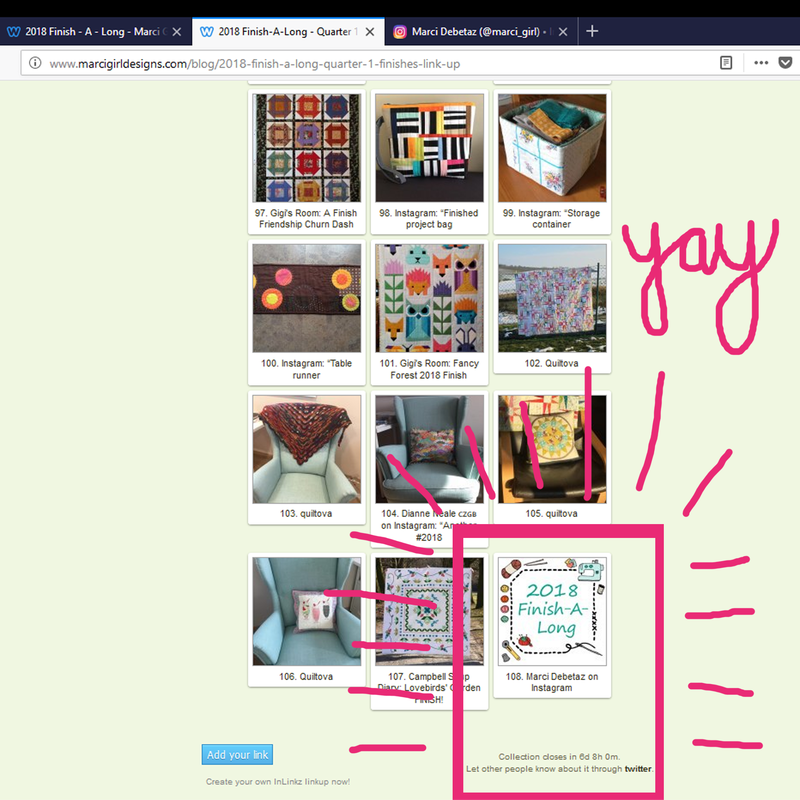
Helpful Hint - In the above screenshot, in the pink box at the bottom it says "Collection Closes ..." this is the amount of time you have left before the Inlinkz collection closes for good, aka your deadline to finish up those projects and get them linked up!
I hope this was straight forward and helps at least someone out there, but if at any time you are still struggling to link up, don't hesitate to contact me here on my blog or via Instagram.


 RSS Feed
