Just as I was drifting off to sleep last night I startled in a panic, "I didn't blog for the month of February! I'm already failing at one of my first quarter goals!" Whew, breathe sigh of relief, Leap Year, a chance to redeem myself. I was actually on track to post these photos three weeks ago when I took them, but it always seems like something happens to distract me. My husband and I spent a pretty afternoon outside taking these photos (and others) and I was feeling pretty good and then I walked into the house to find my middle child puking on the living room floor. Oh no! Then that night the dreaded stomach virus hit me and then took turns with the rest of the family for the following week. It took us all almost 2 weeks to fully recover. It was bad. So by this point I had forgotten about the photo shoot and all my goals to be perfectly honest. Thankfully we are all healthy at the moment and now I'm ready to share some selfish sewing that I did for myself.
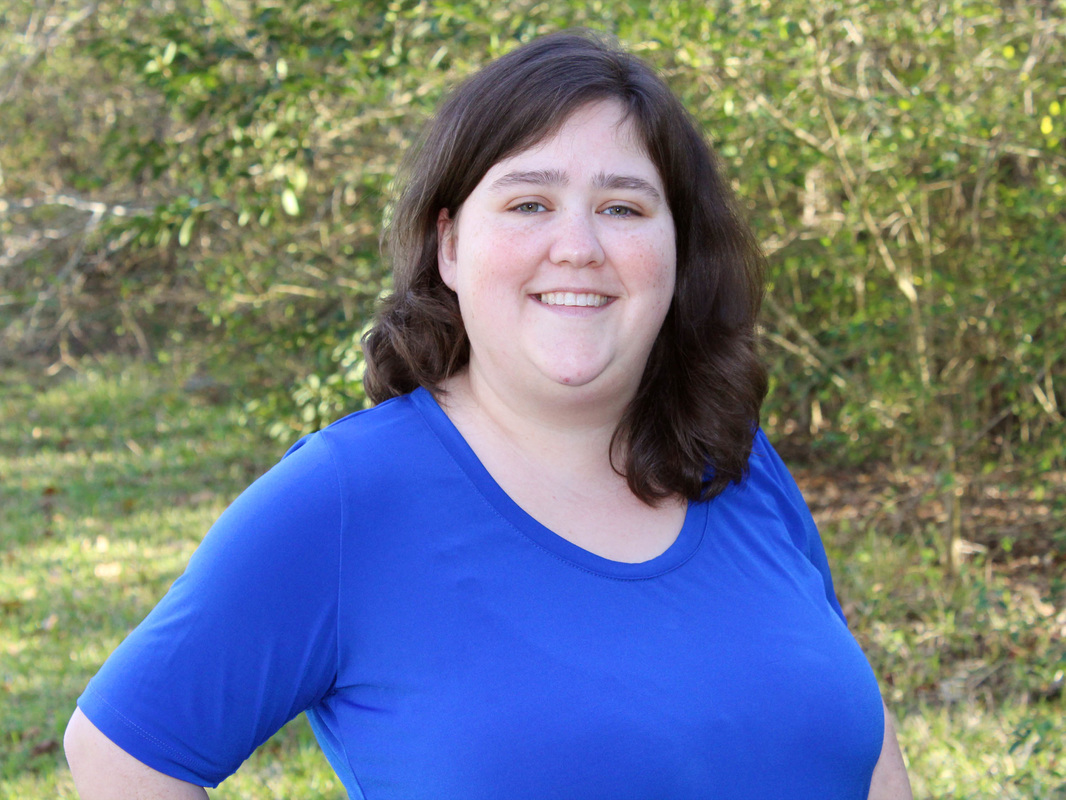
Earlier this year Kimberly over at Straight Stitch Designs released her brand new Montlake Tee Pattern and I instantly knew it was the perfect style/fit for me. I always like to make a muslin (preferably wearable) to check for fit and this t-shirt that I am modeling is just that, my wearable muslin.
My lovely sister-in-law had a bag of clothes ready for Goodwill and I convinced her to give them to me instead. Most of the clothes were a size or two too large but I saved them because the fabric was nice on almost everything. This tee is made from a lovely draped neck dress that I just couldn't modify to fit me, so I decided to use the fabric from it instead.
I was able to cut out the pattern in such a way that I was able to use the existing hem on both the bottom of the shirt and the sleeves. The only issue was that the dress wasn't quite big enough at the bottom to cut out the size I measured at (18.) So I cut the top out at 18, and then graded down to a 16 at the bottom. The same happened for the sleeves, they are cut out at a 16 (at the hem) and then (kinda/sorta) graded out to an 18. Because of this I can't really call this a true muslin or a true Montlake Tee because the fit really is totally different. Though I am pleased to say that it does fit and now I know how I will cut out my next one for a perfect fit, win win!
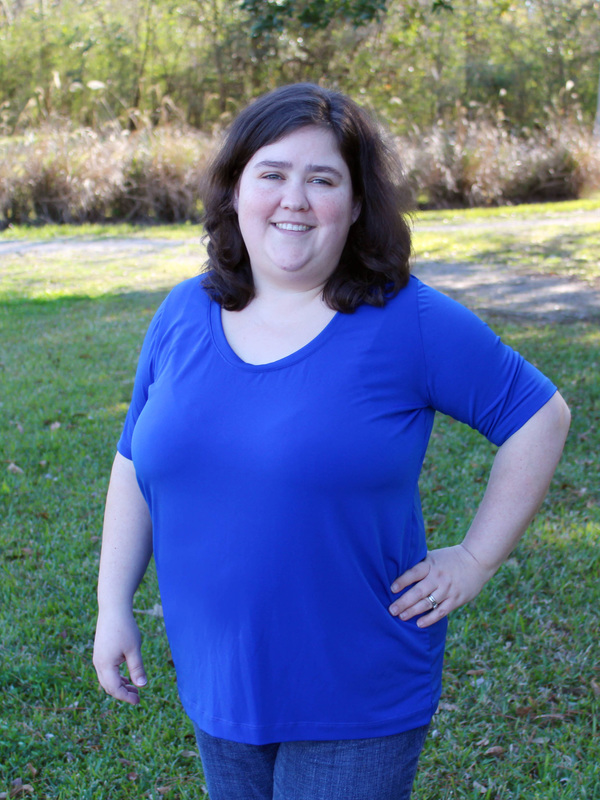
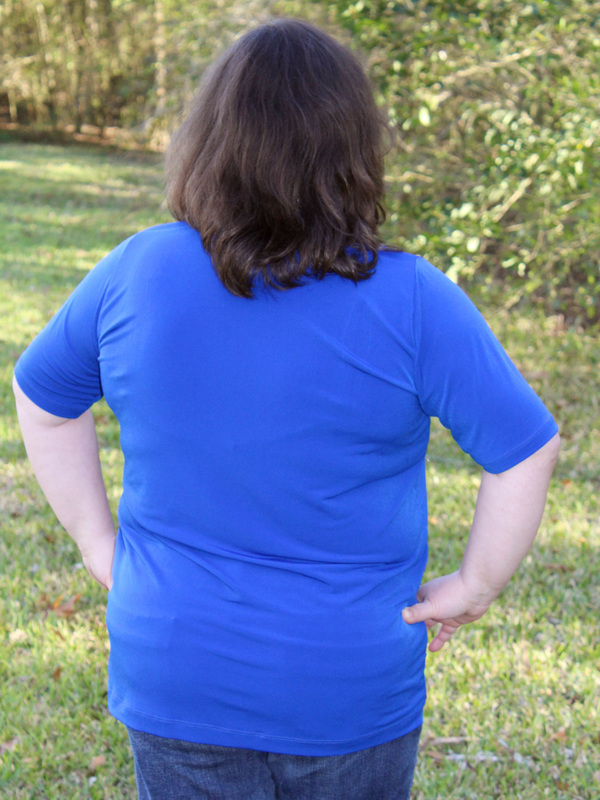
The sleeves being cut at a 16 are perfect and the top could be cut out at a 16 also, but I will be adding in some extra for the bust area and down to the hips, so I will grade out to the size 18 next time. This dress/now shirt was a very stretchy ITY knit so it is super slinky and obviously every single pull or bra (or gut) bump shows but I still love it and wear it a lot. It is just so soft and comfortable.
I used my serger to put this top together and it was a breeze (less than an hour.) I struggled to get the neckline perfect and that took a few attempts but was worth the extra effort. I then used my regular sewing machine to straight stitch around the neckline just to hold the seam in place and give it that nice professional look. Since I was able to use the existing hems from the dress, that step was already finished and made the whole thing come together even faster.
I used my serger to put this top together and it was a breeze (less than an hour.) I struggled to get the neckline perfect and that took a few attempts but was worth the extra effort. I then used my regular sewing machine to straight stitch around the neckline just to hold the seam in place and give it that nice professional look. Since I was able to use the existing hems from the dress, that step was already finished and made the whole thing come together even faster.
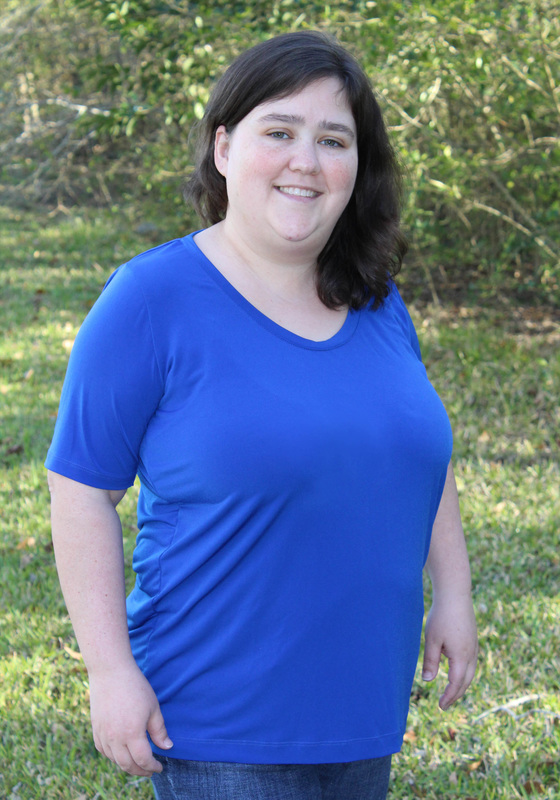
I look forward to making many more of these t-shirts because honestly as a stay-at-home mom it is pretty much what I live in. I was really happy that the shirt was a success because when I started cutting up that gorgeous dress (wished I had taken a photo) I started feeling guilty that I should have just donated it for someone else to wear just as it was. I mean, I really felt guilt over this, but in the end decided to go for it and then if the shirt didn't fit me, I could always donate that. Thankfully it ended in success and the best part was that I had very little fabric left over, very little, so the little that was left became a sweet headband for my daughter and then the remaining scraps I saved to test my stitches with my serger and coverstitch machines in the future.
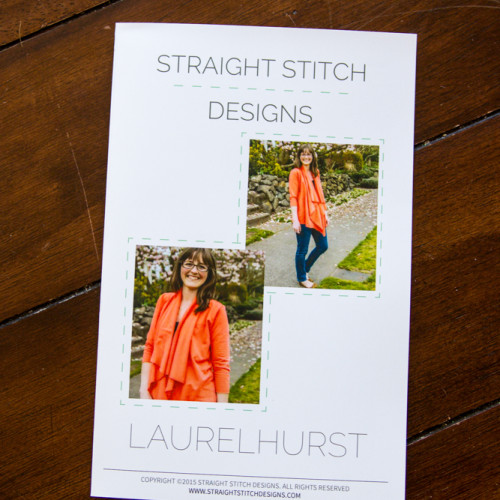
So now I have met one of my three goals with the 100 day challenge hosted by Quilter in the Closet. Selfish sewing, yeah! I'll try to be back in a few days with the second selfish sewing item I completed, the Laurelhurst by Straight Stitch Designs, and just a little hint, I love it too!
So now I have met one of my three goals with the 100 day challenge hosted by Quilter in the Closet. Selfish sewing, yeah! I'll try to be back in a few days with the second selfish sewing item I completed, the Laurelhurst by Straight Stitch Designs, and just a little hint, I love it too!


 RSS Feed
