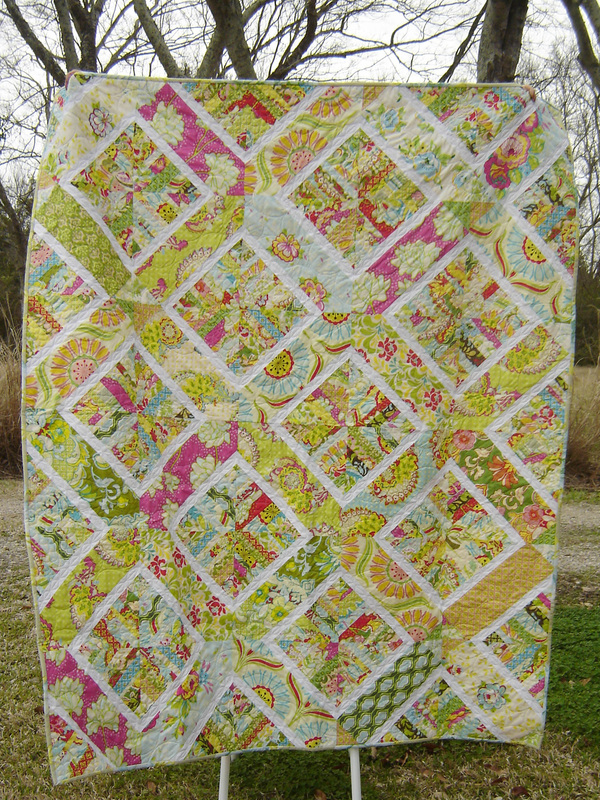
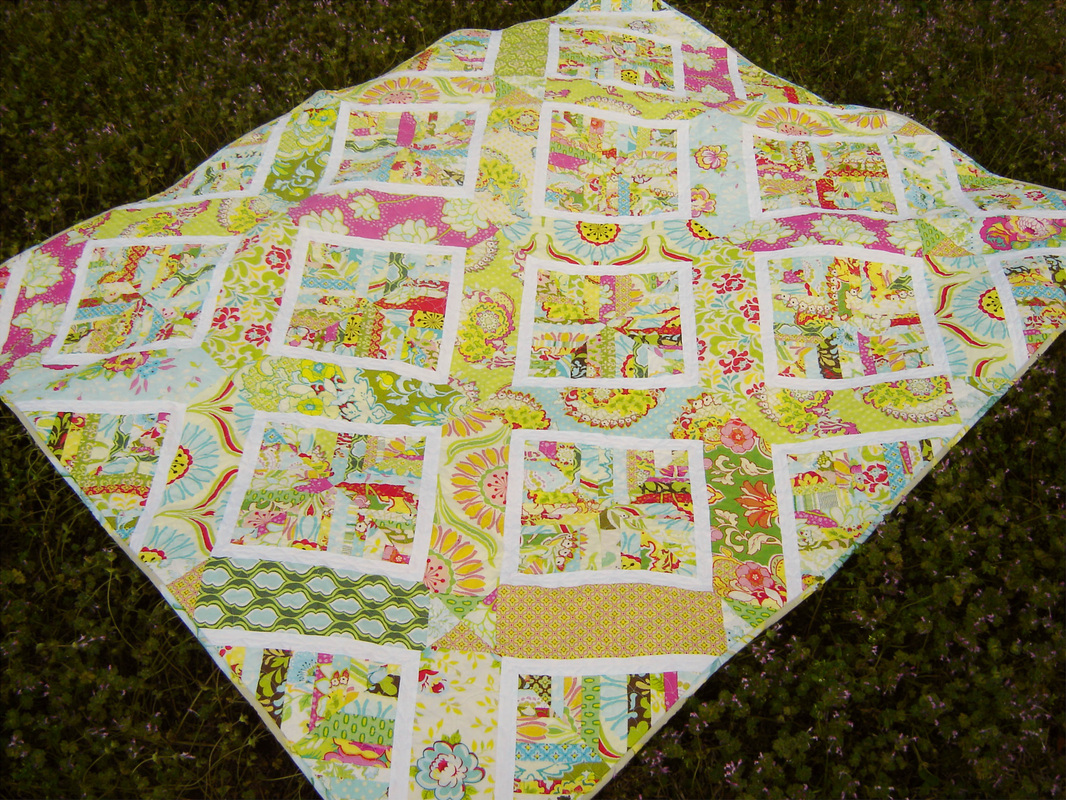
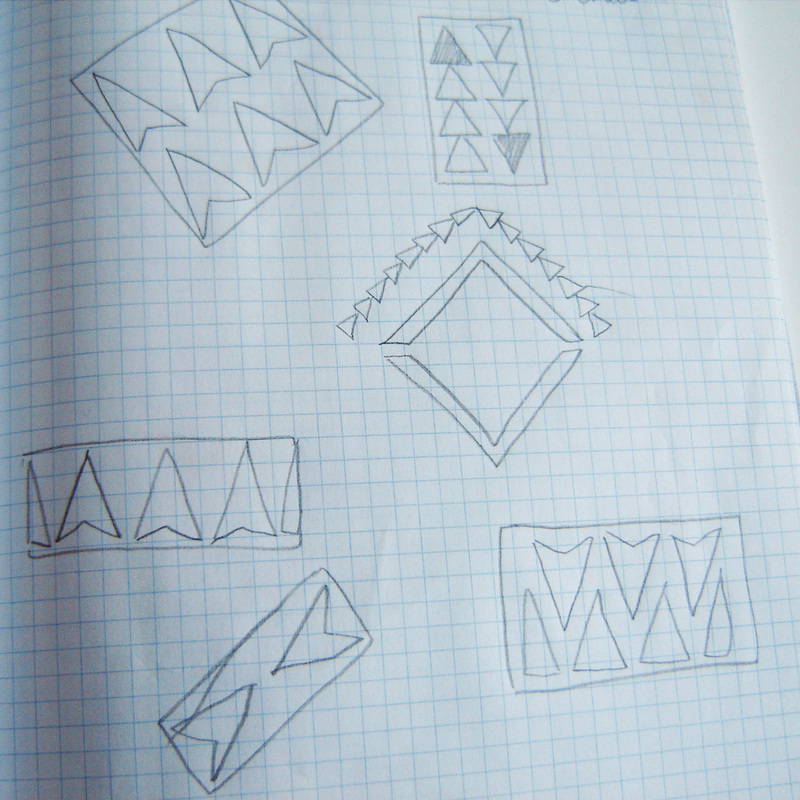
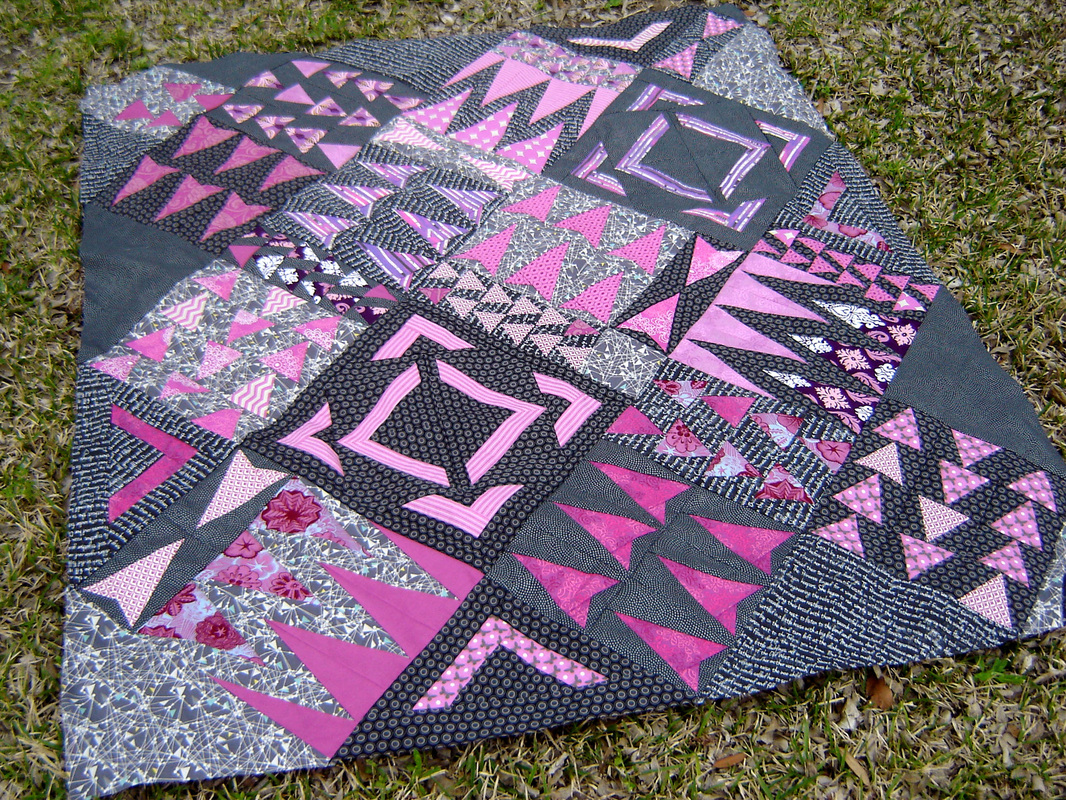
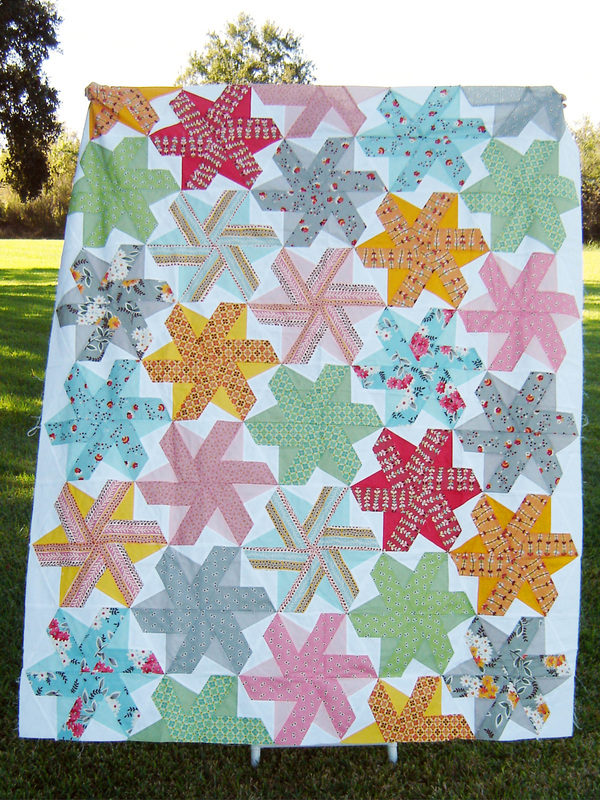
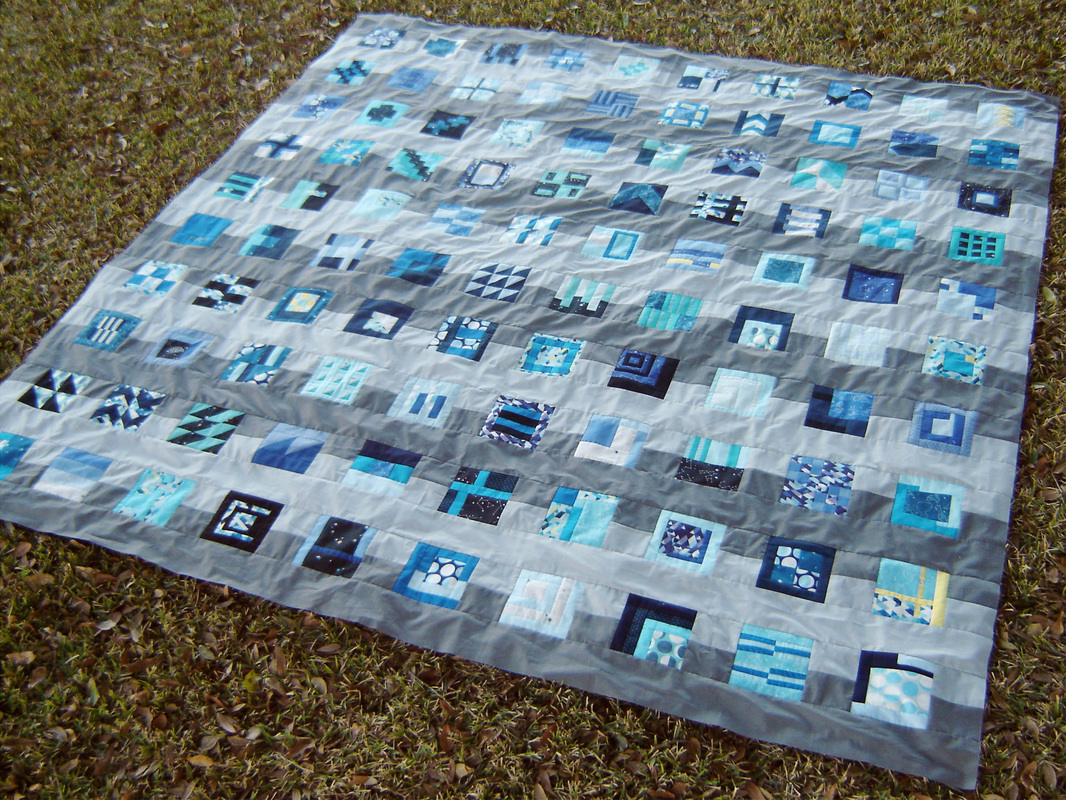
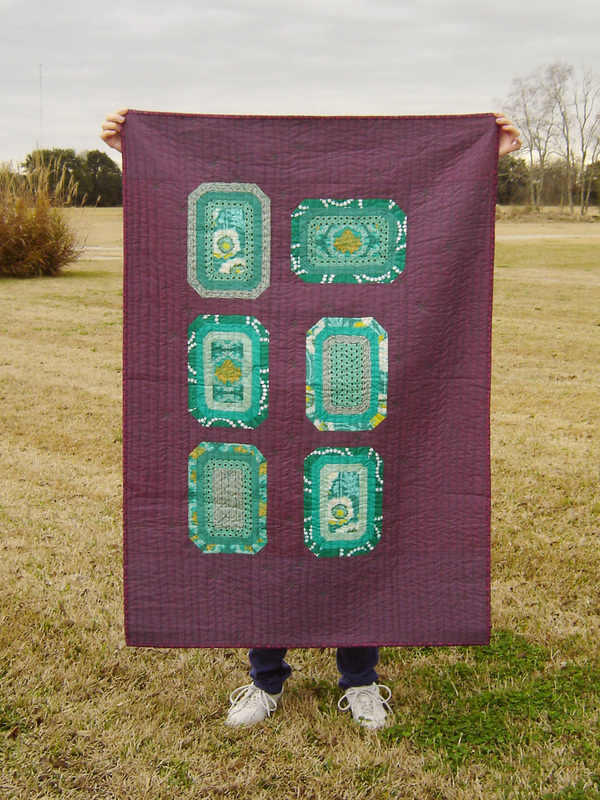
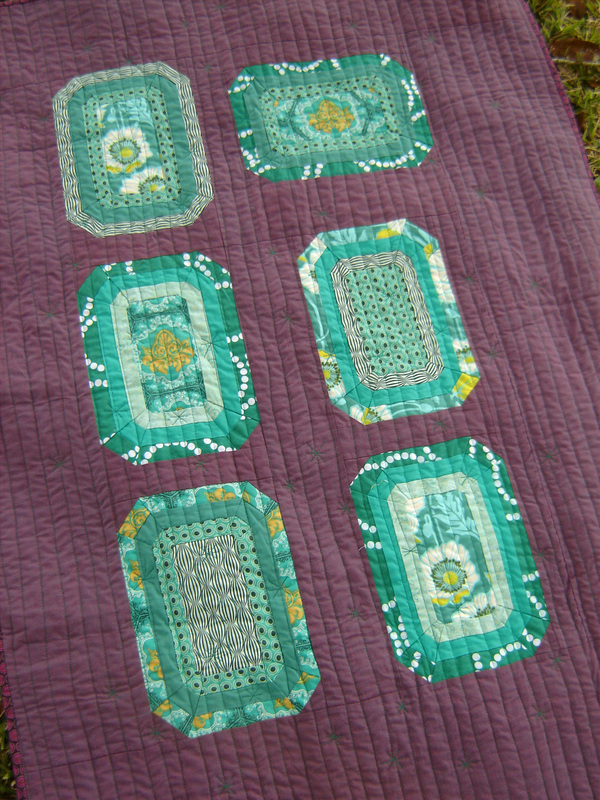
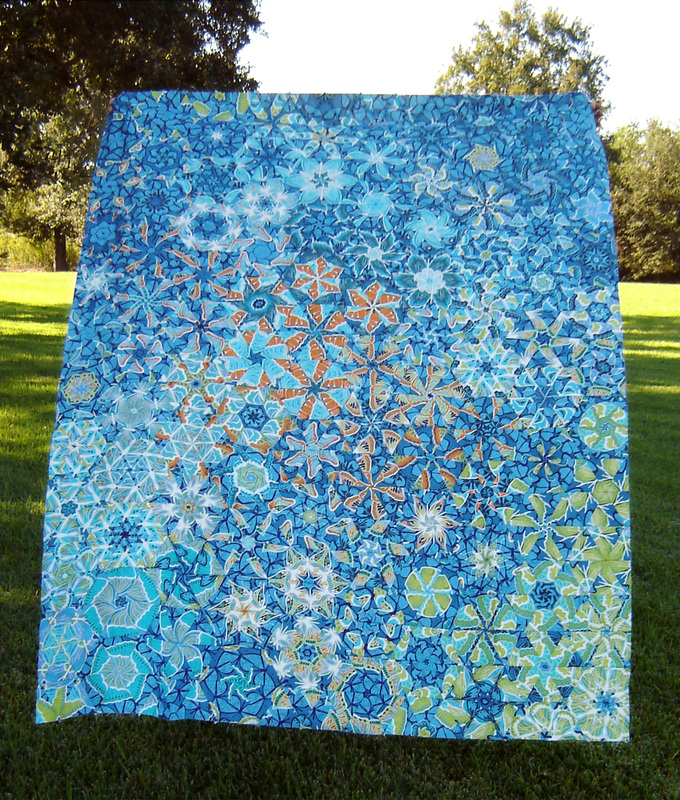
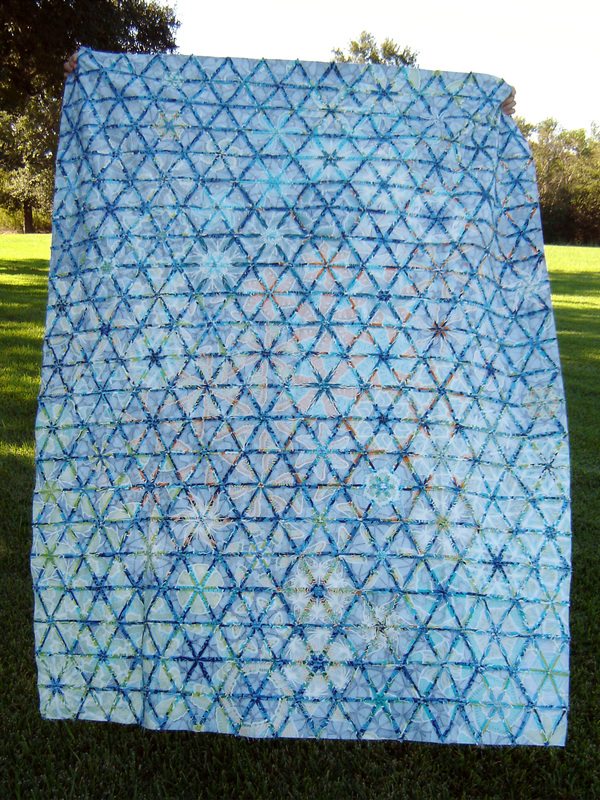
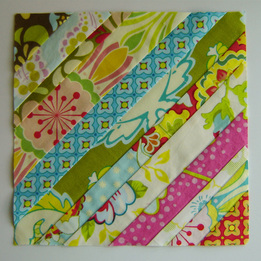
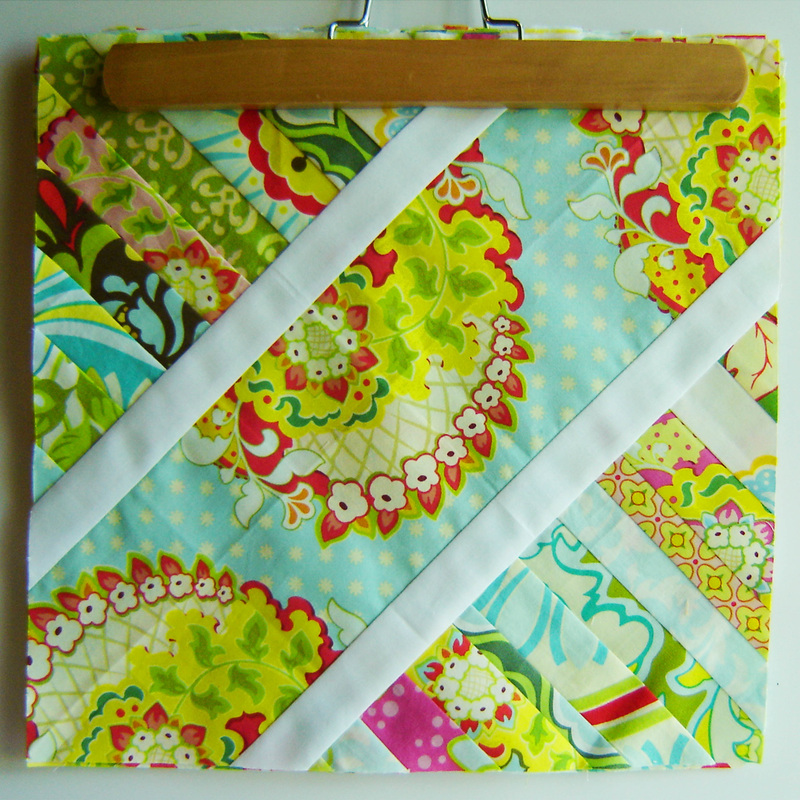
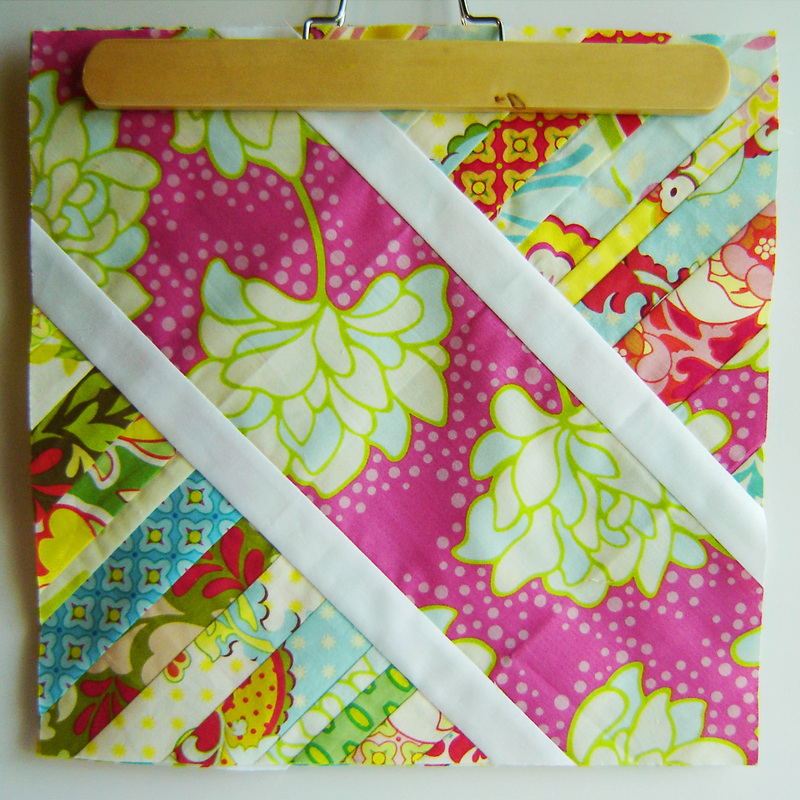
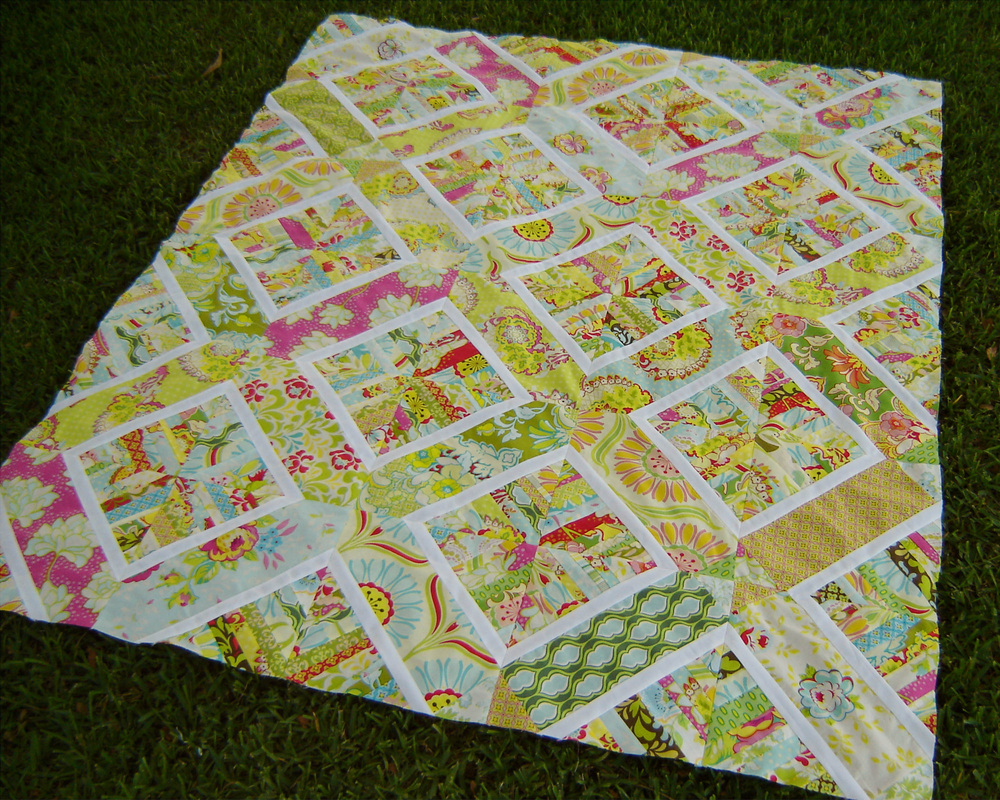
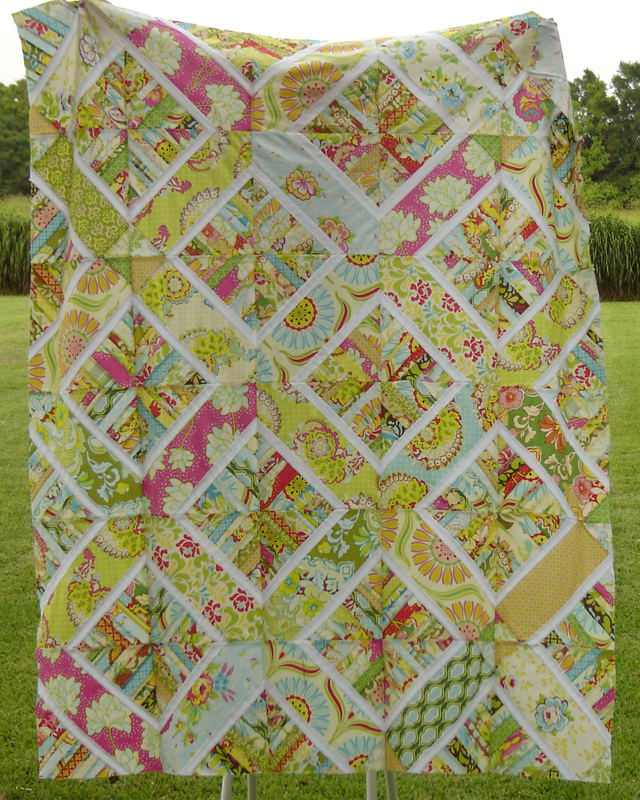
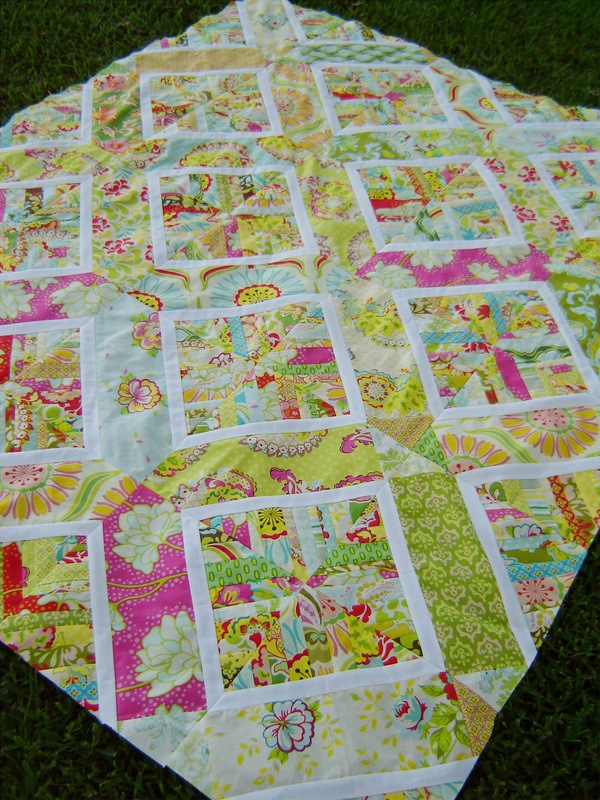
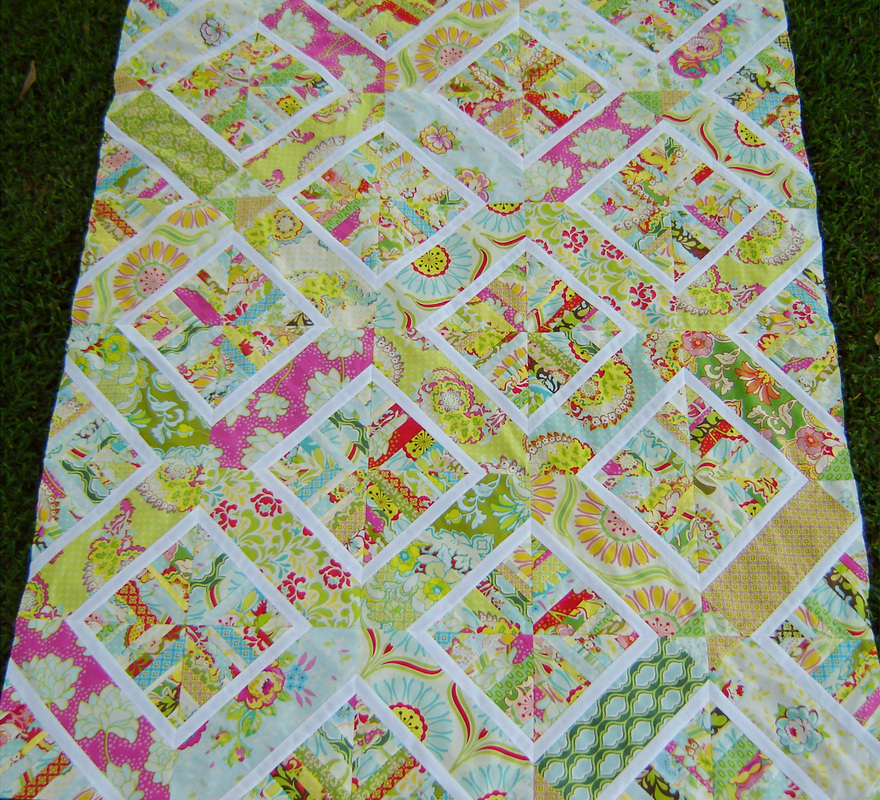
The Latticework quilt is finished! Finally! This quilt has a long history, it took quite a while to get here, finished, but boy I am glad that it is. This quilt started way back in September 2011 where I asked my new at the time Always Bee Learning bee mates to make some 8.5" paper pieced string blocks. You can see my original block HERE. Then after receiving all the blocks, they just sat there FOREVER. Then last year, May 2013 to be exact, these string blocks were transformed into a new quilt block that I designed, and then was turned into a finished quilt top, you can read about it HERE. After the top was finished, I quickly basted it and there it sat until February 2014. Officially 2 years and roughly 5 months later I quilted this quilt.
This quilt was quilted with my brand-new-to-me (used) Juki TL 2010q in February of this year. I haven't yet blogged about my new machine, but hope to in the near future, because honestly it has been a game changer for me. This was my first time free motion quilting a quilt this large, and really the first project that I completed with my new machine. I used a 50 weight white thread fromConnecting Threads, only had 3 bobbins, so needless to say I had to stop and load them a lot, and I tried out three different free motion stitches using the 1/5" free motion foot.
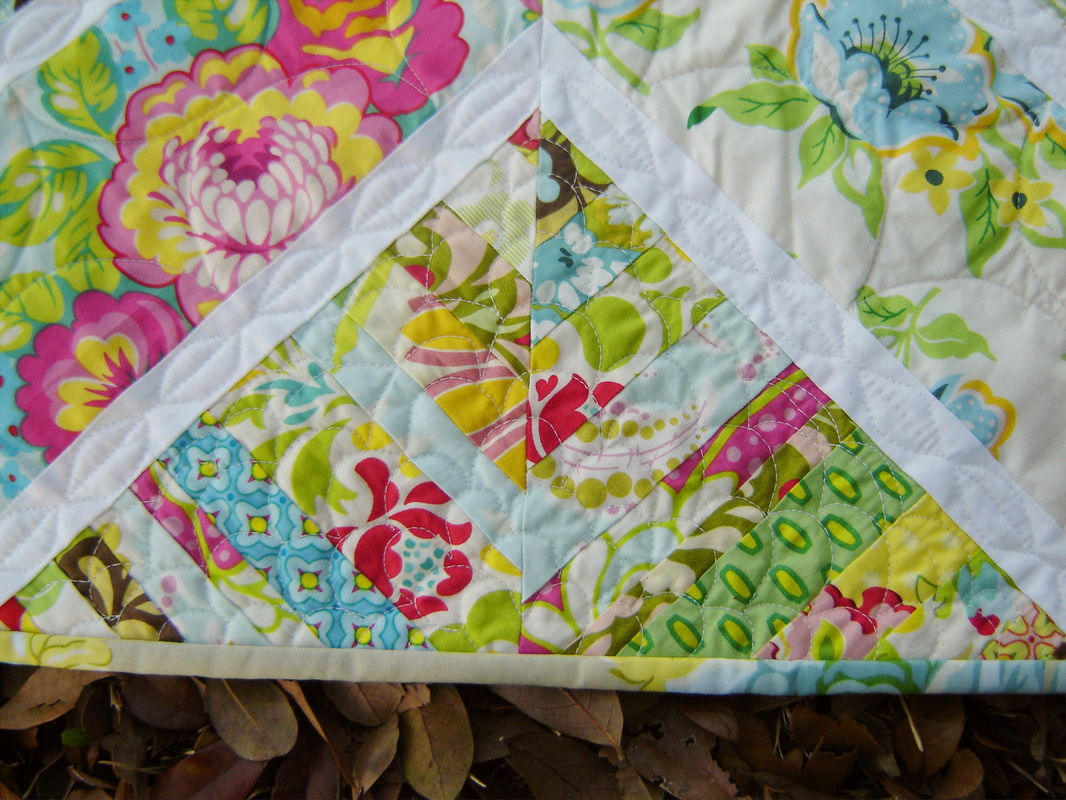
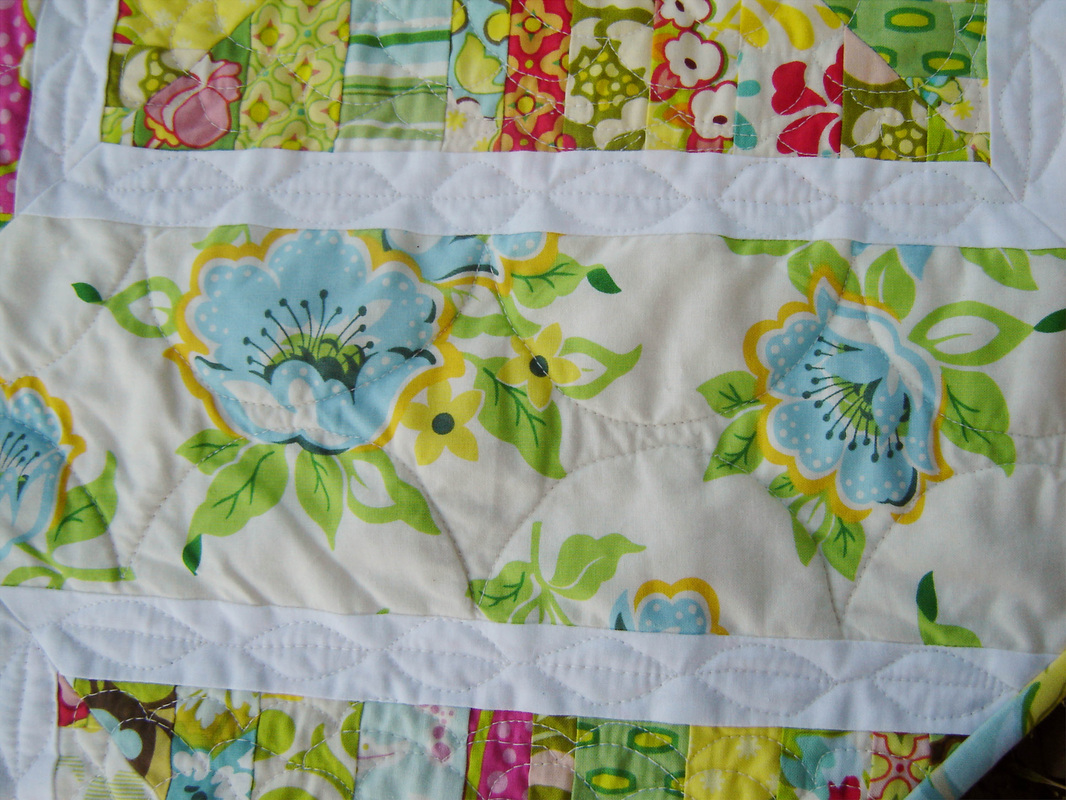
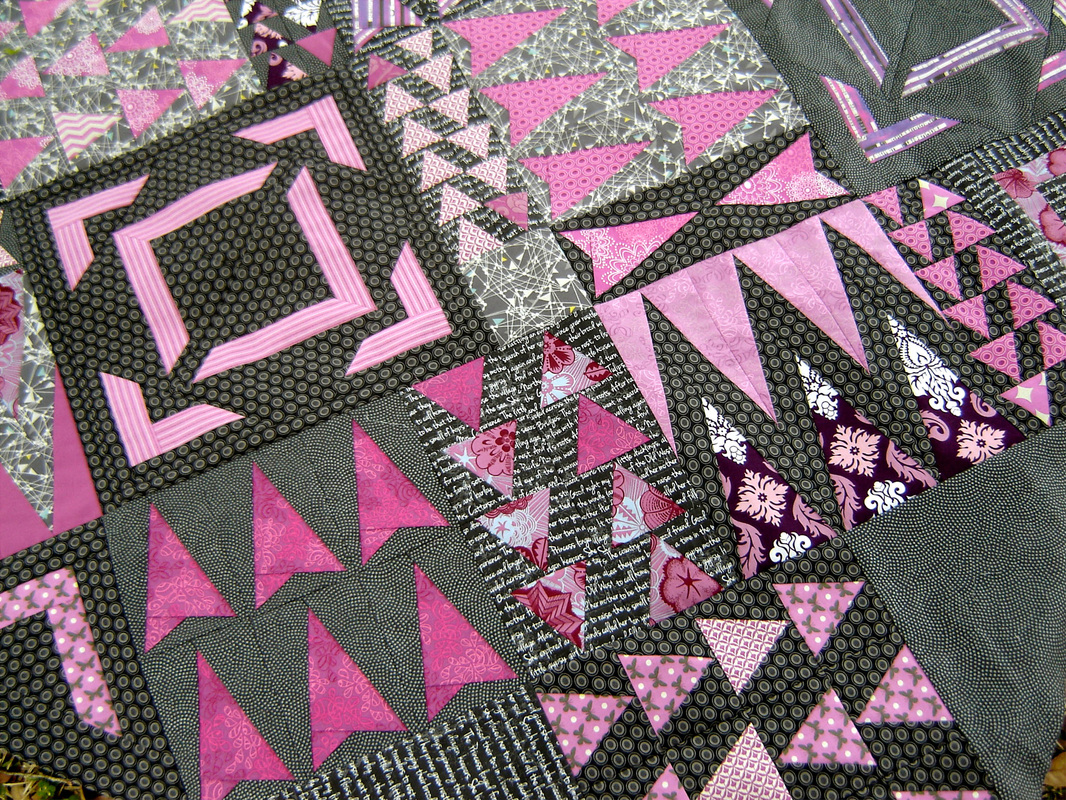
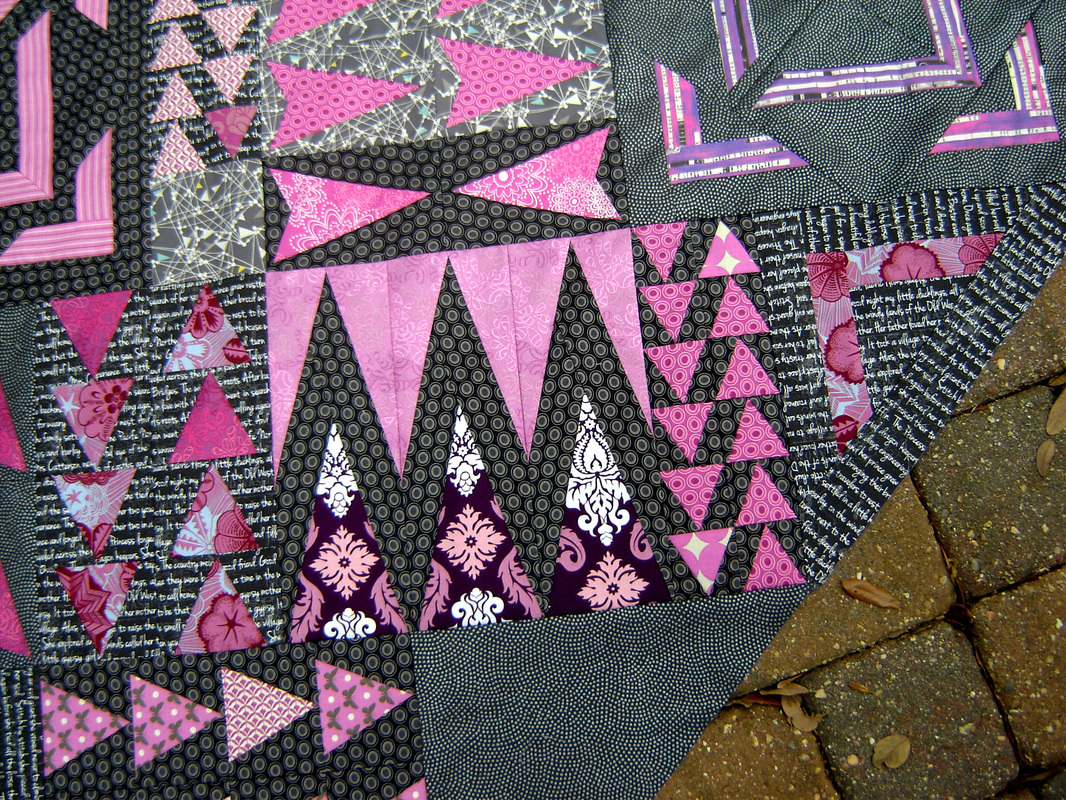
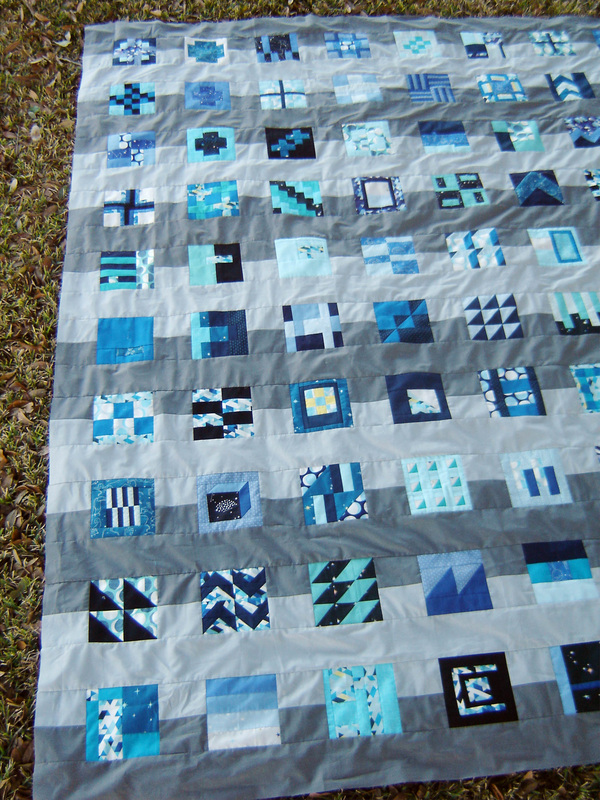
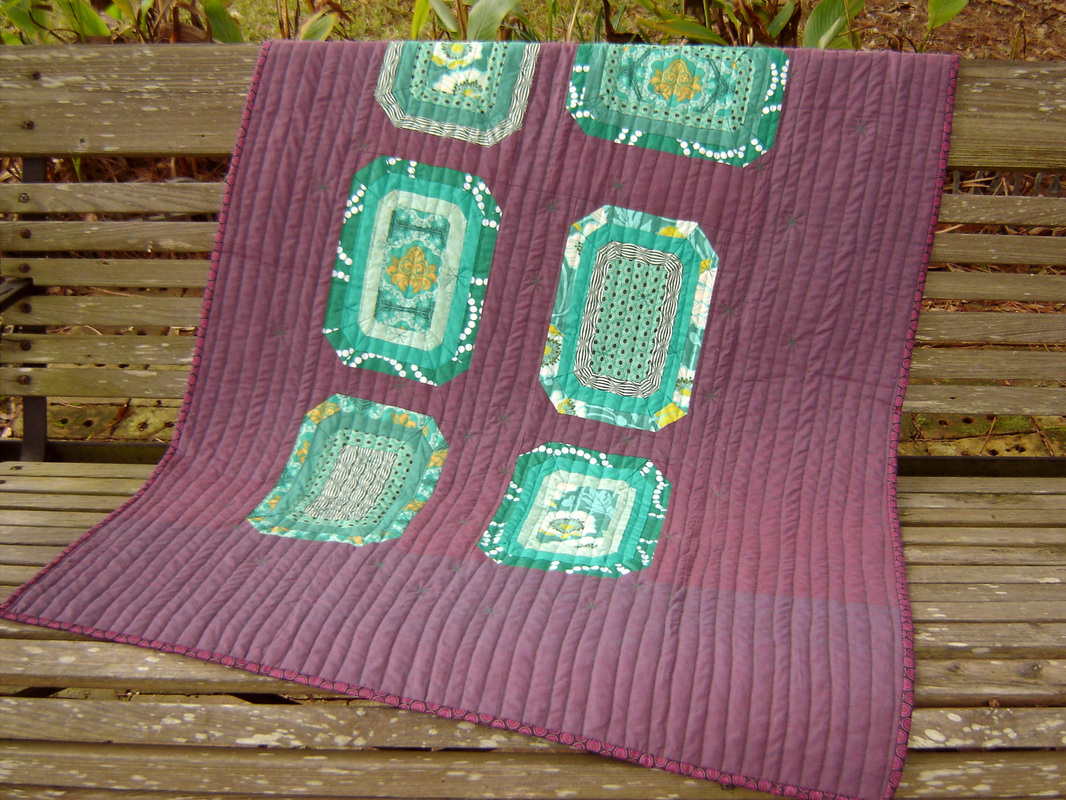
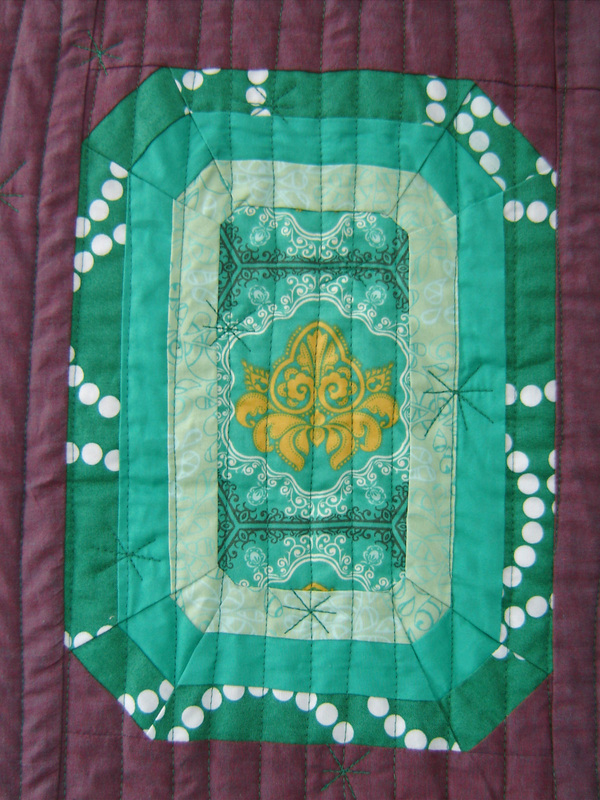
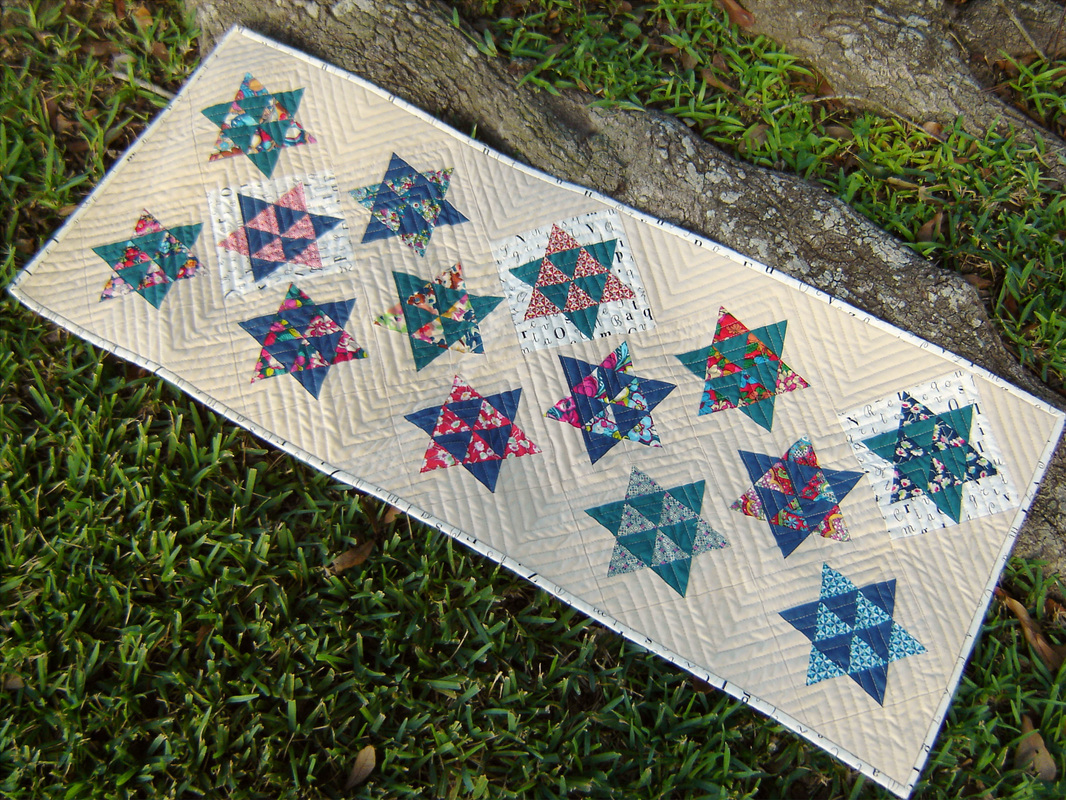
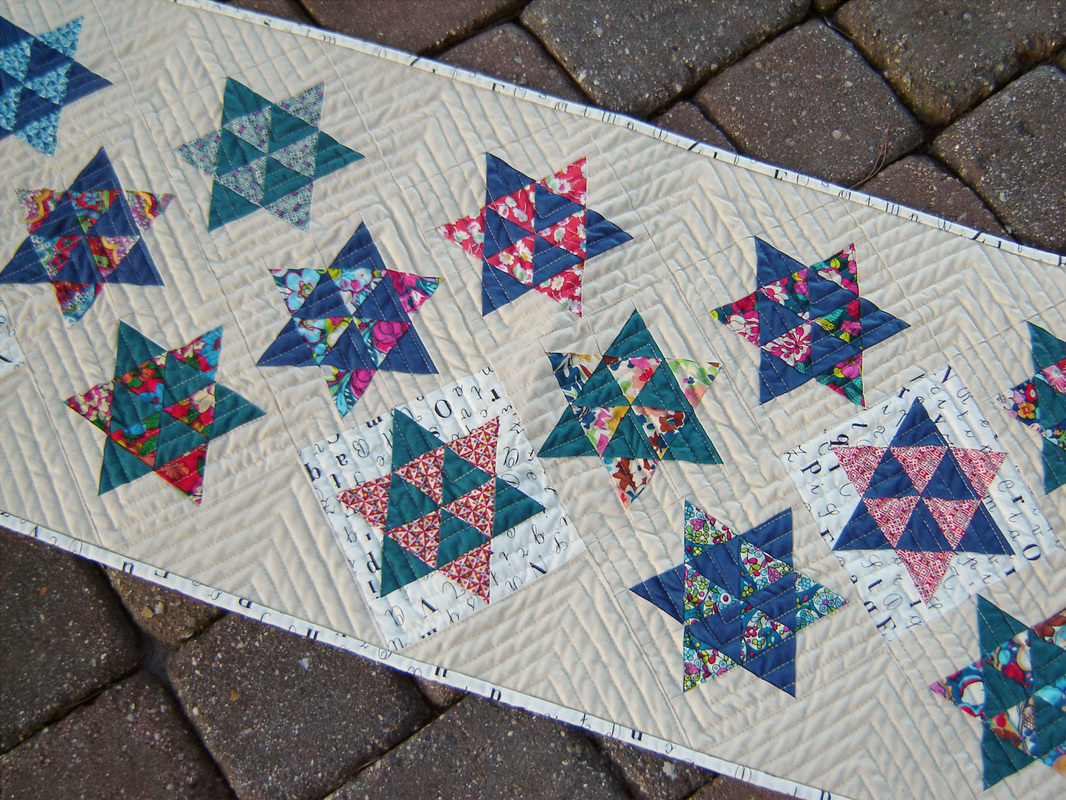
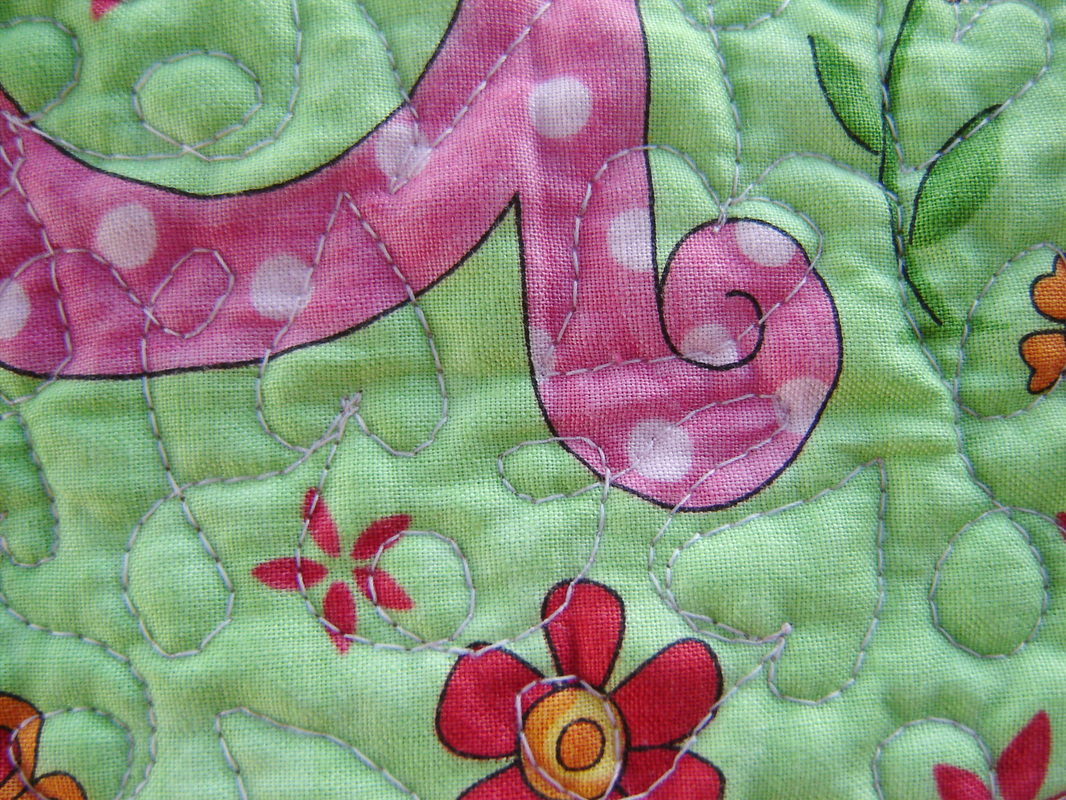
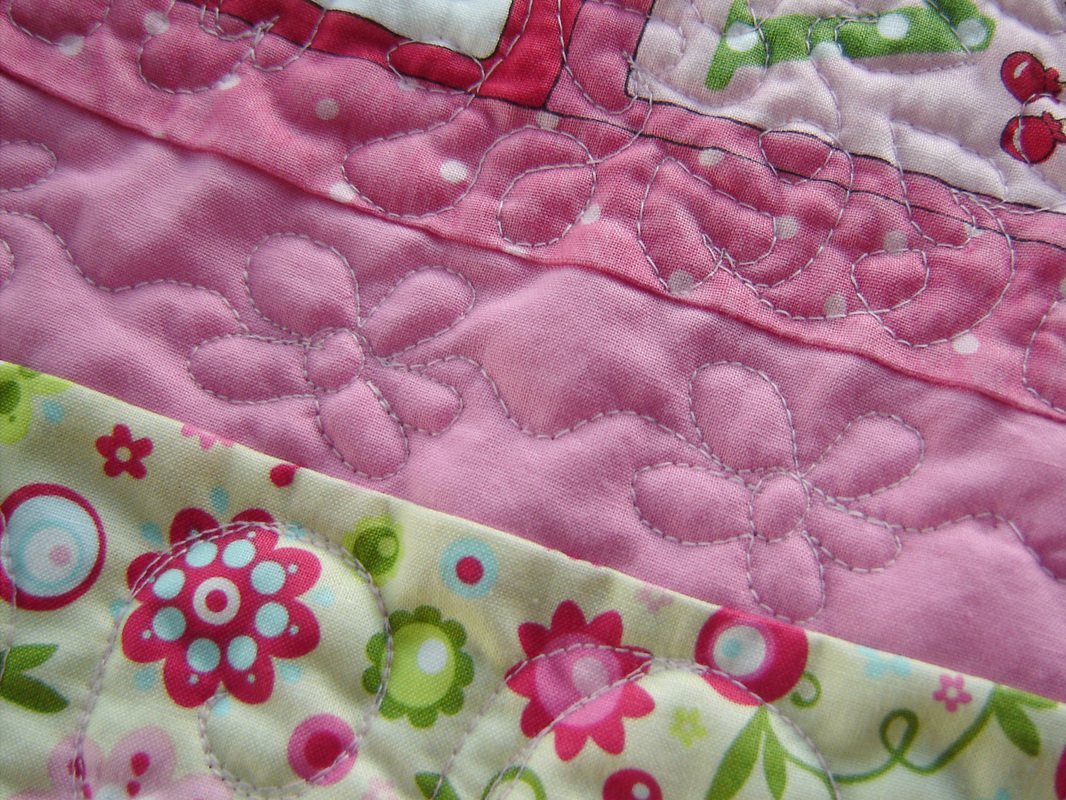
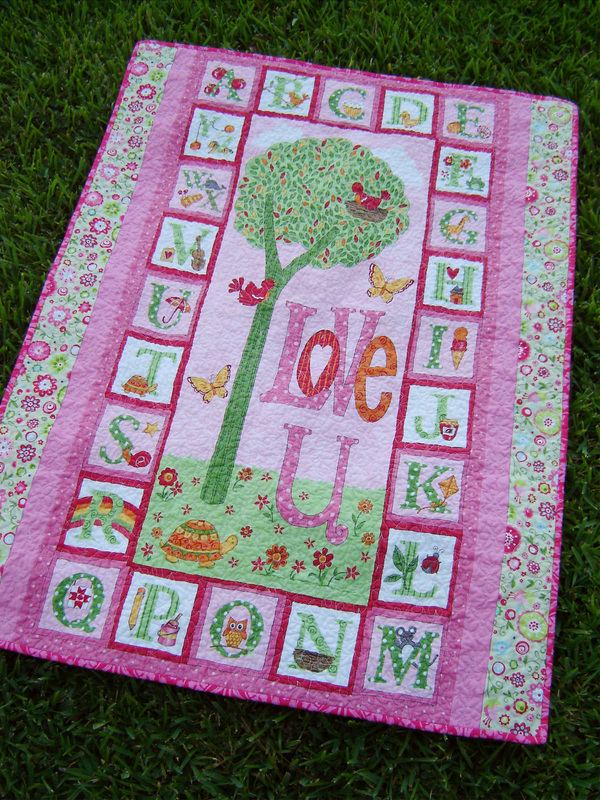
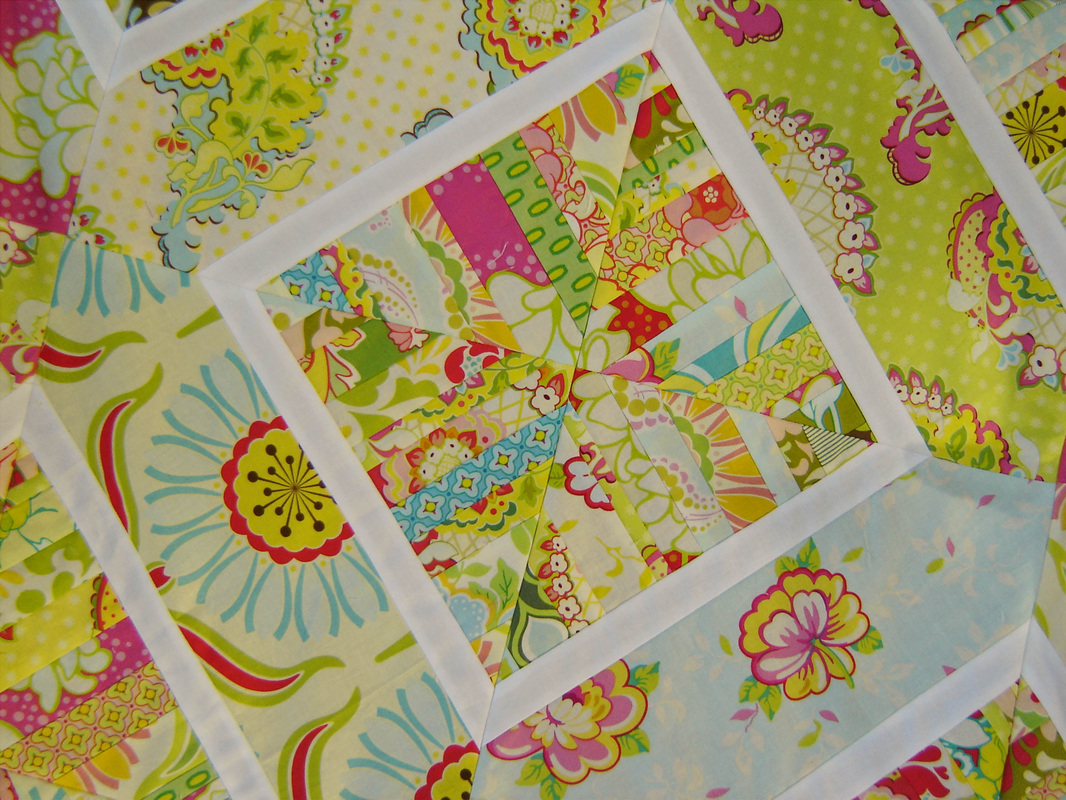
The first bit of free motion stitching that I tried out was in the "strings" sections of the quilt, where I quilted a large flower, which if you look REAL HARD you can see above. I wanted a fairly dense stitch to really lock down all those strings. It worked, but since the fabric is so busy, I find the quilting really doesn't show up that well. Which is ok, because it is FAR from perfect. The second bit of stitching that I tried was the pretty leaves in the narrow white strips. This shows up fairly well and I was really happy with the result, you can see this above and below. It was so fun stitching those leaves, which is now my favorite part of the quilt.
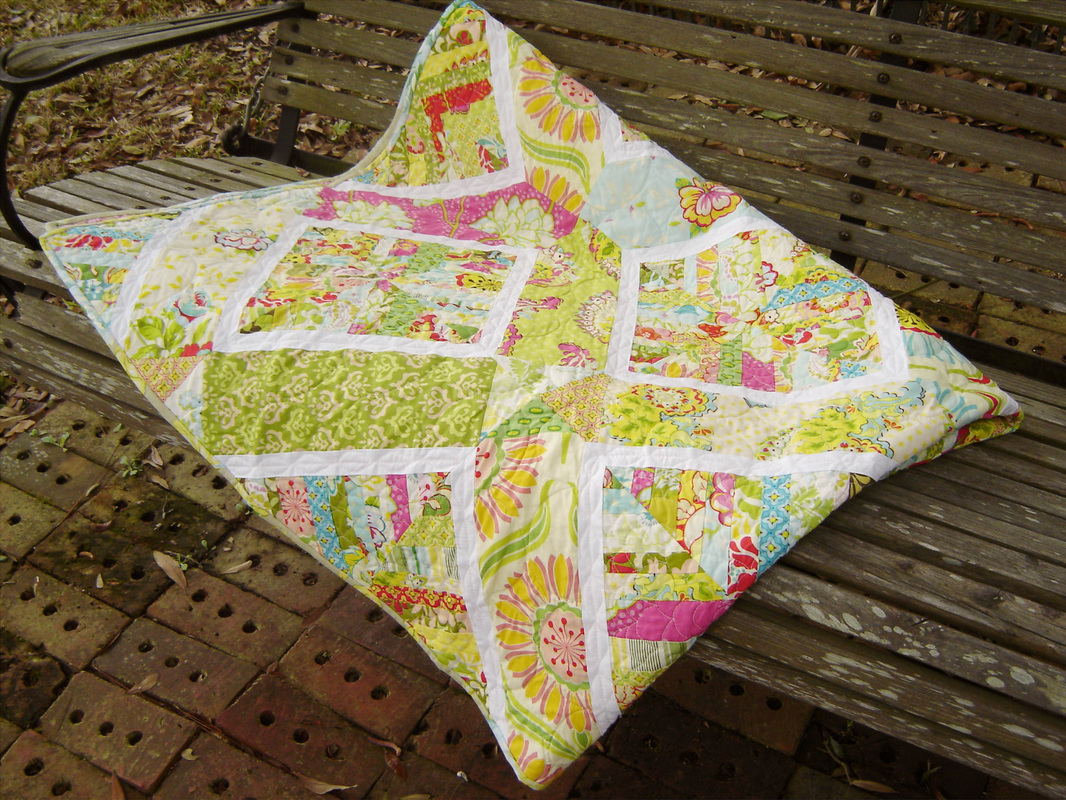
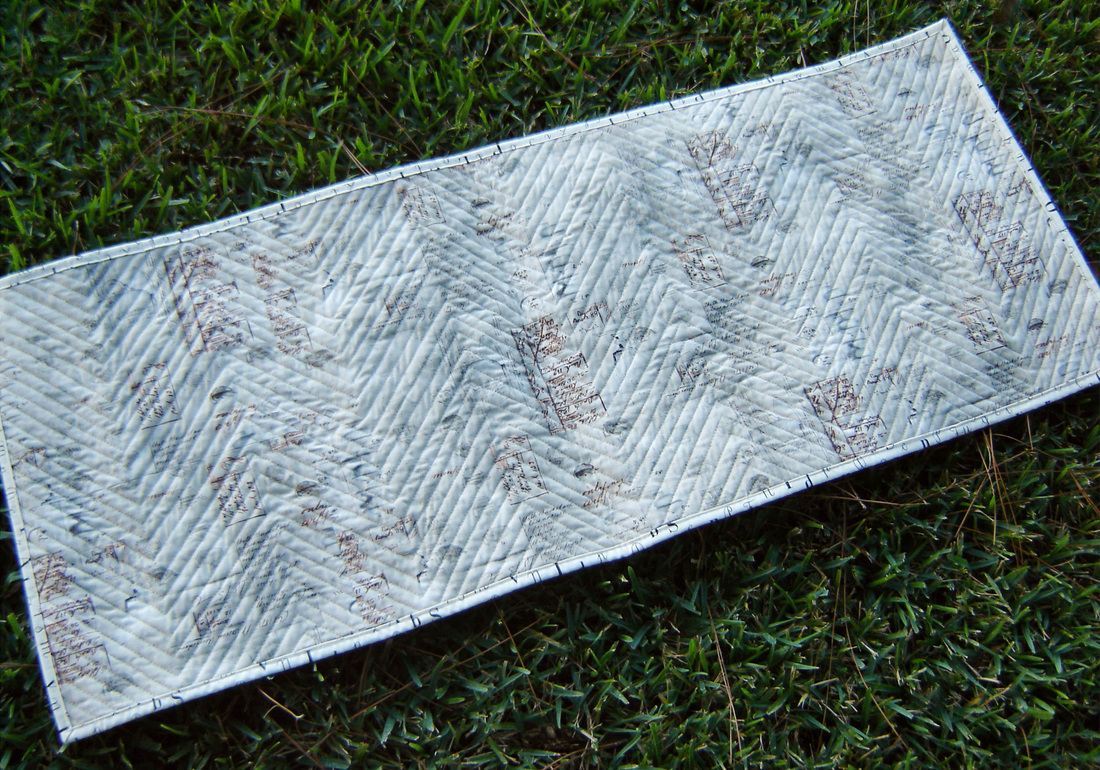
The third stitch can be seen above and I'm not sure what to call it, but it was stitched in the larger expanses. I marked the lines with a washable blue marker and then tried to "trace" those lines. It turned out OK, but honestly this quilt was pretty much entirely on the bias and there was a lot of fullness in these spots, so my quilting was really just to try and ease in the fullness. That worked better in some spots, not so good in others. The above photo is a good example of that "fullness." I am hoping that after I wash this quilt, a lot of those issues will resolve themselves (I hope.)
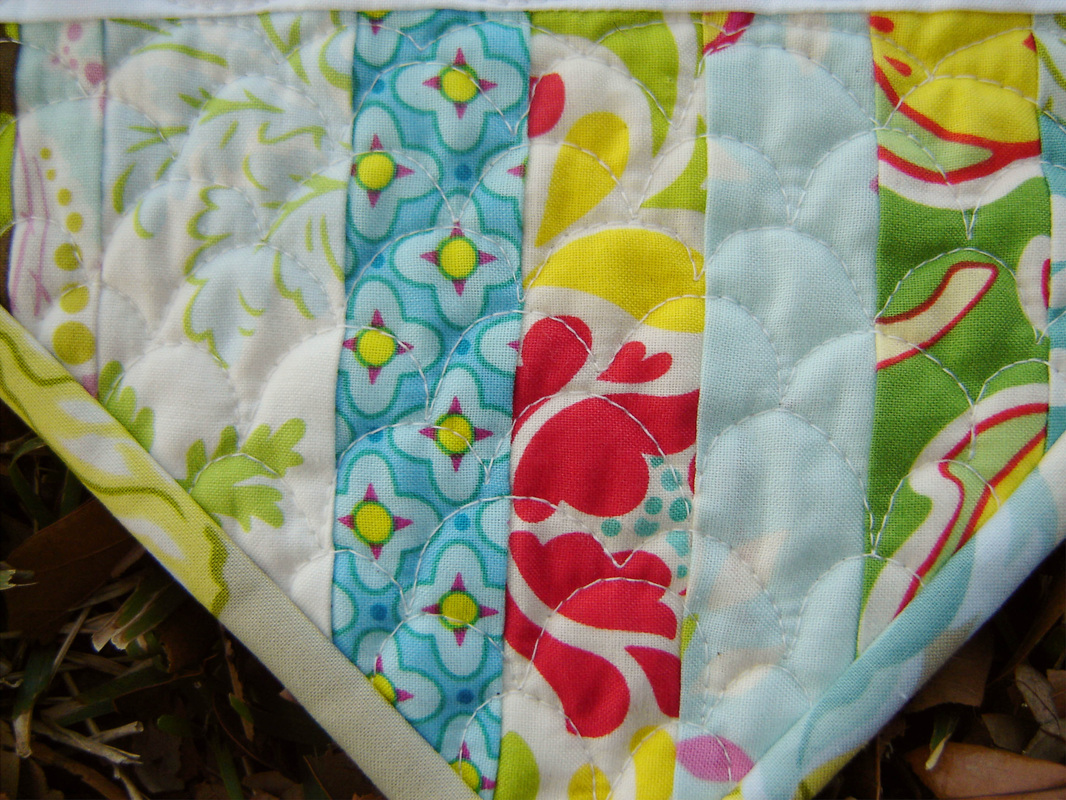
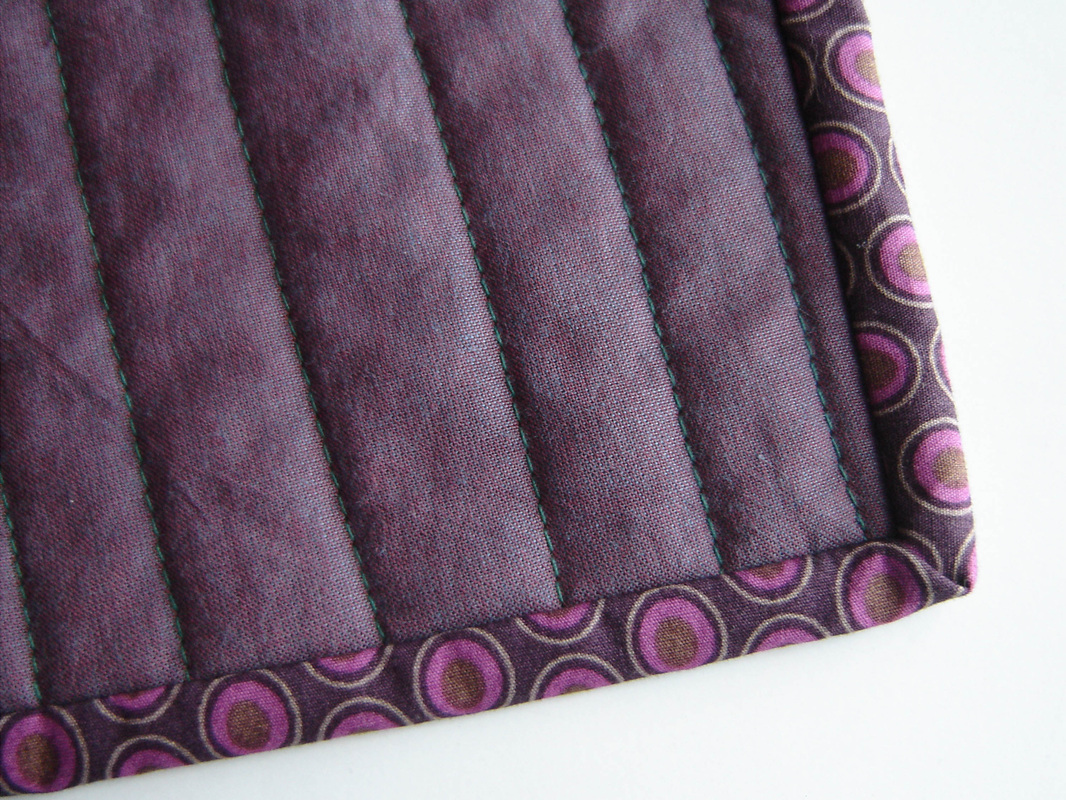
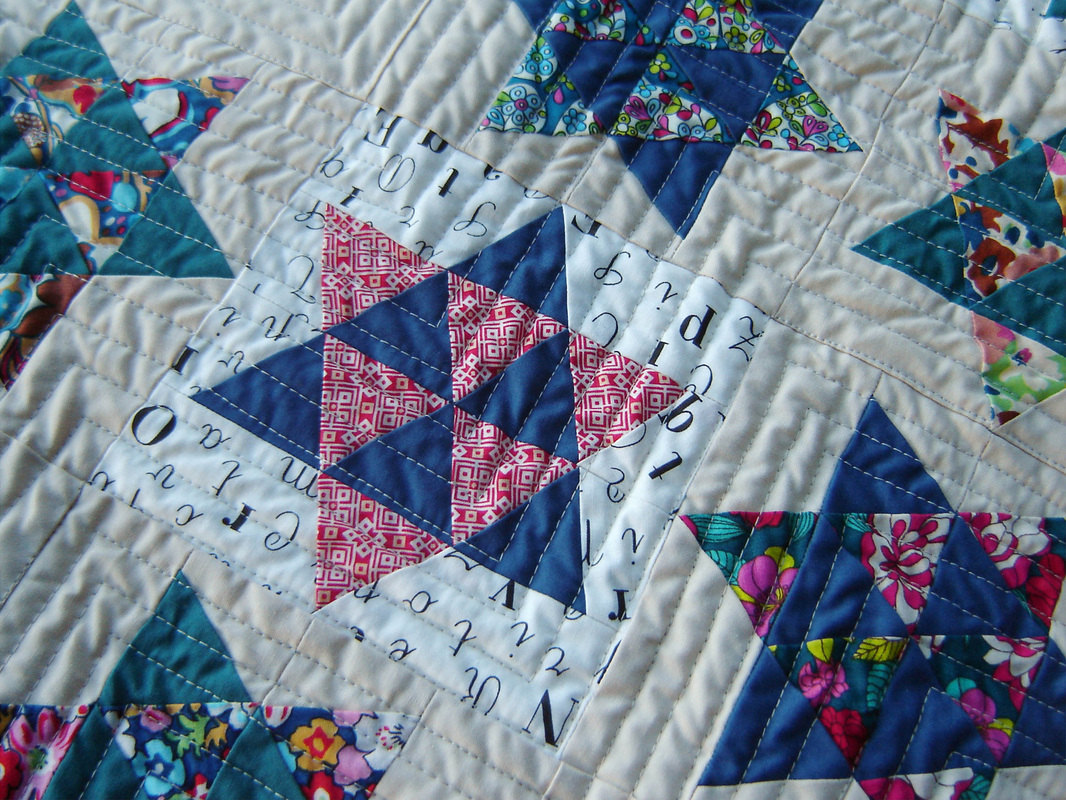
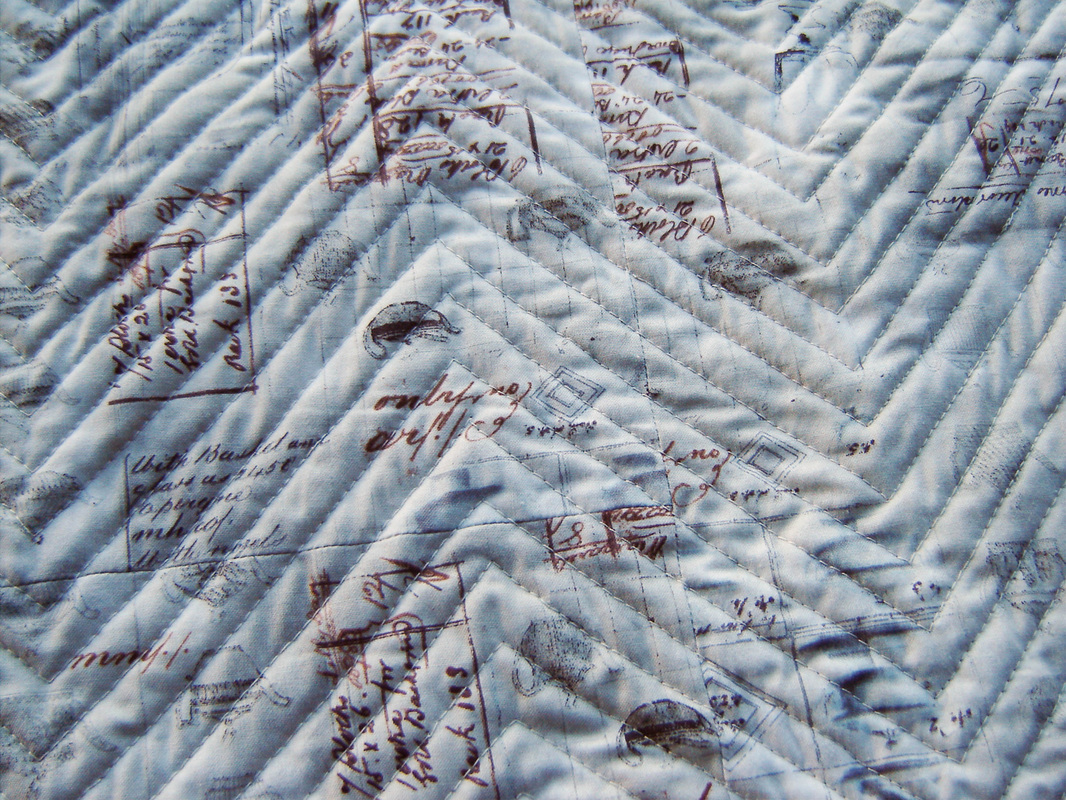
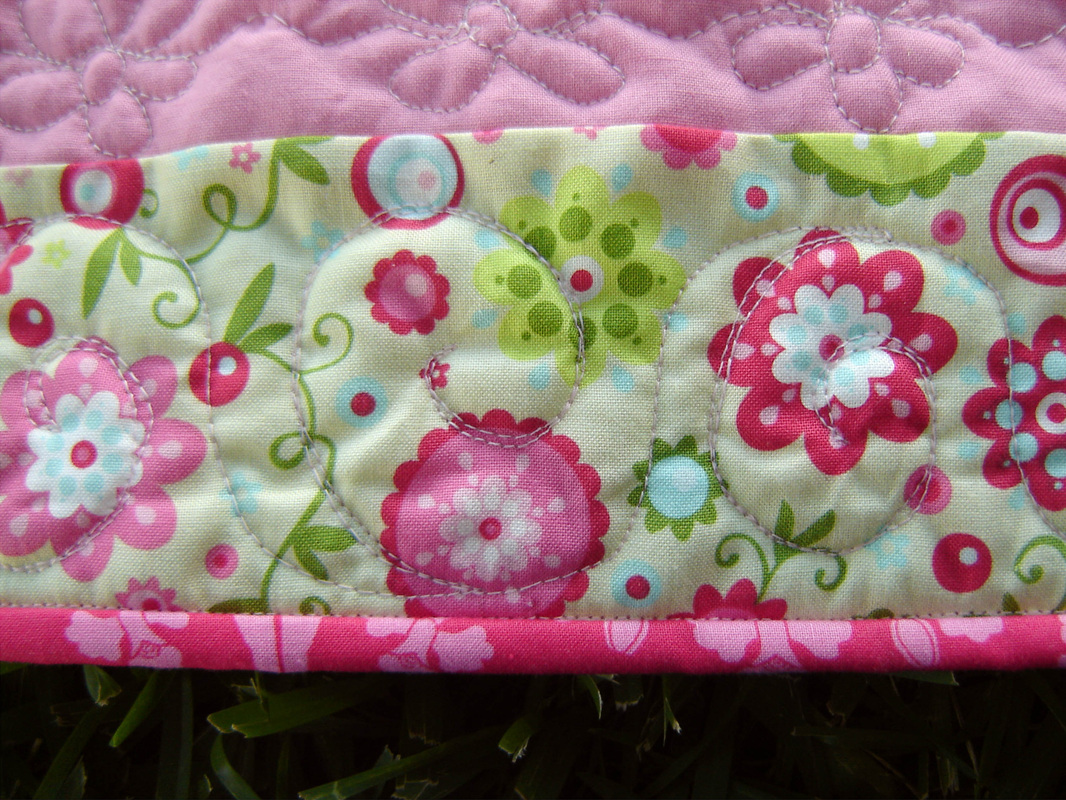
Here is my stitching up close. Not too bad, especially for my first go with a new machine. I had minimal thread breakage, only a few hiccups and overall truly loved quilting this throw quilt. Not once did I ever think that it was hard to fit in the machine, which is such a nice change. The larger harp of the Juki made quilting this a breeze and just so enjoyable. I set my machine up on my dining room table with the extension table attached, and the table supported the weight of the quilt and I really worked on having good posture and staying relaxed while quilting.
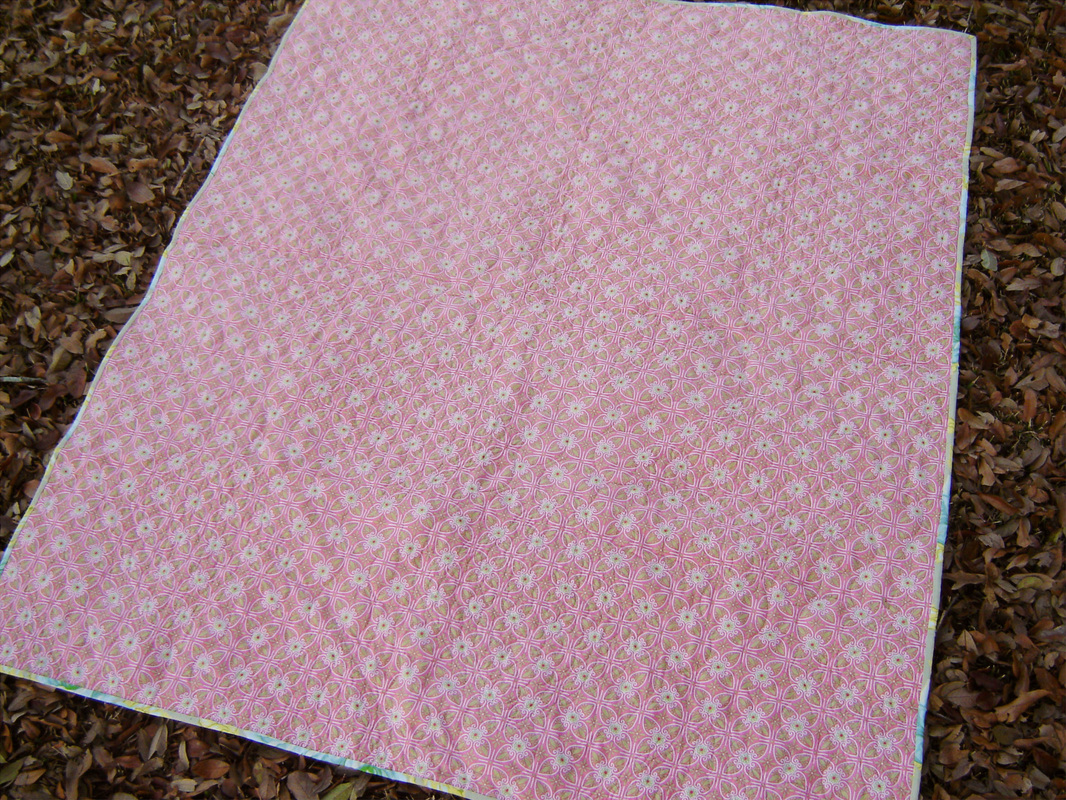
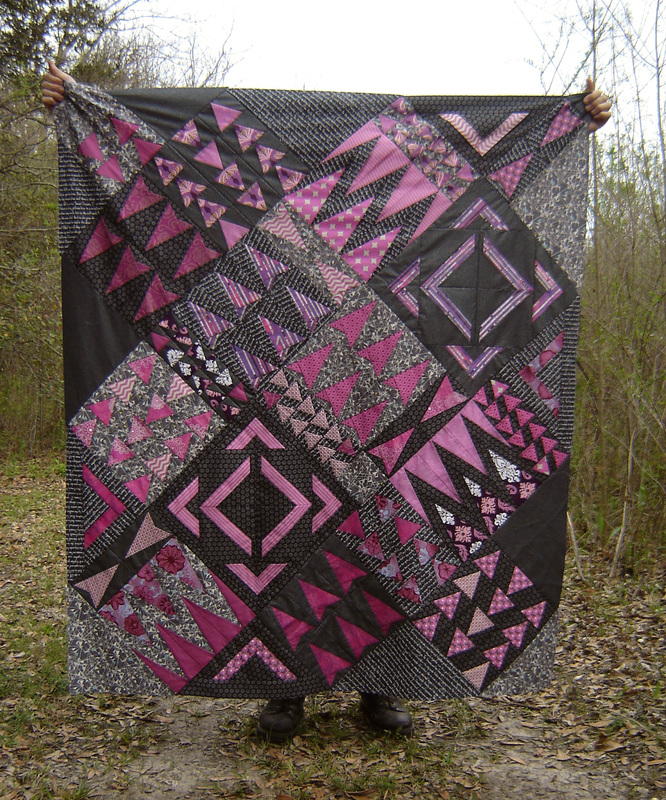
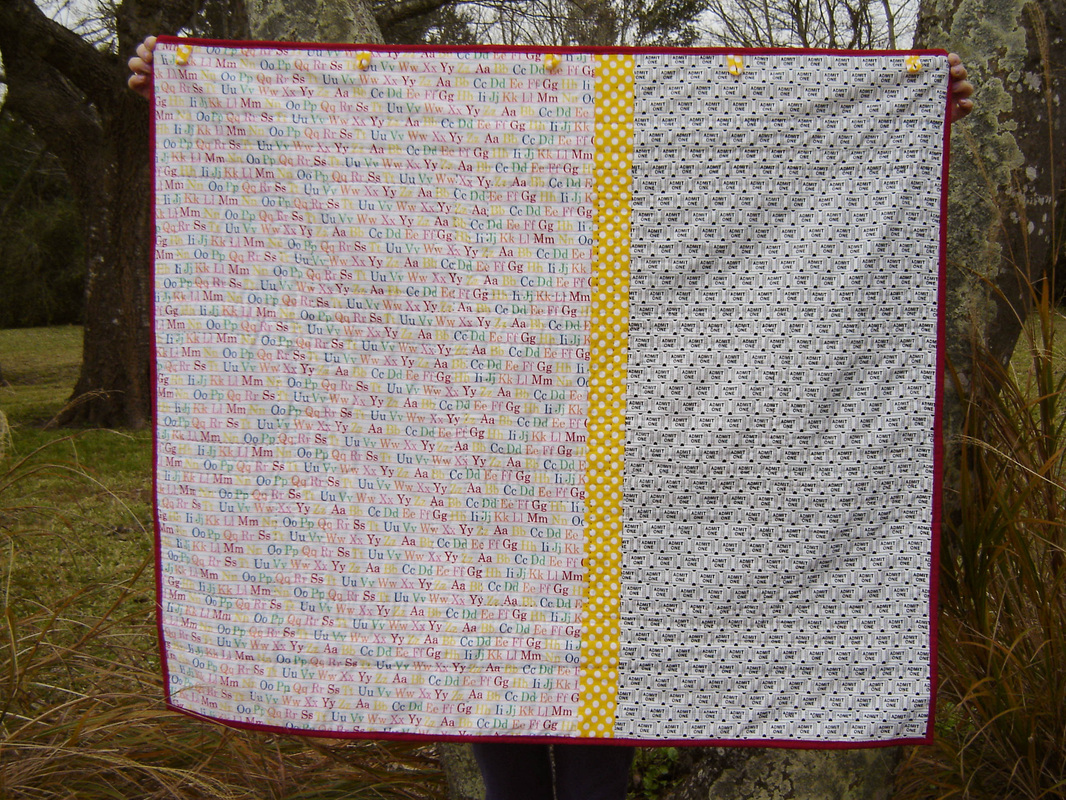
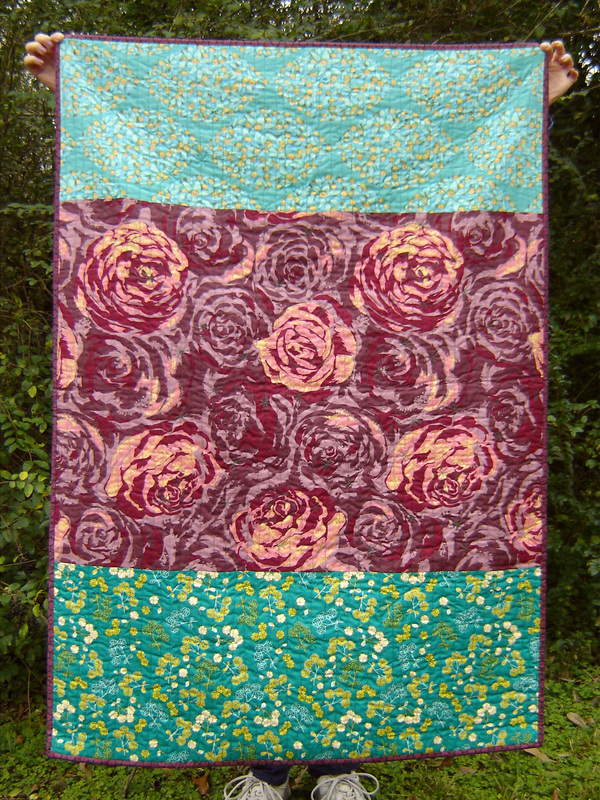
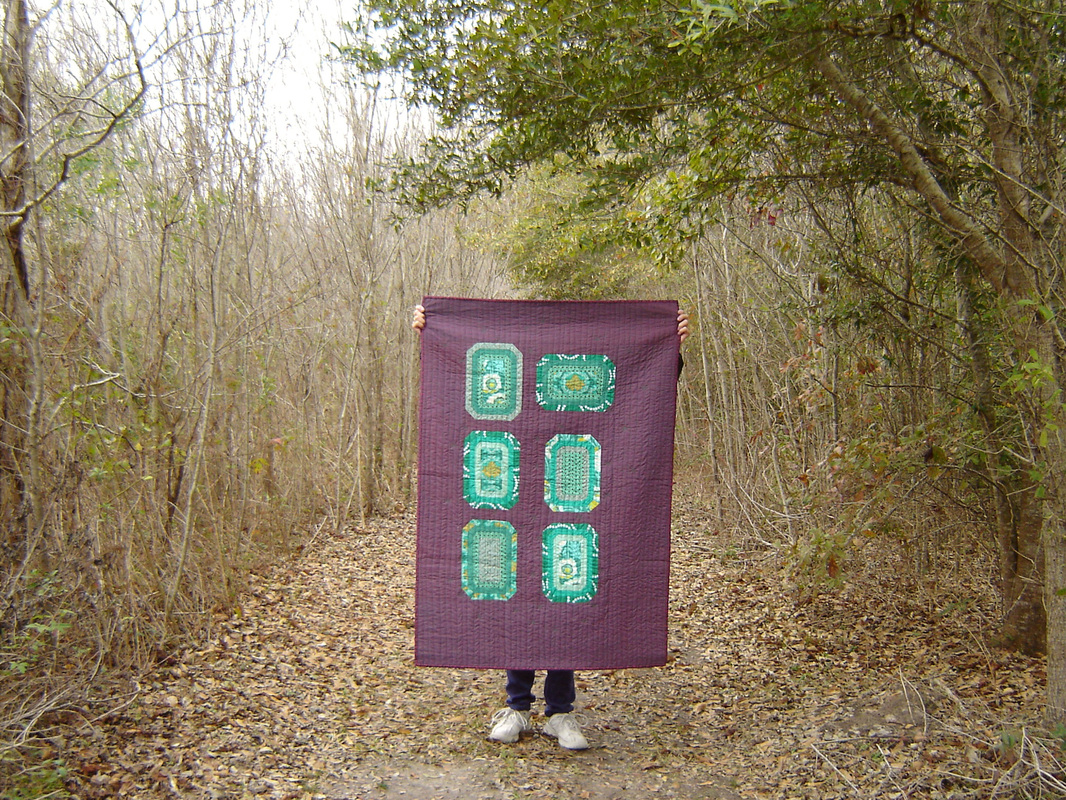
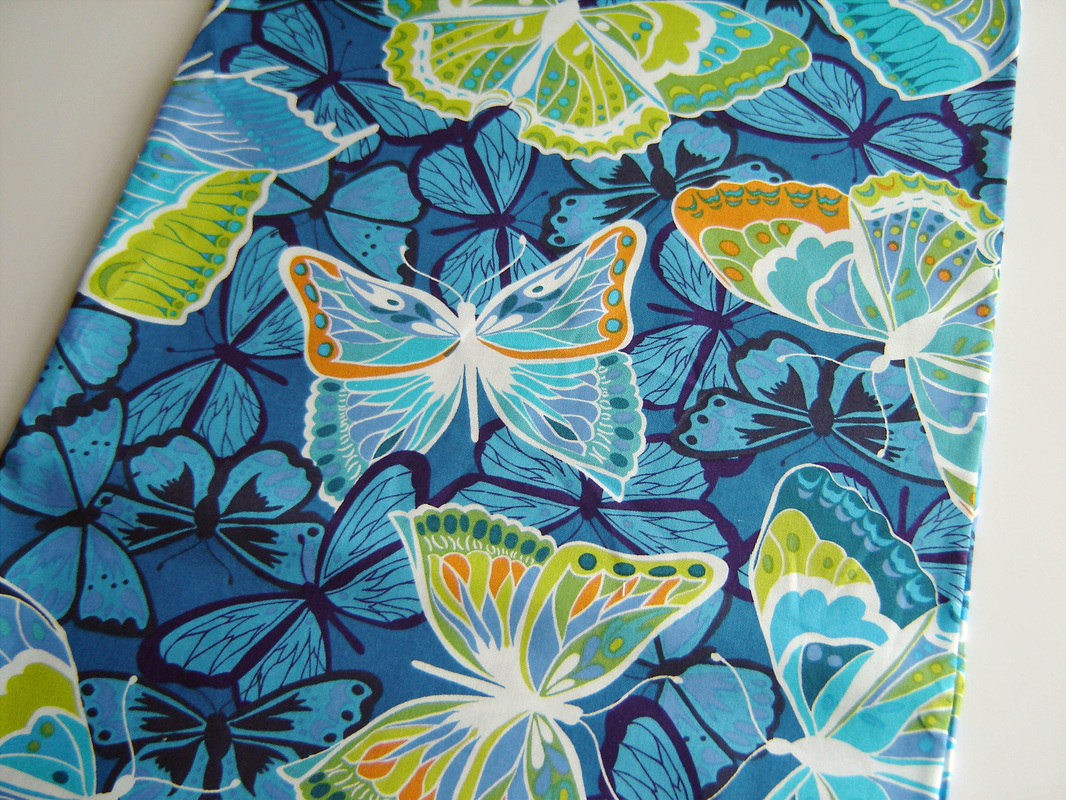
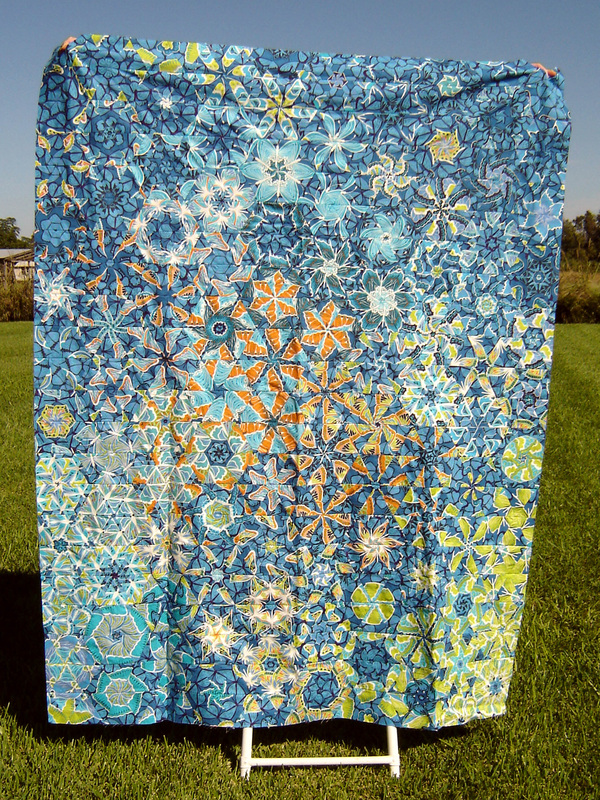
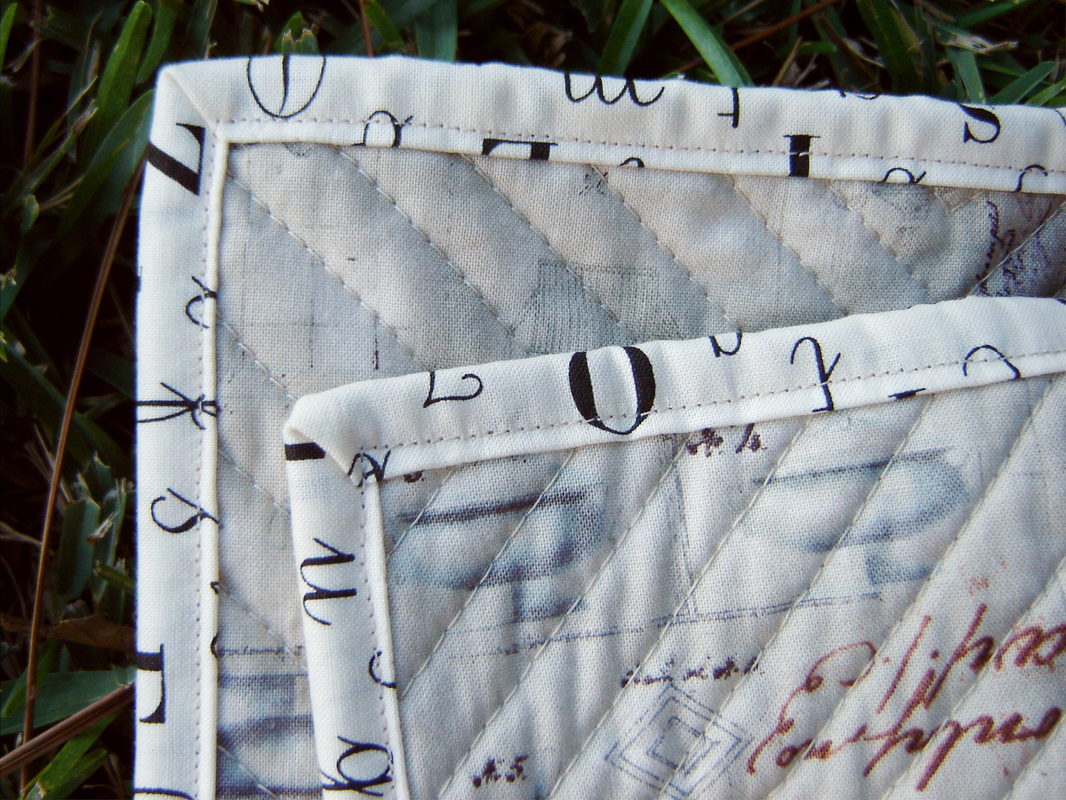
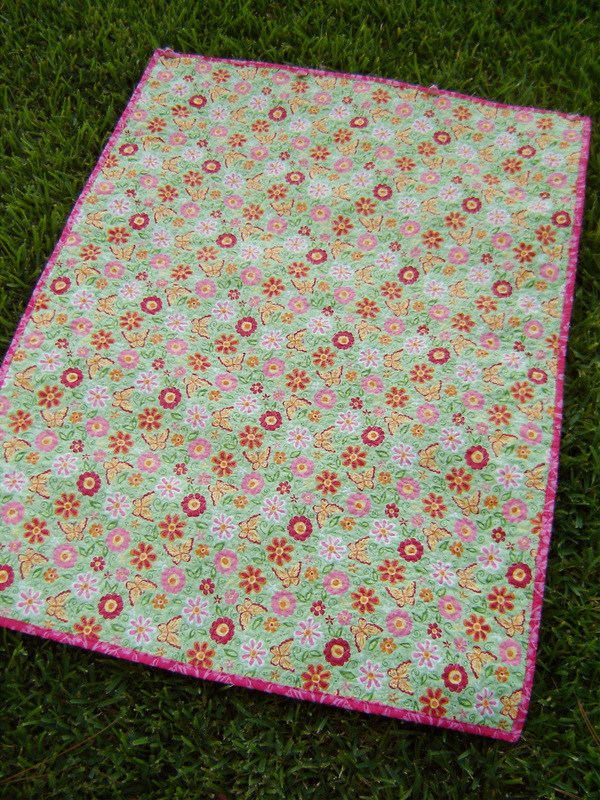
The backing was pieced from yardage and I took special care to carefully match up the pattern, so it is really hard to find the back seam. I have found that I really like just having a simple one print backing. It is quicker and I don't have to stress about the backing so much. I bound the quilt in another Heather Bailey print, because you have to stick with Heather Bailey, since all the prints on the front of this quilt are her designs! The finished quilt measures 62" x 75" and I used a 80/20 cotton/poly Pellon batting. I haven't washed this quilt yet, but I will before it is given to the intended recipient, I guess I am hesitant to try and wash it in my high efficiency washing machine. Have any of you washed a larger quilt in an high efficiency washing machine with success?
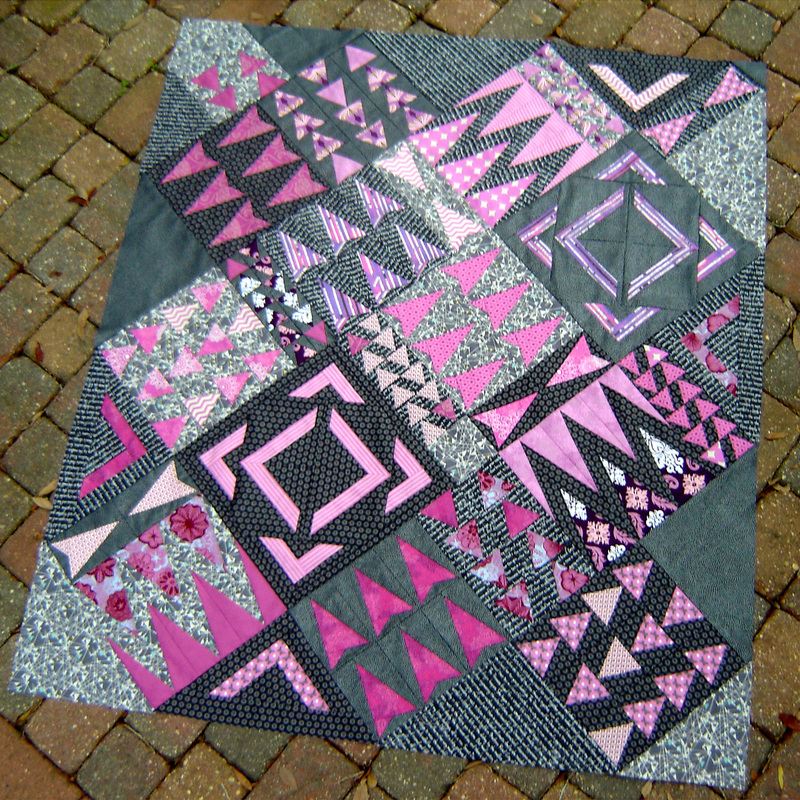
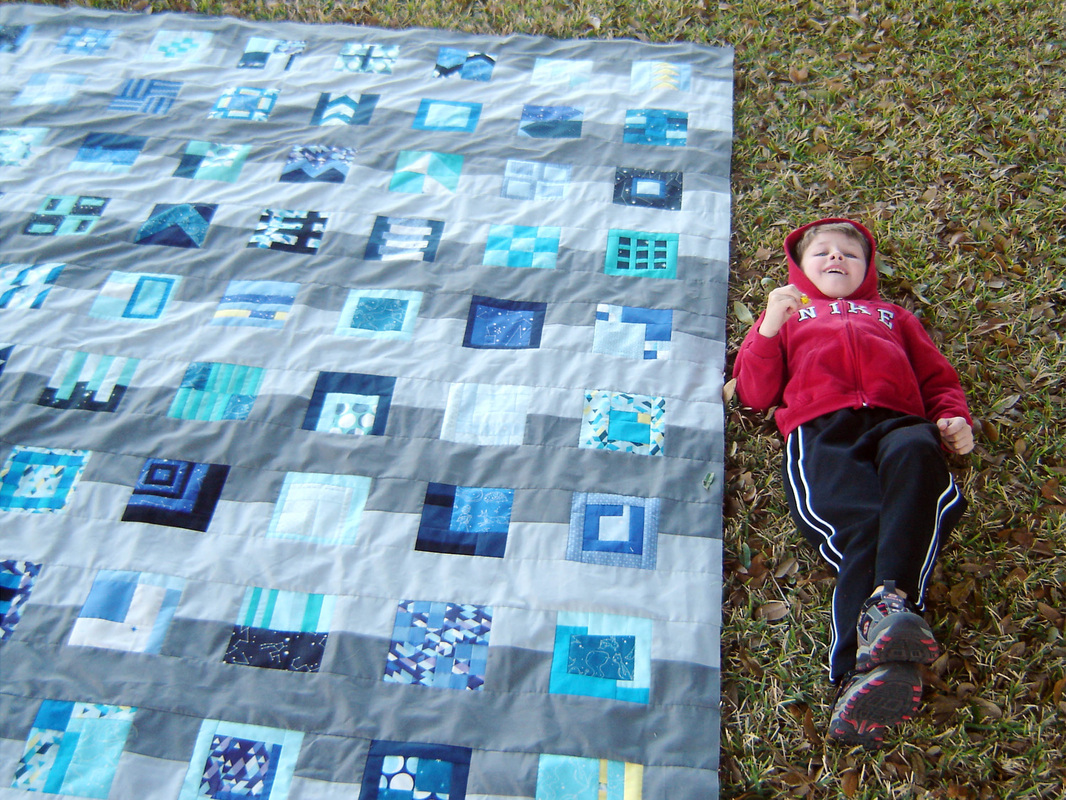
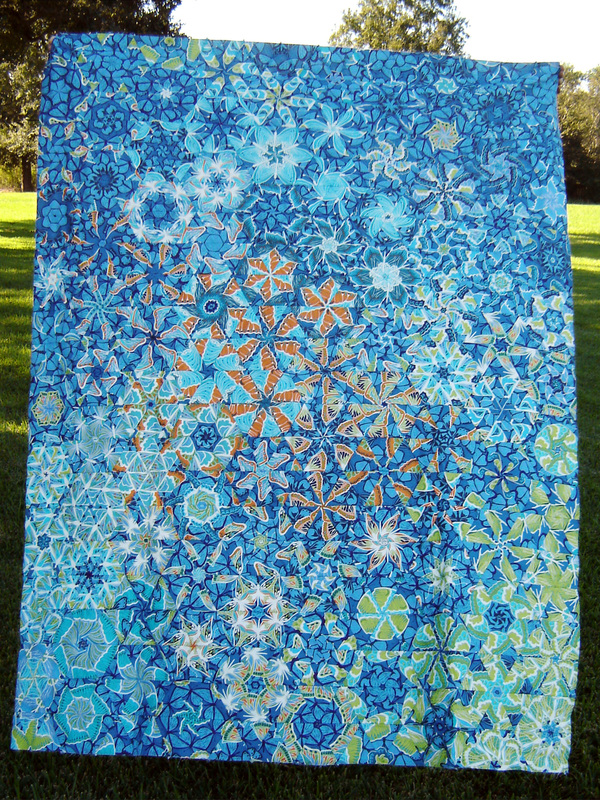
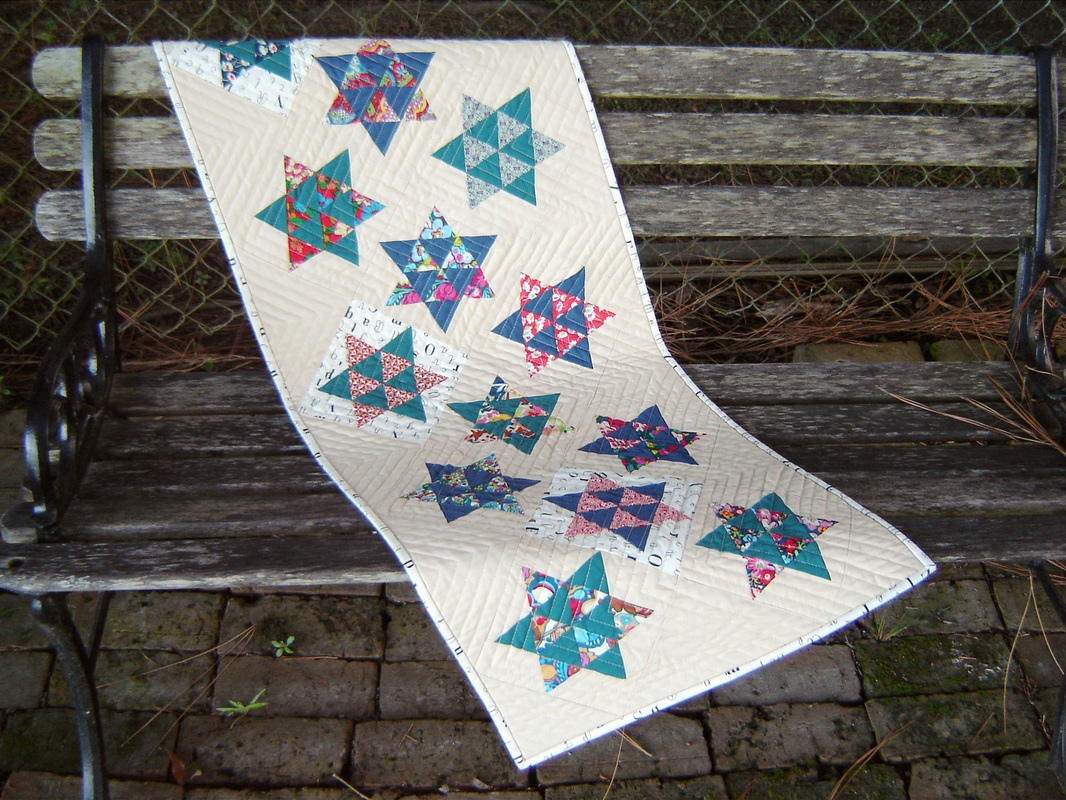
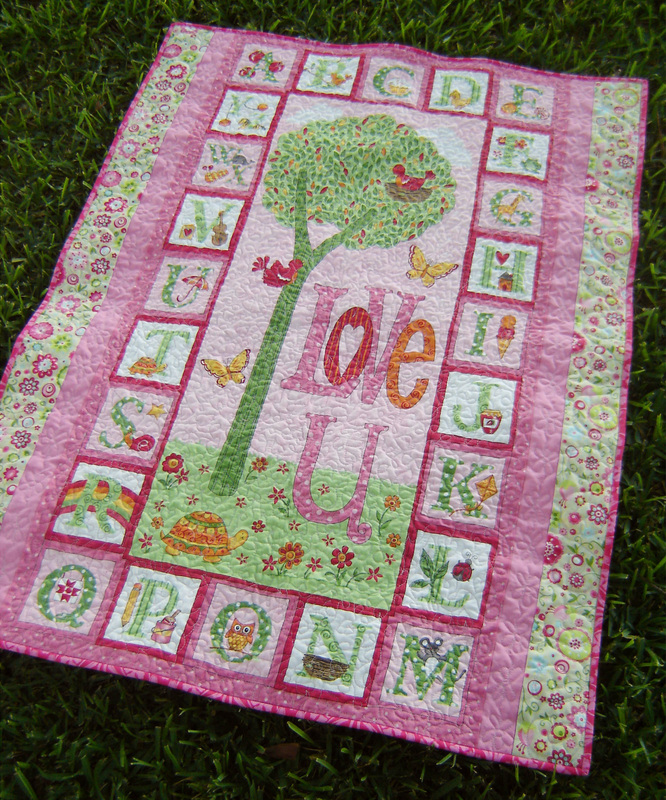
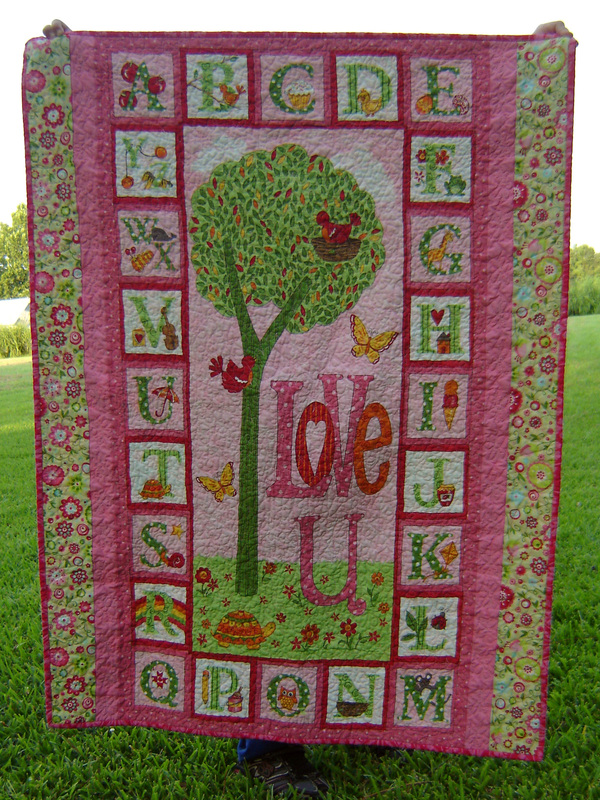
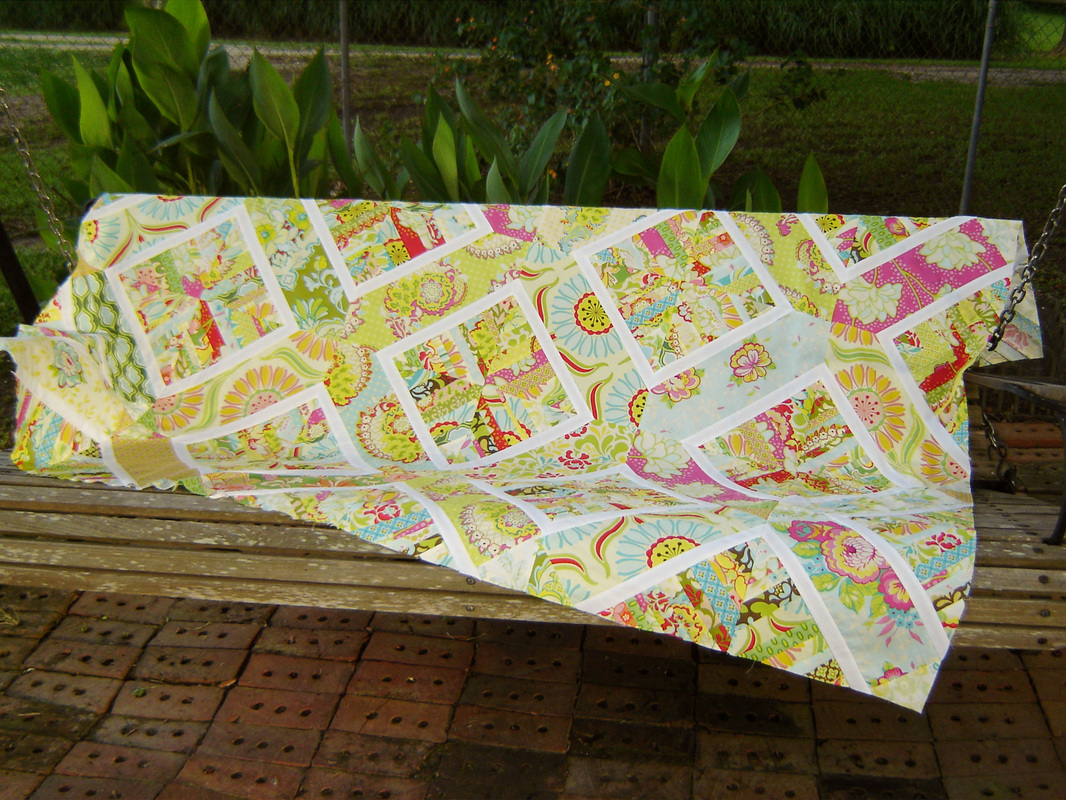
Roughly two and half years after starting this quilt, Latticework is now finished!
Roughly two and half years after starting this quilt, Latticework is now finished!
This is officially my last finish of the first quarter 2014 Finish Along hosted by Katy of The Littlest Thistle. You can see my first quarter Finish Along list HERE.


 RSS Feed
