
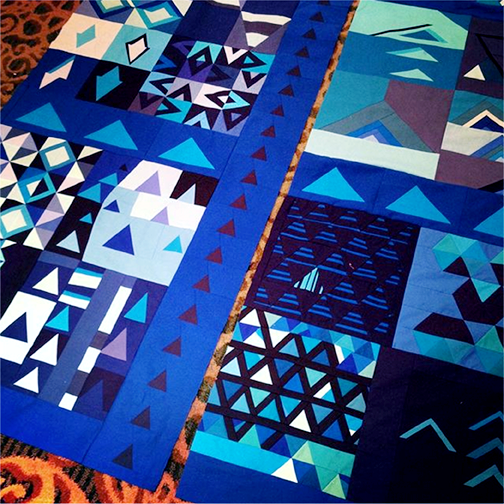
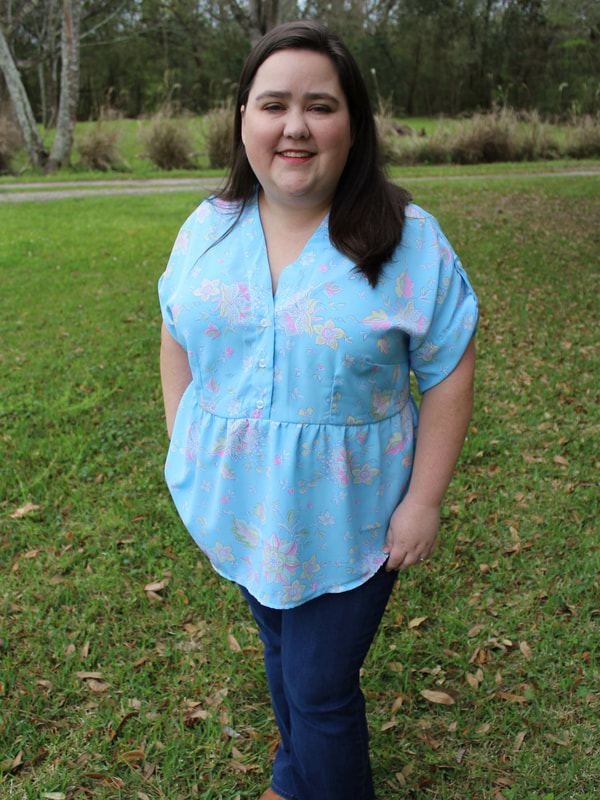
We have reached the end of Quarter 2 of the 2019 Finish-A-Long already!! Of course, that means it is now time to link up those finishes from the list you linked up in April. We hope that you have been able to complete a bunch of the UFOs on your list and if you haven't, we'll do it all over again for Quarter 3...
The 2019 FAL is hosted by a great community of bloggers. This year our hosts are:
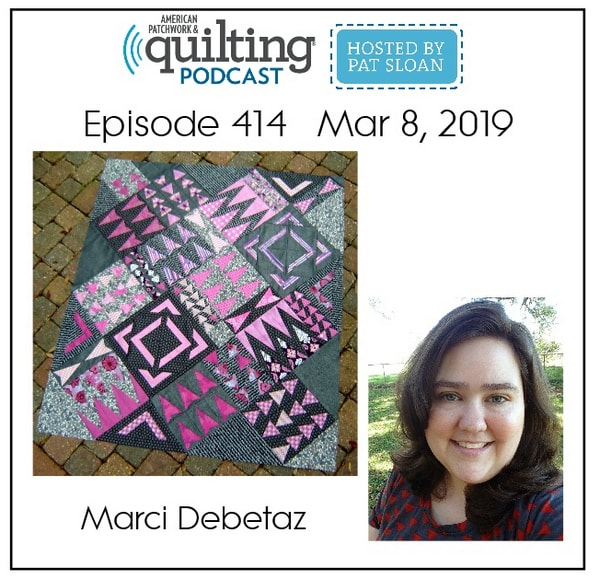
- Marci - Marci Girl Designs - USA Louisiana
- Sandra - Sew of Course - Ireland
- Leanne - She Can Quilt - Canada
- Ella - Throw a Wench in the Works - USA Georgia
- Karen - Capitola Quilter - USA California
- Lynne - Tinking Along - USA Maryland
- Izzy - Dizzy Quilts - Canada
- Sarah G - Sarah Goer Quilts - USA California
- Sarah Z - Cedar Fork Stitches - USA Montana
- Julie - That’s Sew Julie - USA Iowa
- Sharla - Thistle Thicket Studio - USA Kansas
- Nicole - Handwrought Quilts - Canada
Each finish you link up will be in the draw for great prizes, so let's give a huge thank you to our fantastic sponsors:
 Winner's Choice of 1 Large 12 Spool Collection |
 $80 Gift Certificate |
 $50 Gift Certificate |
 $50 Gift Certificate |
 $25 Gift Certificate |
 3 PDF Patterns |
 2 PDF Patterns |
 2 PDF Patterns |
 1 Six Month Subscription |
 2 PDF Patterns |
 $30 Fabric Voucher |

|
The 2019 Quarter 2 link for your finishes is now open below on my blog and on each of the hosting blogs - you only need to link on one blog for your finish to appear on all host blogs.
Link-up "Rules":
Add one link for each finish. If you want to link a round up post of all your finishes, use that link to enter one of your finishes and then link the rest of your finishes separately. Please, only one link per finish, as your link is an entry into the randomly drawn prize draws.
Please ensure that the photo (Instagram or Flickr) or blog post you link up contains a link or reference back to your original list so that we can verify your entry (make sure it is from the appropriate quarter, too). On Instagram the best way to do that is to tag your photos with #2019FALQ2yourname (where yourname is unique to you), this makes it easier for us to match your finishes with your list, which also should have this tag.
Please become part of the FAL community. Check out the links of others and leave a comment. We all need encouragement so let's applaud each other. The 2019 FAL Facebook page is HERE and you can follow us on Instagram @finishalong.
Our hosts will also link up their finishes to share in the community but they are not eligible for any of the prizes.
The Q2 Finishes link will stay open from now thru 11 pm, EST, Tuesday, July 9, 2019 - as we are global, you might want to check your time zone to determine your last possible time to link. You can also see how much time is left below the linked up images on the right. It is best to link up your finishes early and if you have a last minute one, add that one later so you don't miss out. The prizes will be awarded as soon as we can verify all the entries and do the drawings. We will post the winners on each host's blog.
Lastly, don't forget to start making your Q3 list as the next LIST link opens on Wednesday, July 10, 2019.
2019 Q2 Finishes Link Up:


 RSS Feed
