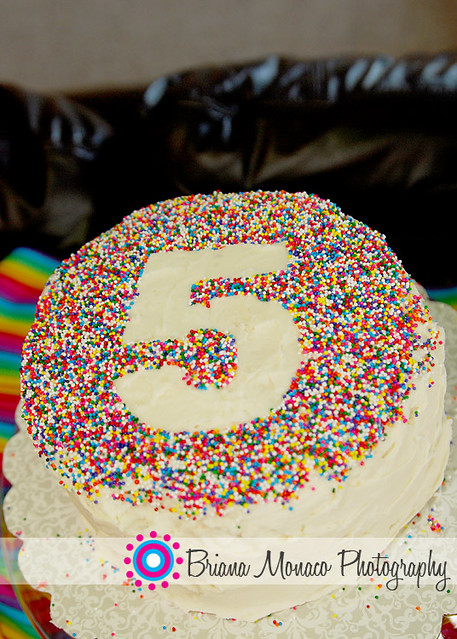
In a mere two days, my little baby boy will be a whole one years old. Hard to believe, oh how the time flies. We had to push back his birthday party a bit because of the never ending illness around our house these days, but that is ok, it gives me more time to plan and prepare. I am thinking about going a simpler route for his cake. One cake for the party goers, and cupcakes for my little man and the kids. I always scheme these elaborate cakes and then end up cursing and swearing I'll never do it again, especially since all my cakes seem to fall into a million pieces every time I have to transfer them. That being said, I am sticking with it, going the easy route, and plan to do a simple cake like the one below. Easy enough right? Maybe I will fancy it up with a pudding layer in the middle. Yum.
Speaking of cakes, I realized I never shared the cake I made for my older sons fifth birthday. A pirate cake, yes, he is still obsessed with pirates, which is fine with me! I found this image originally through Pinterest, but have included the direct link here, just in case you attempt to make one yourself. I was pleasantly surprised to find all the supplies needed at Walmart, all those different pretzels and all! The only thing I did differently was to eliminate the breadstick on the front and instead just use another pretzel rod in its place.
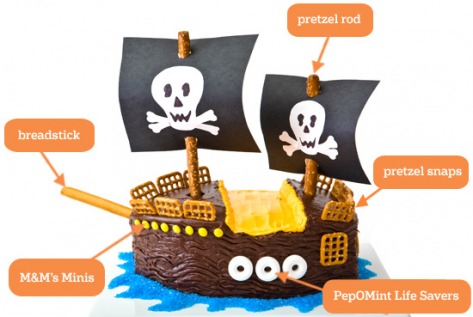
Instructions on how to make this cake can be found at Parenting.com. Click on the photo to go directly to the instructions. Photo property of Parenting.com.
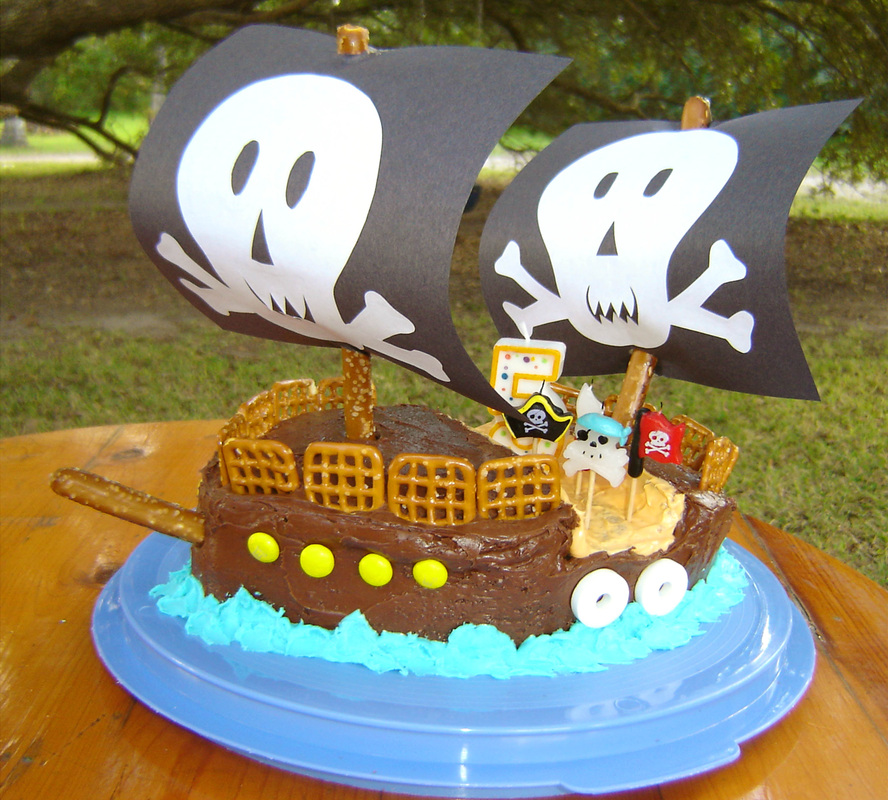
What do you think? It turned out pretty good, in my opinion. I have a number five candle and 4 pirate themed candles stuck in the center if you were wondering what all that junk was. The only thing I would do differently is to make the sails a tad bit smaller and work at getting more of a "yellow" icing color than the peach that is below. My son was tickled pink and that is all that matters. I had left over icing, so I dyed it blue and made the "ocean" around the ship, which also hid those crumby edges. As good as this looks, the cake fell into a million pieces and is held together by mushing it with my hands and icing. Very frustrating at the time, but at least the end result is good. All this talk of cakes falling apart had me wondering, do you know of a store bought cake mix that holds together well? I know for sure that Pillsbury is just too spongy and soft, it falls apart every time. I used to think that Betty Crocker was perfect, but lately those cakes have fallen apart too? Any ideas or suggestions?
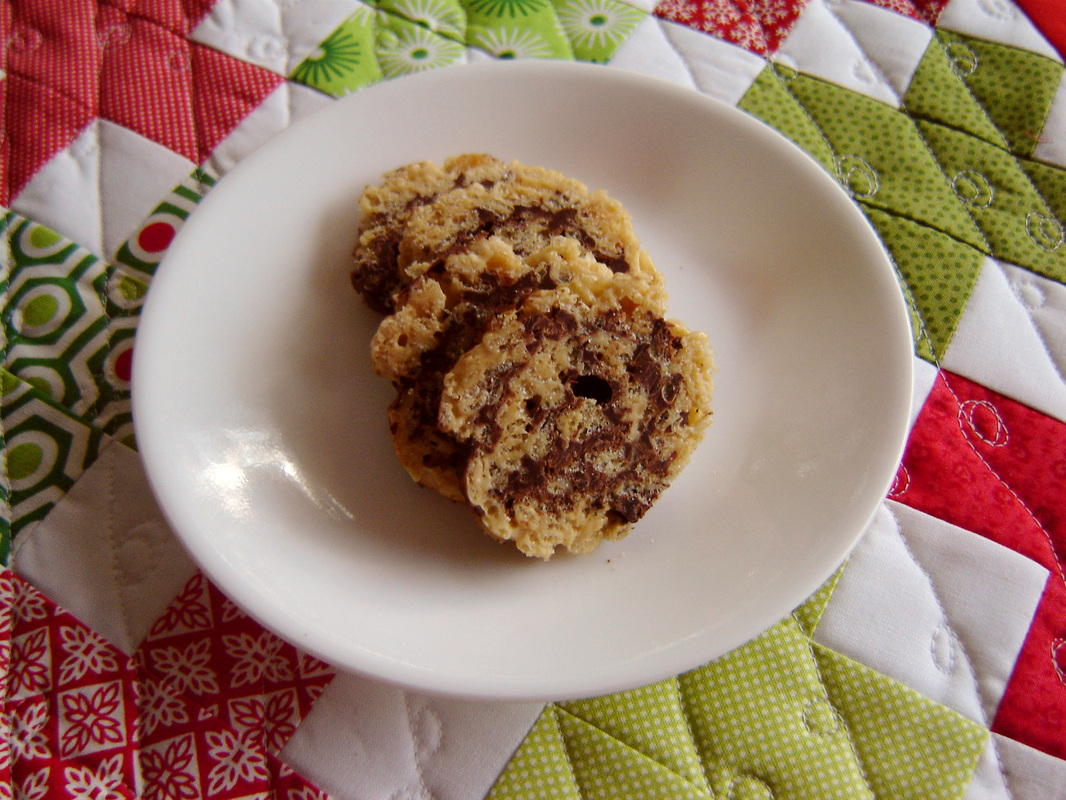
Linking up to Tuesday at the Table over at A Quilter's Table. Hop on over and visit all the other wonderful link ups.


 RSS Feed
